How to Make a Mallet
Build a stout woodworking mallet while honing your hand-tool skills.
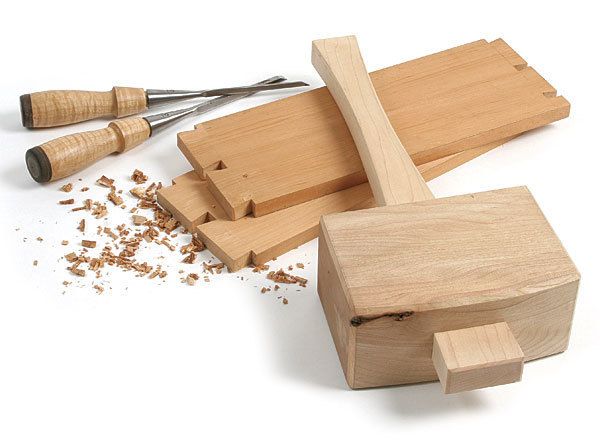
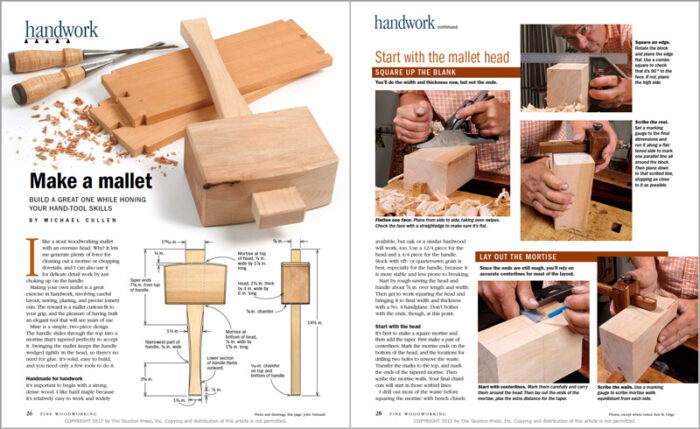
Synopsis: Make a stout woodworking mallet with an oversize head. You’ll use it for any number of tasks, from cleaning out a mortise or chopping dovetails to delicate detail work. It is a great exercise in handwork, involving careful layout, sawing, planing, and precise joinery cuts. The reward is a mallet custom-fit to your grip, and the pleasure of having built an elegant tool that will see years of use.
I like a stout woodworking mallet with an oversize head. why? It lets me generate plenty of force for cleaning out a mortise or chopping dovetails, and I can also use it for delicate detail work by just choking up on the handle.
Making your own mallet is a great exercise in handwork, involving careful layout, sawing, planing, and precise joinery cuts. The reward is a mallet custom-fit to your grip, and the pleasure of having built an elegant tool that will see years of use.
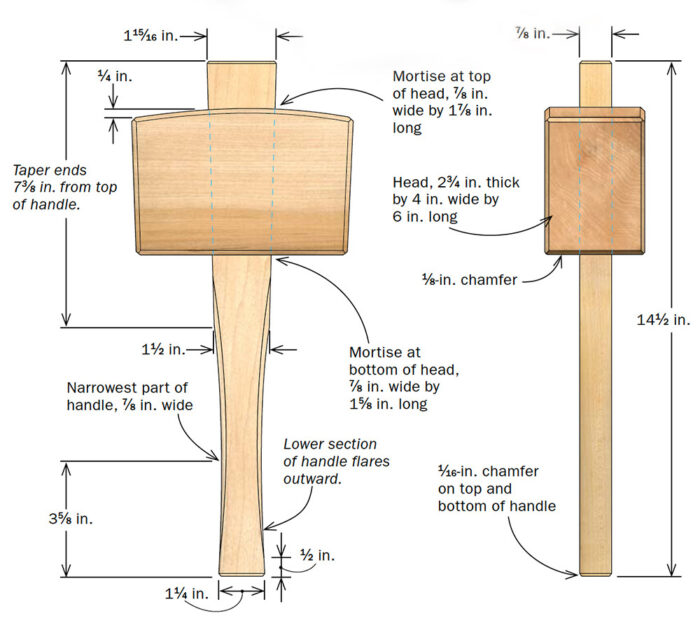
Mine is a simple, two-piece design. The handle slides through the top into a mortise that’s tapered perfectly to accept it. Swinging the mallet keeps the handle wedged tightly in the head, so there’s no need for glue. It’s solid, easy to build, and you need only a few tools to do it.
Handmade for handwork
It’s important to begin with a strong, dense wood. I like hard maple because it’s relatively easy to work and widely available, but oak or a similar hardwood will work, too. Use a 12/4 piece for the head and a 4/4 piece for the handle. Stock with rift- or quartersawn grain is best, especially for the handle, because it is more stable and less prone to breaking.
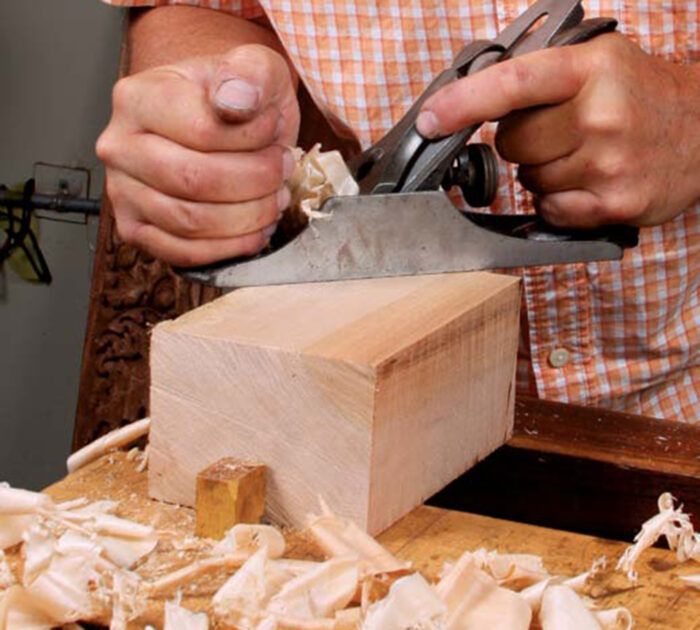
Start by rough-sawing the head and handle about 1 ⁄4 in. over length and width. Then get to work squaring the head and bringing it to final width and thickness with a No. 4 handplane. Don’t bother with the ends, though, at this point.
Start with the head
It’s best to make a square mortise and then add the taper. First make a pair of centerlines. Mark the mortise ends on the bottom of the head, and the locations for drilling two holes to remove the waste. Transfer the marks to the top, and mark the ends of the tapered mortise. Then scribe the mortise walls. Your final chisel cuts will start in those scribed lines.
Michael Cullen is a furniture maker in Petaluma, Calif.
For the full article, download the PDF below:
Fine Woodworking Recommended Products
Veritas Wheel Marking Gauge

Olfa Knife

Suizan Japanese Pull Saw




Log in or create an account to post a comment.
Sign up Log in