Better than Paint
Pigmented lacquer is smoother, brighter, and more durable for fine cabinetry.
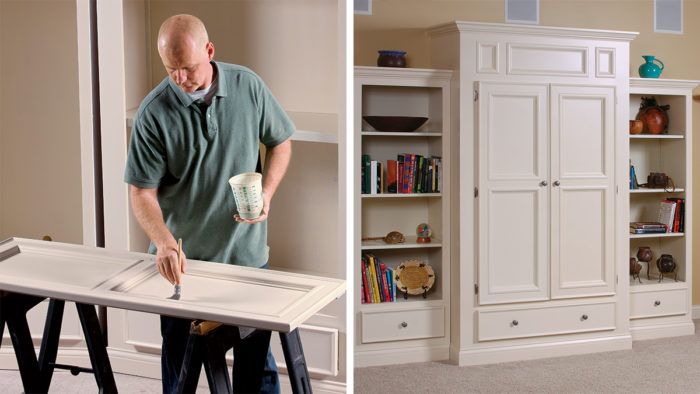
Synopsis: A crisp, classic white finish for bookcases, built-ins, and kitchen cabinets is usually sprayed on to achieve the very even application it needs. But if you aren’t set up for spraying, you can get the same look using pigmented acrylic lacquer and the right technique. Sean Clarke demonstrates how to prep the surface, filling all dents and holes, using shellac as a sealer, and sanding properly. Then he takes you through the steps of priming, proper brushing, and even padding on a final topcoat for a truly high-gloss result.
Whether in modern or traditional interiors, bookcases, built-ins, and cabinets sparkle when finished in a crisp, classic white. For maximum impact, this finish requires a very even application and a smooth finish, so it is typically sprayed on. But don’t despair if you aren’t set up to spray: I will show you how to get an off-the-gun-looking finish just by brushing and wiping. It will take longer than spraying, but the quality of this finish is well worth the wait.
While I could reach for oil-based or latex paint, I find that pigmented lacquer provides a superior look in terms of evenness and lack of residual brush marks. I prefer acrylic lacquers over nitrocellulose ones because they are non-yellowing and retain brilliance better.
I’m going to use a pre-catalyzed version here, which has better durability than a non-catalyzed lacquer and is easier to apply than a post-catalyzed lacquer. You can buy this type of lacquer from Sherwin Williams or M.L. Campbell paint stores and, if you like, they can tint it to match an existing color in your house.
A flawless finish needs perfect prep work
The best woods for painting are close-pored, such as poplar, maple, pine, or birch plywood. The high-solids primer that I’ll use can fill medium-pore woods, but if you find yourself having to paint an open-pored wood such as oak it would be best to apply an oil-based grain filler first.
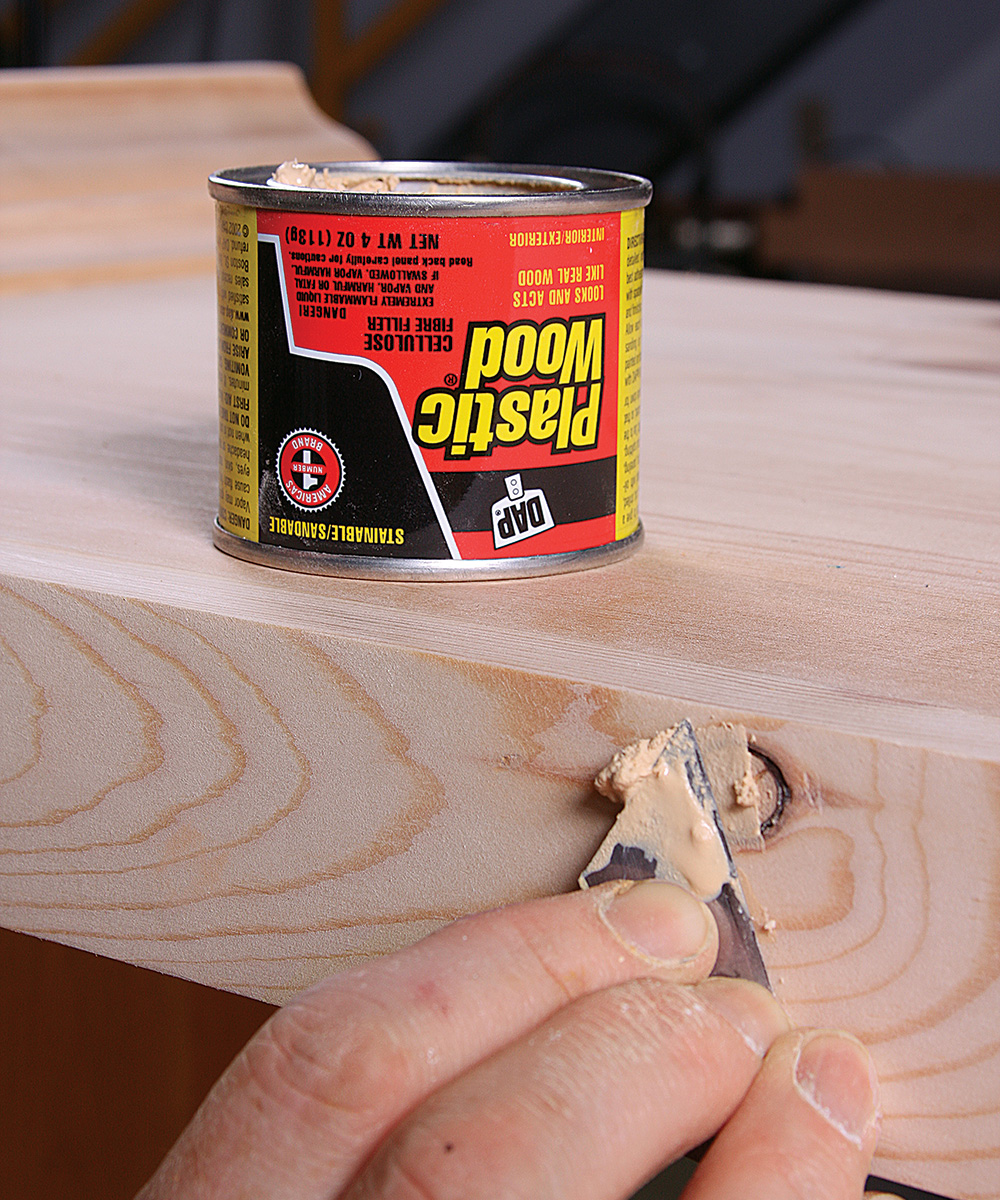
I begin to prep the surfaces by filling any imperfections with water- or solvent-based, natural-colored wood filler. Using a utility blade or flat spatula, I lay the wood filler into any indentations, leaving the filler slightly proud of the surface. For minor indentations (less than 1/16 in. deep and 3/16 in. wide), let the filler dry for one or two hours. Larger fills will require more drying time.
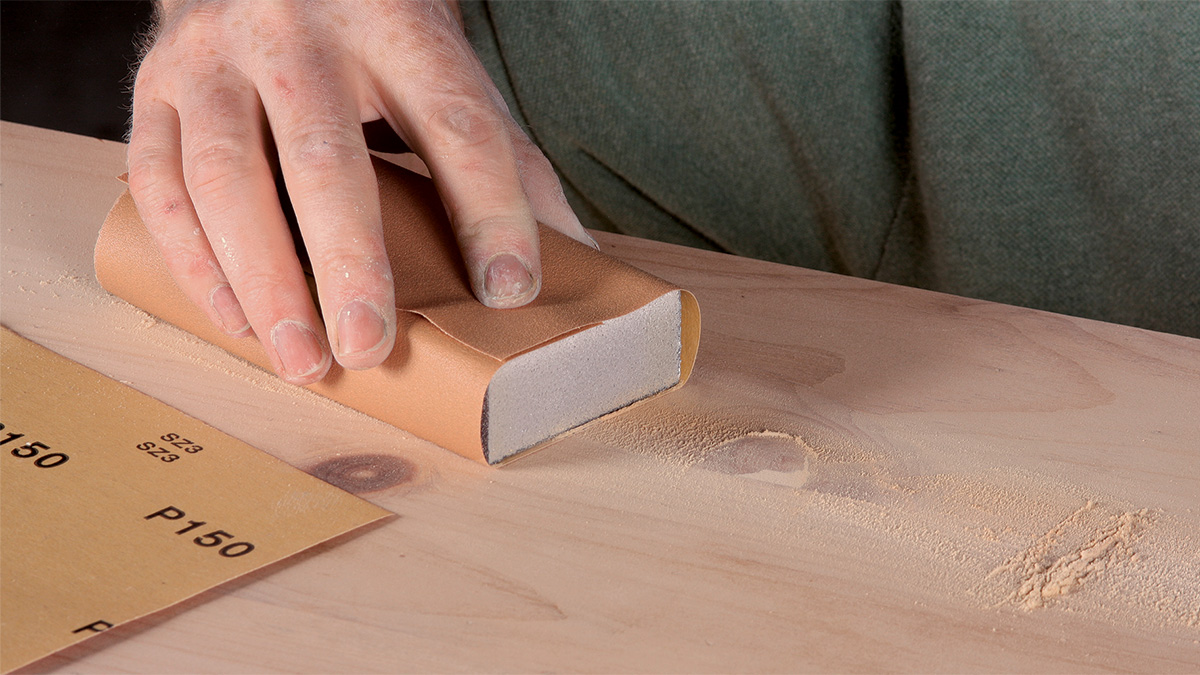
Next, I sand the whole surface up to P180- or P220-grit. Wrap the sandpaper around a sanding block for a smooth, even surface. The block also ensures that the filled areas end up even with their surroundings.
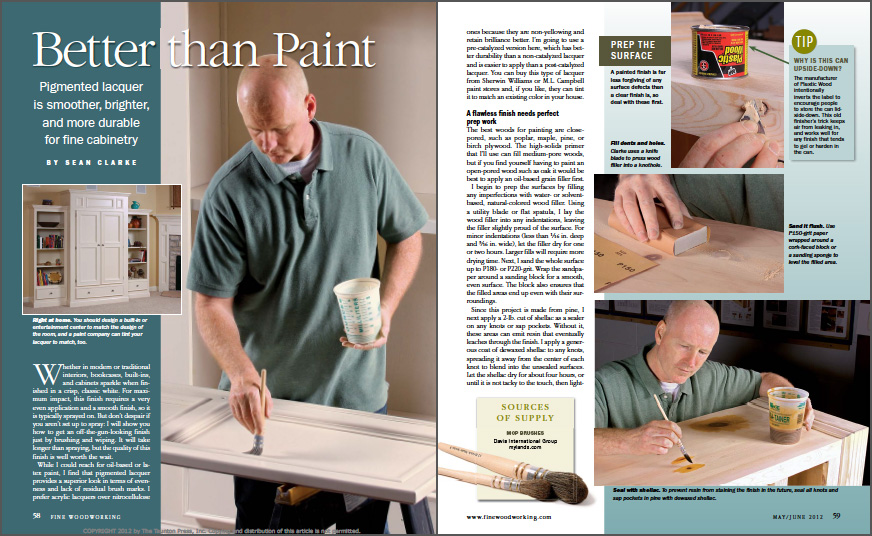
Since this project is made from pine, I next apply a 2-lb. cut of shellac as a sealer on any knots or sap pockets. Without it, these areas can emit resin that eventually leaches through the finish. I apply a generous coat of dewaxed shellac to any knots, spreading it away from the center of each knot to blend into the unsealed surfaces. Let the shellac dry for about four hours, or until it is not tacky to the touch, then lightly dull the shellac with a purple abrasive pad, being careful not to cut through it.
From Fine Woodworking #226
To view the entire article, please click the View PDF button below.
Fine Woodworking Recommended Products
Osmo Polyx-Oil
Foam Brushes


Log in or create an account to post a comment.
Sign up Log in