How to brush on a varnish finish
A wiping varnish goes on easily and creates a tough surface ready for rubbing out.
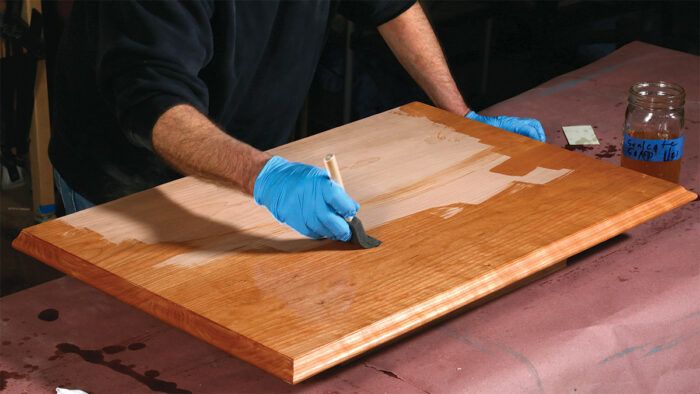
Synopsis: You don’t have to be a finisher to create a durable, beautiful finish. This method is simple, using user friendly Waterlox, a wiping varnish. The trick is to fill the pores and build it up to a uniform thickness by brushing on several coats, then sanding on and wiping off a few coats at the end. After the finish has cured for several weeks, you can rub it out to a professional-looking sheen.
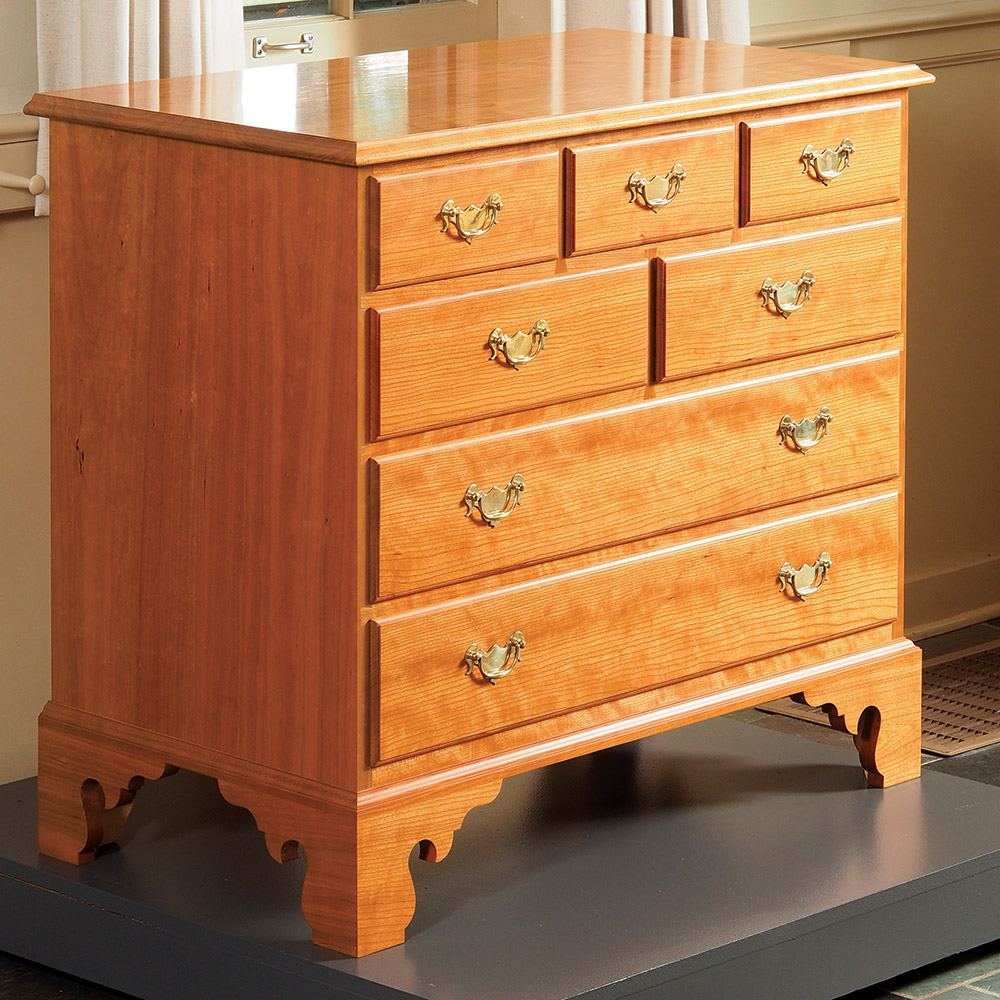
When Fine Woodworking’s editor, Mike Pekovich, asked me to write about the finishing process I used on a recent cherry chest of drawers, I told him I wasn’t a finisher and didn’t know much at all about the process. He answered, “Yes, that’s the point. You are not a finisher, but you got a result that looks great, is durable, and, most importantly, is completely doable for most people.”
Like he said, it’s completely doable. I used easy-to-apply wiping varnish, specifically Waterlox, which is thinner, and therefore more user-friendly, than traditional varnish. But just as with traditional varnish (and other film finishes), I had to build it up to a level, uniform thickness to achieve a tougher, more sophisticated-looking finish. This contrasts with how some woodworkers, myself included, often apply wiping varnish: Flood the surface, then wipe off the excess until we reach a satin sheen. This is the “open-pore” look, with the varnish in the pores sitting lower than that on the surface. For a more durable, high-style finish, you need to fill the pores to the level of the surrounding finish. To do this efficiently, I ditch the rag and instead brush on several coats, then sand on and wipe off one or two more coats at the end. This buildup improves durability and, more importantly, lays the foundation for the rubbing-out process, which yields a glasslike surface.
Surface prep is vital
A smooth finish starts with a smooth surface, so don’t slack on the surface prep. On a high-style finish like this, even minor defects will tarnish the results. I’ll take you quickly through my process here, but for an in-depth look, check out my article Foolproof Surface Prep.
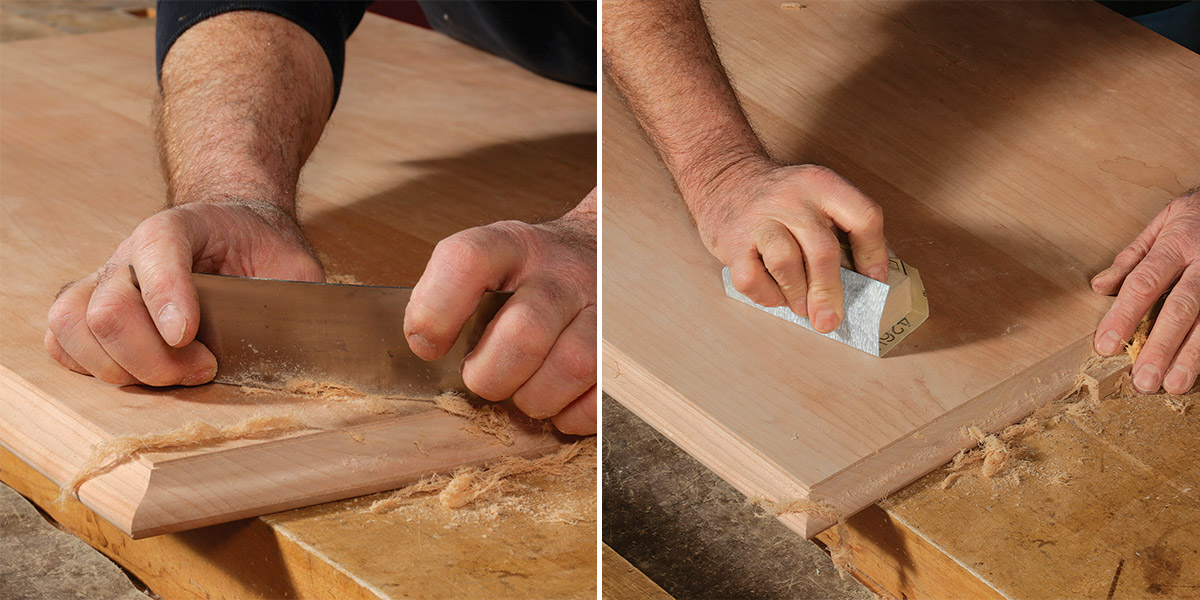
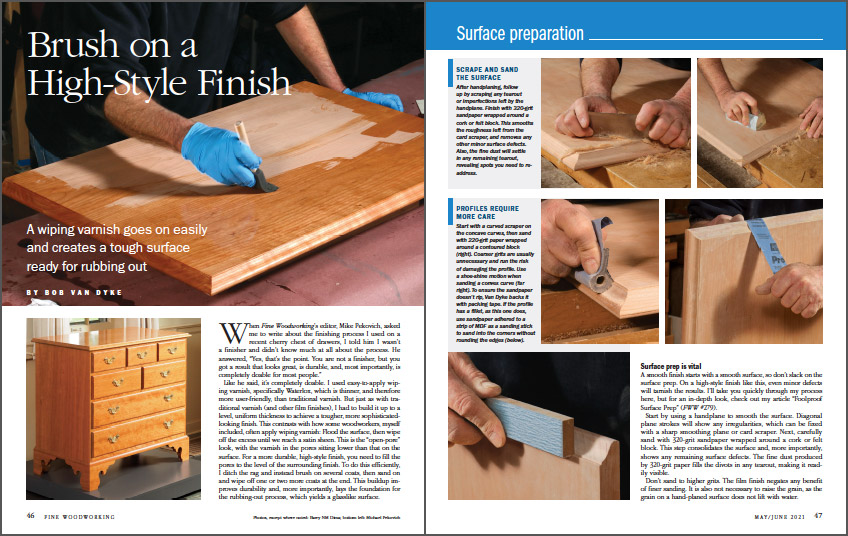
Start by using a handplane to smooth the surface. Diagonal plane strokes will show any irregularities, which can be fixed with a sharp smoothing plane or card scraper. Next, carefully sand with 320-grit sandpaper wrapped around a cork or felt block. This step consolidates the surface and, more importantly, shows any remaining surface defects. The fine dust produced by 320-grit paper fills the divots in any tearout, making it readily visible.
Don’t sand to higher grits. The film finish negates any benefit of finer sanding. It is also not necessary to raise the grain, as the grain on a hand-planed surface does not lift with water.
Move on to any profiled edges. These are especially common on period furniture, and they’re easily ruined by overaggressive or careless scraping or sanding. Take special care to maintain the crisp transition between convex and concave curves, and use extreme care when addressing fillets and beads. Most molded edges require a profiled sanding block and a curved scraper. Both are available commercially, but they’re also easily made.
Clean off the panel thoroughly before applying finish.
From Fine Woodworking #289
To view the entire article, please click the View PDF button below.
Fine Woodworking Recommended Products
Foam Brushes
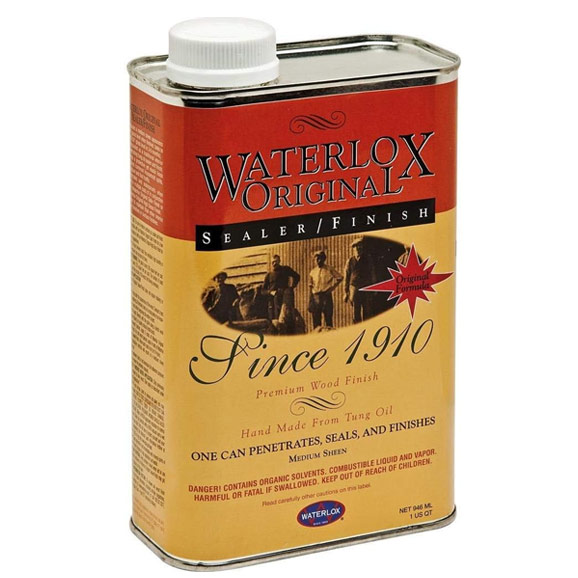
Waterlox Original
Osmo Polyx-Oil




Log in or create an account to post a comment.
Sign up Log in