Tabletop Finish With a Hand-Rubbed Feel
Brush on polyurethane for protection, then wipe on the final coats for a silky surface.

Synopsis: Requests from readers who liked “One Editor’s Foolproof Finish” (FWW #196) but wanted a more durable version suitable for kitchen cabinets or dining tables led to this article. Like the original, this variation on the foolproof finish uses gel polyurethane, but starts with several coats of liquid polyurethane for extra protection. The result is a finish that will stand up to the rigors of kitchen and dining tables but retains the look and ease of the gel-poly version. It can even be used in combination with the simpler finish on the same piece
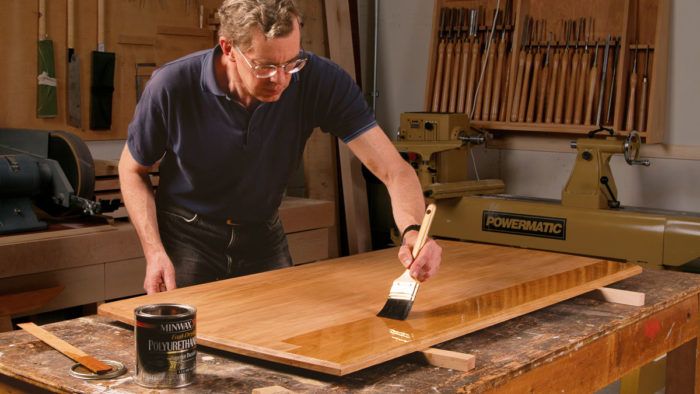
After my article “One editor’s Foolproof Finish” appeared in FWW #196, several readers asked whether the wipe-on finish I described would be suitable for kitchen cabinets or dining tables. I replied that while you could build up the extra protection these surfaces need by wiping on many more coats of the gel polyurethane, it would be far quicker to brush on several coats of liquid polyurethane and then switch to the wipe-on gel for the final few coats. In this way, you get the rapid build of a brushed finish, without any brush marks or dust nibs in the final surface.
This approach to a durable yet smooth finish is so foolproof, we decided to share it with all of our readers in this step-bystep article. By the way, because it starts with a quick washcoat of shellac, it is also a great finish for pieces made from blotch-prone woods, such as this cherry dining table by Gary rogowski (see “the Versatile trestle table,” pp. 28-33). the table also demonstrates how this finish can be used in tandem with my original wipe-on-only Foolproof Finish: I used the durable finish on the tabletop, where food and liquids will be a hazard, and on the feet, which are likely to be rubbed by shoes. But I used the simpler finish on the rest of the piece.

Sand carefully, then seal
Although this won’t be a high-gloss finish that magnifies every ripple or void in the surface, we’re still dealing with an eyecatching large, flat surface, so good preparation is essential.
To learn how to flatten and smooth a tabletop using handplanes and a scraper, see Bob Van Dyke’s Fundamentals: “creating an attractive tabletop” in FWW #210. If you are more comfortable with a randomorbit sander, start at P100 grit and work your way up to P220 grit, then hand-sand with the grain using the final grit. Remove the dust using a vacuum or compressed air to clean out the pores.
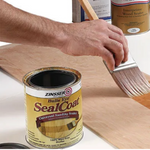
The next step is to apply a thin coat of shellac to the whole piece. As well as greatly reducing the likelihood of blotching, the shellac gives the wood a slightly warmer tone and lets you build a sheen faster with the gel finish. You may have heard that polyurethane will not adhere to shellac. This is true if you use shellac containing wax, such as Zinsser’s clear or amber Bulls eye Shellac. Polyurethane will adhere perfectly to dewaxed shellac such as Zinsser’s Sealcoat or your own mixture using dewaxed shellac flakes.
Mix a 1-lb. to 11⁄2-lb. cut (dilute the Sealcoat by about a third with denatured alcohol). You can apply the shellac with a natural or synthetic filament brush, but I find it just as quick (and easier on vertical surfaces) to wipe on the shellac with a cotton cloth. It also requires less sanding afterward.
 From Fine Woodworking #214
For the full article, download the PDF below:
Fine Woodworking Recommended Products


Bumblechutes Bee’Nooba Wax


Log in or create an account to post a comment.
Sign up Log in