How to Repair Surface Blemishes
When refinishing a piece, it's critical to create a smooth and clean surface after stripping the old finish.

Start your 14-day FREE trial to watch this video
Plus, access more than 500 video workshop episodes when you become a member
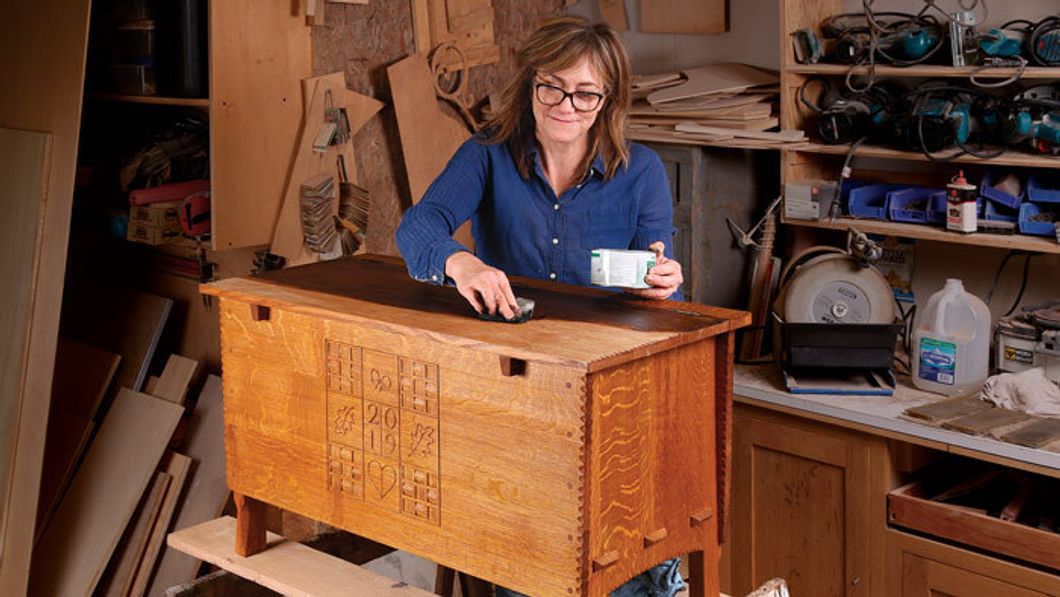
Surface preparation is a crucial step in refinishing any piece of furniture. After stripping the existing finish, the next step is to repair any blemishes. In this video professional finisher Peter Gedrys shows how to create a smooth surface, ready for a new finish.
You’ll see how skimping on prep work can lead to trouble with a surface marred by chips, scratches, or stains. Gedrys doesn’t refinish with a one-size-fits-all approach, because each piece is unique. Instead, he first studies the wood to locate trouble spots and determine how much sanding it needs. After sanding, and removing dust, he gives the piece a final alcohol wash.
About the Video Series
Expert finisher Peter Gedrys, of East Haddam, Conn. guides you through all the steps of refinishing furniture from stripping an old finish to putting the final touches on a new one. Watch this segment and then find video links…


Log in or become a member to post a comment.
Sign up Log in