How to Get Better Results with Polyurethane
Combine brushing with wiped-on coats for an easy, durable sheen.
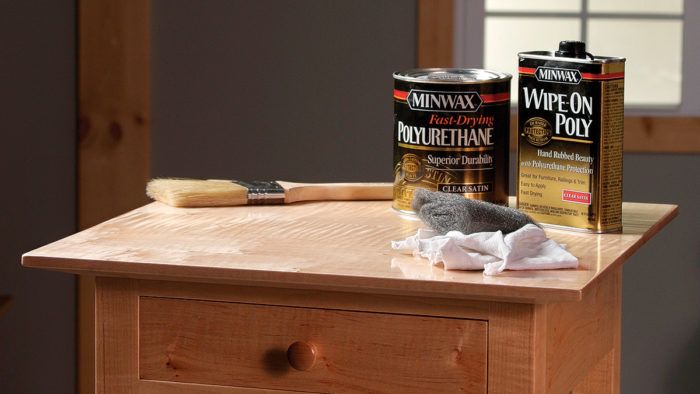
Synopsis: Polyurethane is one of the simplest and most widely available commercial finishing products, and if you haven’t tried it lately you should read about Ben Blackmar’s method. His approach calls for two different satin-gloss polyurethane products—a fast-drying version of the standard brush-on product, and the thin, wiping variety. He starts with a thin coat of wipe-on to seal the surface, followed by several brushed-on coats to build a durable protective film. Then, instead of applying wax, he adds another thin coat or two of wipe-on to perfect the satiny, medium sheen.
I’ve tried all kinds of finishes in my woodworking career, from beautiful but tedious hand-rubbed oils to quick but expensive sprayed-on lacquers. Nowadays, the finish that I use most often is one of the simplest and most widely available commercial products out there—polyurethane. The finish has significant advantages. First, poly is oil-based, which makes it extremely durable and resistant to water stains. Because of this, it is ideal for tabletops and cabinetry. Poly also cures hard much more quickly than oil, which means you’ll be finished in days rather than weeks, and with fewer coats.
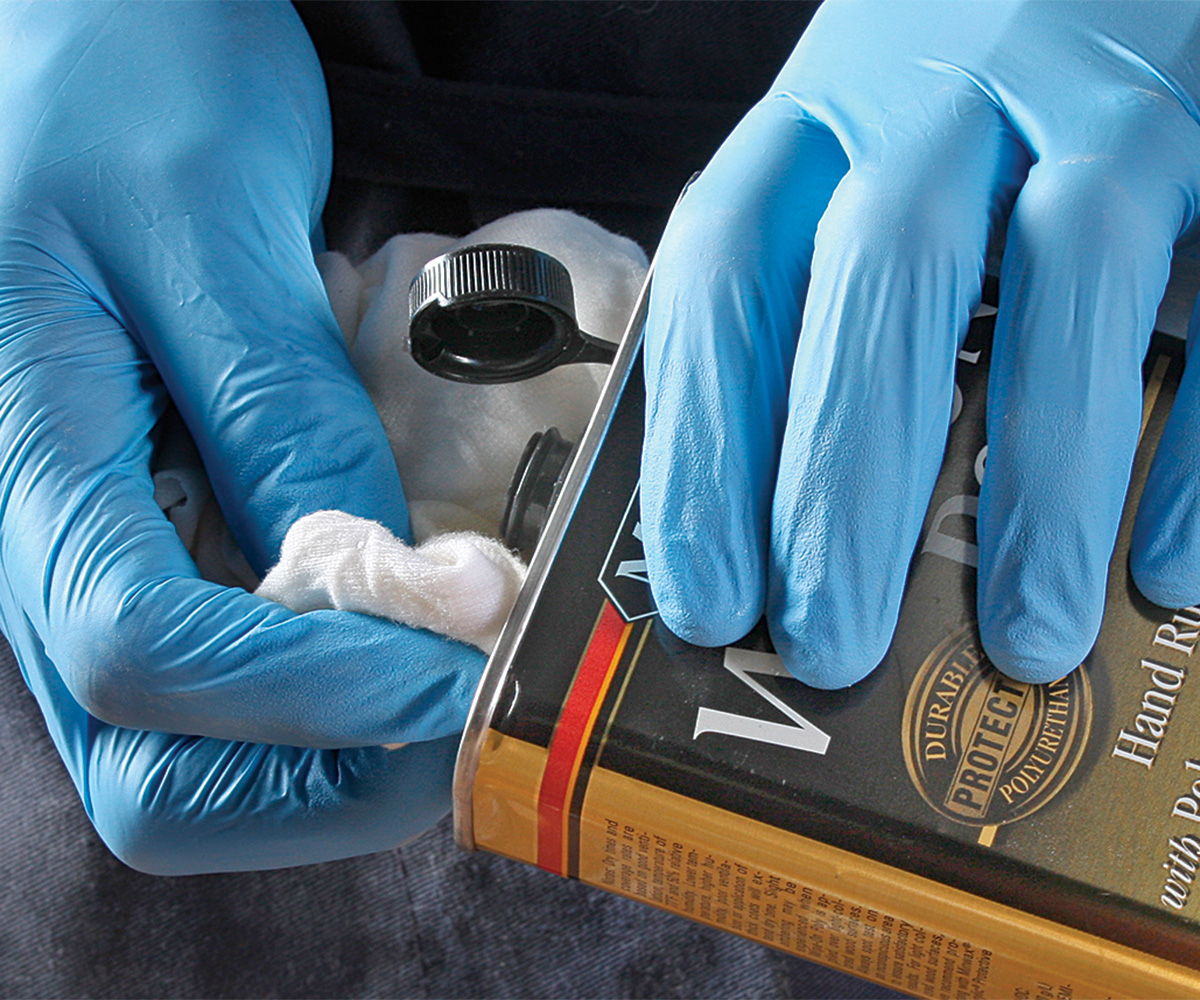
My approach calls for two different satin-gloss polyurethane products—a fast-drying version of the standard brush-on product, and the thin, wiping variety. I start with a thin coat of wipe-on to seal the surface, followed by several brushed-on coats to build a durable protective film. Then, instead of applying wax, I complete the process with another thin coat or two of wipe-on to perfect the satiny, medium sheen.
First coat seals the surface
To prepare the surface, I first remove all machine marks by sanding up to P150-grit with a random-orbit sander. I follow this by hand-sanding with a block, using P220-grit, until the surface is uniformly flat and smooth, with no visible scratches.
Last, I use the P220-grit to break the edges. A softened corner is easier to finish, nicer to the touch, and more resistant to denting and wear. Afterward, gently remove the dust with an air compressor or wipe down the piece with a dry, lint-free cotton cloth.
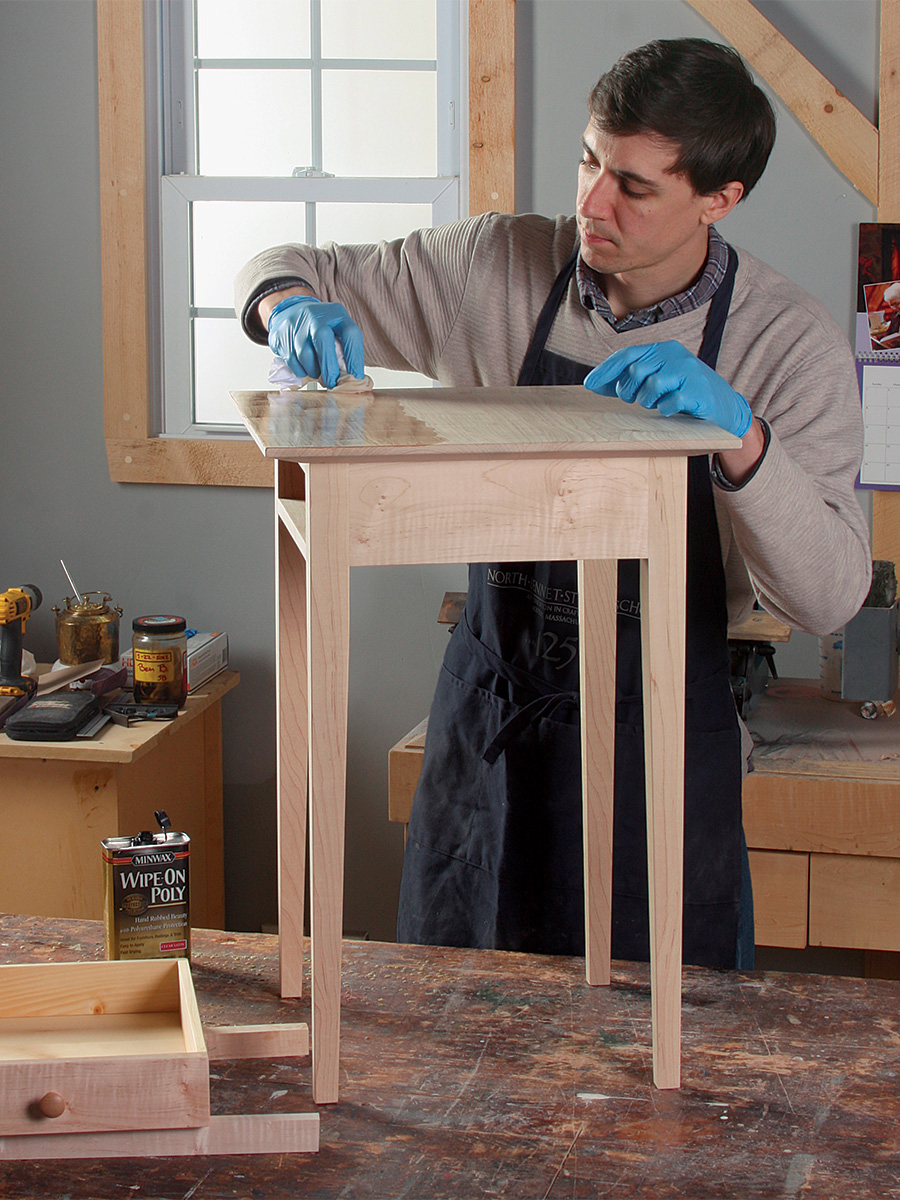
I begin applying the finish with a thin coat of wipe-on poly to penetrate and seal the surface. Use a lint-free cotton cloth. Saturate the cloth with finish and wipe it on liberally. Then use a clean, dry cloth to remove any excess. Let the finish dry for several hours.
Be sure to dispose of your used rags properly to avoid the possibility of starting a fire. Before tossing them, dry the rags by spreading them out individually on a flat surface or draping them over the rim of a trash barrel.
Thicker coats build a protective film
The next two coats get brushed on so you can easily build an even, durable layer. In a warm shop, the “fast-drying” finish lets you lay down these two coats in one day—if you start early enough.
To ensure a smooth coat that is relatively free of brush marks, use a good quality, natural-bristle brush. I’ve gotten great results with a brush designed for oil paint available at home centers. Brush on a thin but wet coat, quickly smoothing out any runs or drips as you go.
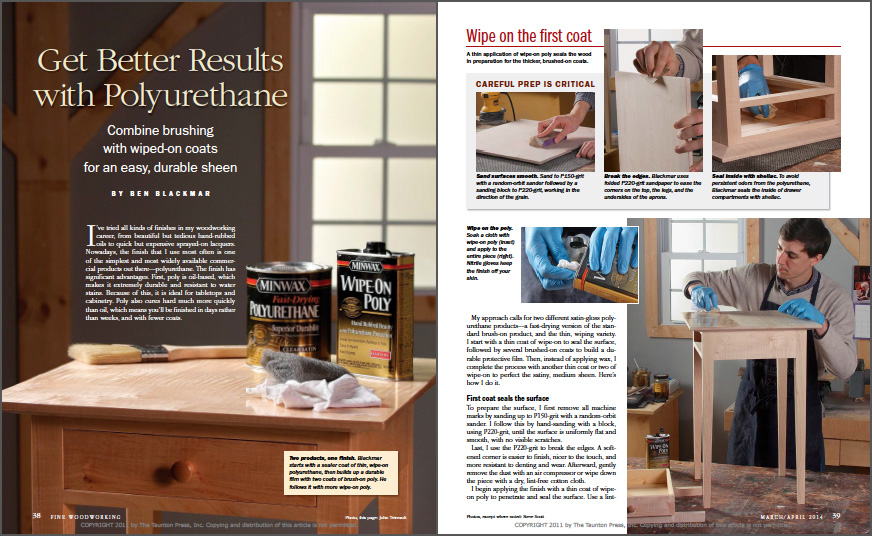
From Fine Woodworking #239
To view the entire article, please click the View PDF button below.
Fine Woodworking Recommended Products
Bumblechutes Bee’Nooba Wax
Osmo Polyx-Oil




Log in or create an account to post a comment.
Sign up Log in