Get Smooth Surfaces, Even on the Wildest Woods
Learn how one pro heads off tearout at every pass.

Synopsis: Getting smooth surfaces on your projects, regardless of the species of wood, isn’t magic. You just need to know how to keep tearout from showing up, and how to deal with it when it does. Smart machine work minimizes tearout as you mill flat, square, and straight surfaces on rough lumber. Handplaning smooths those jointed, planed, and sawn surfaces quickly, while keeping them flat. A scraper is the perfect weapon for attacking any isolated spots of remaining tearout. And finally, sanding polishes everything, leaving a stunning surface that’s ready for finish. That’s the process, and you can rely on it with almost any wood, provided you approach it systematically.
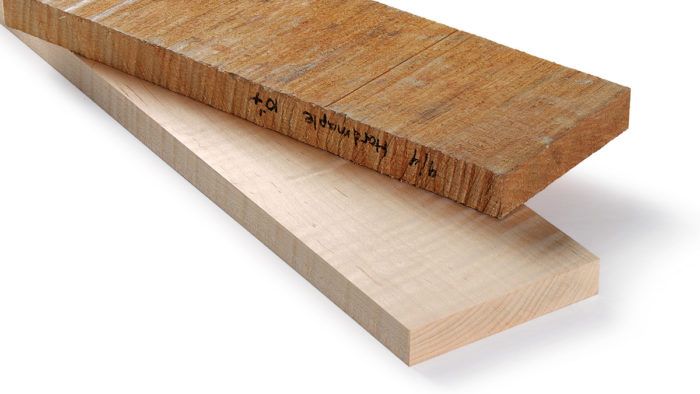
Over the years, I’ve worked with everything from buttery mahogany to the most challenging figured maple, and in that time I’ve developed a straightforward system for getting a beautifully tearout-free surface, no matter how twisted the grain or wild the figure.

Getting silky-smooth results quickly, regardless of the species of wood, isn’t magic. Part of the game is to keep tearout from showing up in the first place. But when it does rear its head, you need to know what to do.
Smart machine work minimizes tearout as you mill flat, square, and straight surfaces on rough lumber. Handplaning smooths those jointed, planed, and sawn surfaces quickly, while keeping them flat. A scraper is the perfect weapon for attacking any isolated spots of remaining tearout. And finally, sanding polishes everything, leaving a stunning surface that’s ready for finish. That’s the process, and you can rely on it with almost any wood, provided you approach it systematically.
Milling matters
Good surface prep starts long before you break out a handplane. If you introduce a ton of tearout in the milling process, you’ll be chasing it the rest of the way. The most important tip is to keep your machines well-tuned and, above all, sharp. Also, as you’re selecting and roughing out your stock, build in extra cushion for every part, in every dimension. This will come in handy later, when you need an extra pass on the jointer, planer, or tablesaw to get rid of unexpected tearout.

After the workpiece is cut to rough length, look at the edges to determine the way the grain is running through the board. Draw an exaggerated line on both edges indicating the overall grain direction. Test your read of the grain by running one face over the jointer. If there’s excessive tearout, flip the board and run it the other way. If tearout persists, make sure you’re not feeding the board too fast. Faster feed rates result in fewer cuts per inch; when you push a piece of stock quickly over the knives, you’re asking them to remove more material per swipe, which creates wide mill marks and increases the chances of tearout.
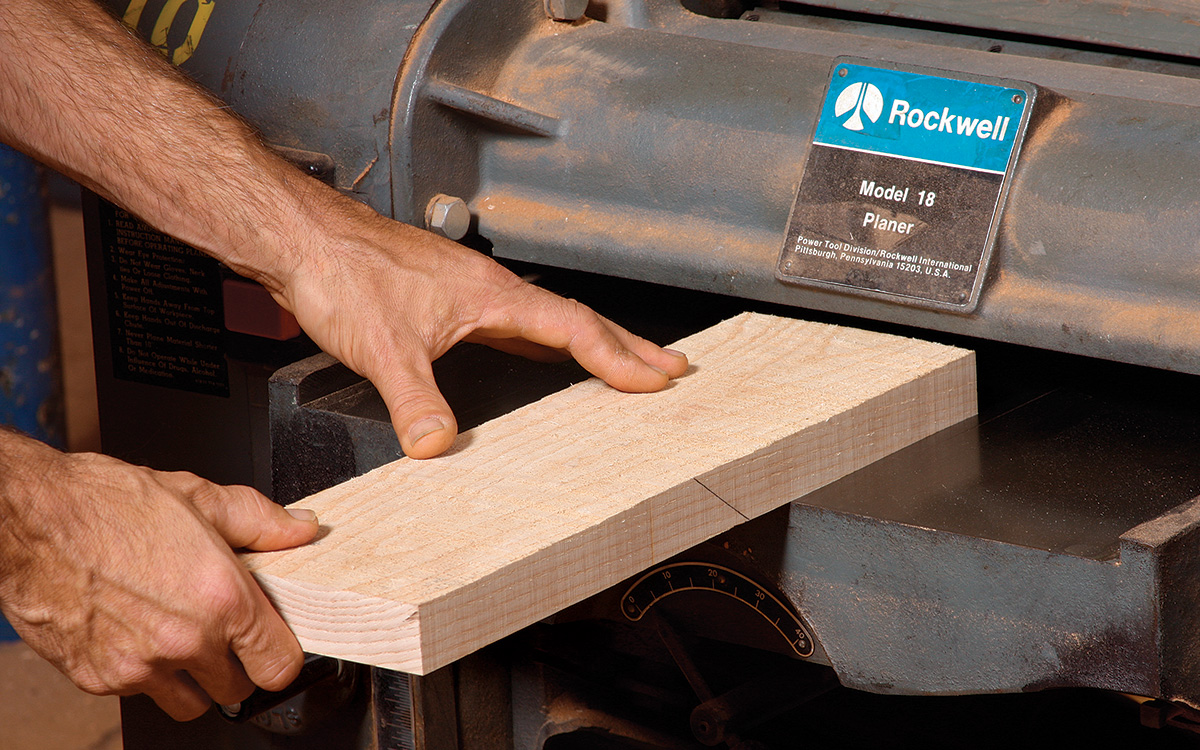
After flattening one face on the jointer, mill the opposite face using the thickness planer. If your planer offers variable feed rates, set it to the slowest speed.

From Fine Woodworking #236
To view the entire article, please click the View PDF button below.
Fine Woodworking Recommended Products

AnchorSeal Log and Lumber End-Grain Sealer

DeWalt 735X Planer

Ridgid R4331 Planer


Log in or create an account to post a comment.
Sign up Log in