
Gluing and Clamping Strategies for Tabletops
The perfect glue-up begins with a spring joint on the edges.

Synopsis: This second article in a three-part series on creating an attractive tabletop focuses on how to make joints that will stand the test of time, and how to keep the boards aligned during clamping. That alignment makes a world of difference when it comes to planing and sanding the tabletop after it is glued up.
Read part one.
Read part three.
From Fine Woodworking #208
There are a lot of ways a tabletop can go wrong. In this second article of my three-part series on making a tabletop, I’ll address two more common pitfalls, showing you how to make joints that will stand the test of time, and how to keep the boards aligned during clamping. That alignment makes a world of difference when it comes to post-glue-up planing and sanding.
Put A Spring In Your Joints
The first step is to run the adjoining edges of each board over the jointer to form the glue joint. Check that the jointer fence is at 90°, but alternate the faces of boards against the jointer fence to cancel any error in the jointer setup. If one edge measures 91°, the angle on the adjacent edge will measure 89° and the boards will lay up flat. Sometimes this means jointing against the grain and risking tearout, so make light cuts with a slow feed rate.
To ensure that the joint closes along the edges of the boards, take a bit more wood from the middle than from the ends, creating a slight gap in the middle of the joint. This is called “springing” the joint. As the clamp pressure closes the gap in the middle, the joint will only get tighter toward the ends of the boards.
Spring-Joint The Edges
To spring the joint, set the jointer to take a light cut and use a slow feed rate. Begin the cut by exerting a small amount of downward pressure on the board as it goes across the cutterhead. When about 6 in. of the board is on the outfeed table, push down hard on the board with your left hand just past the cutterhead. Continue with this slow feed and heavy pressure until about 6 in. remains. At that point, lighten up on the board until you’re exerting almost no downward pressure, and finish the cut. Do the same to the adjacent board.
The gap in the center will be too small to see, but you can test the joint by standing the boards up with their sprung edges together. Now try to swivel the top board. The points of contact at either end should provide enough friction to prevent this. If the top board swivels on the bottom one, you have a small lump somewhere. rip 1⁄16 in. off the sprung edge of one board, spring it again, then re-test the joint. If you still feel the swivel, re-joint the other board.
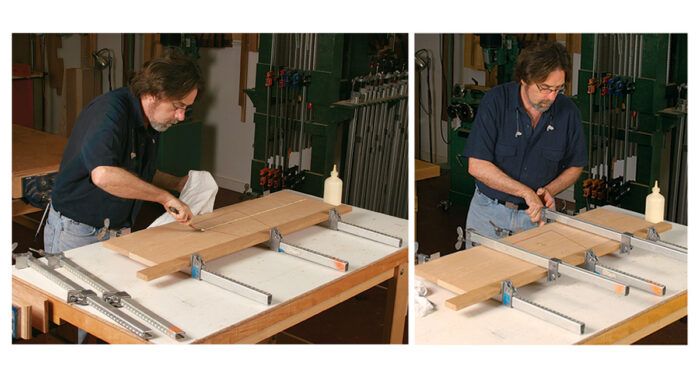
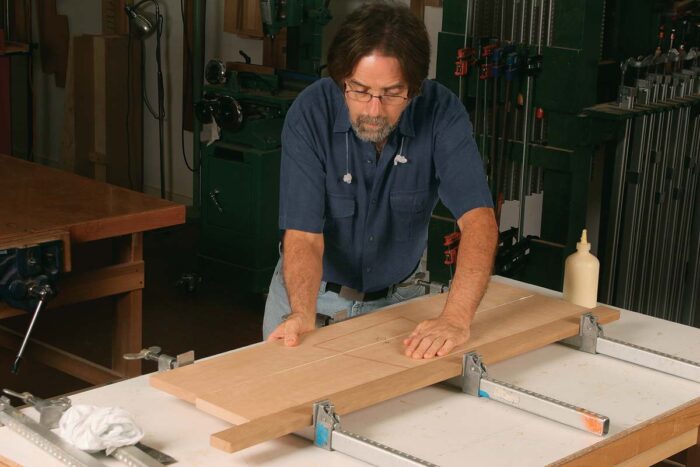 Level The Joints As You Glue Them Up
A properly made butt joint will be stronger than the wood itself, eliminating the need to add biscuits or dowels for strength. As a matter of fact, biscuits and dowels can sometimes hinder you from aligning the boards during glue-up.
For the full article, download the PDF below:
Fine Woodworking Recommended Products
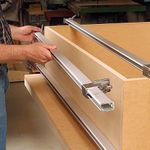
Dubuque Clamp Works Bar Clamps - 4 pack

Estwing Dead-Blow Mallet
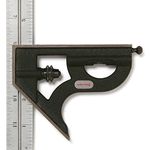
Starrett 12-in. combination square


Log in or create an account to post a comment.
Sign up Log in