How to Make a Simple Leg-Tapering Jig
Dedicated sled is dead-simple to build and use.
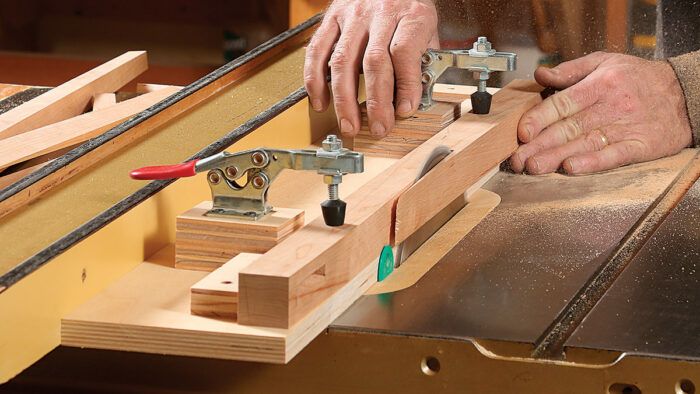
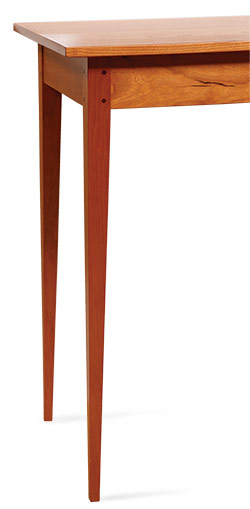 Synopsis: Tapered legs add elegance and lightness to the appearance of a piece, and there’s an easy, efficient, and safe way to cut the tapers using a dedicated jig. Tom McLaughlin’s tapering jig consists of a platform, some stops, and a couple of toggle clamps. Used on the tablesaw, it helps you to easily cut consistent tapers on multiple legs. It can also be used on the bandsaw.
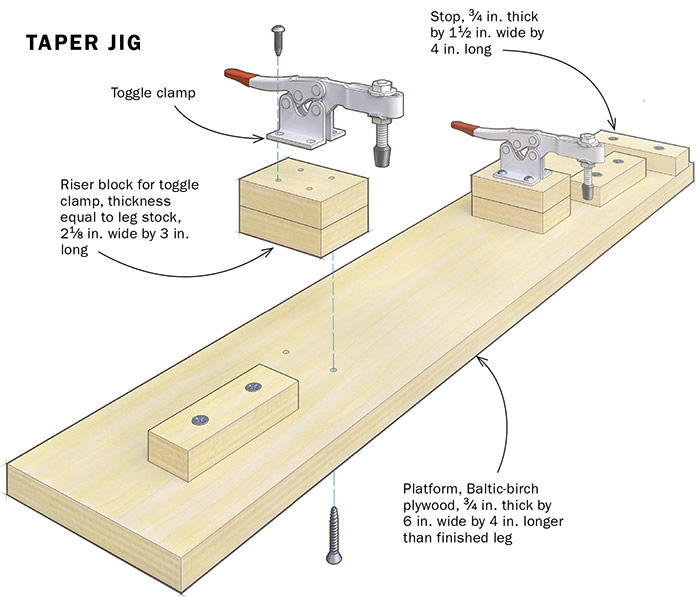
Tapered legs are a simple design choice that can dramatically affect the appearance of a piece. In most cases, when located at the corners of a table, legs are tapered only on their two inside surfaces. This produces a light and elegant look—not to mention the illusion that the legs are splayed, giving the table a sturdy and stable appearance. To get these results with greater efficiency, accuracy, and safety, I recommend a dedicated jig. The one I use is a breeze to make. It consists of a platform, some stops, and two toggle clamps.
To build the jig
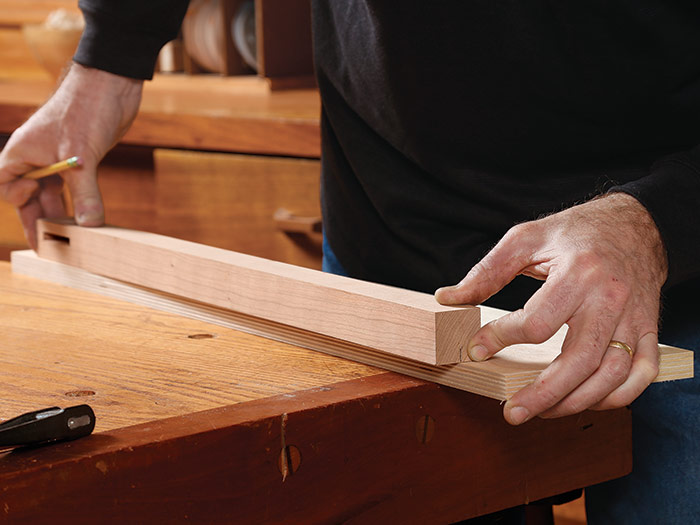
Start with a leg blank squared to its largest finished dimension, cut to length, and with its joinery cut. Then, on the end grain at the foot of the leg, lay out the end points of the tapers. Make your marks slightly outside the final dimensions. You’ll set up the jig to cut to these points and be left with a comfortable margin for handwork when you clean up and refine the taper.
For the sled’s platform, use 1⁄2-in.- to 3⁄4-in.-thick Baltic-birch plywood or another stable material, approximately 6 in. wide and 4 in. longer than the finished leg.
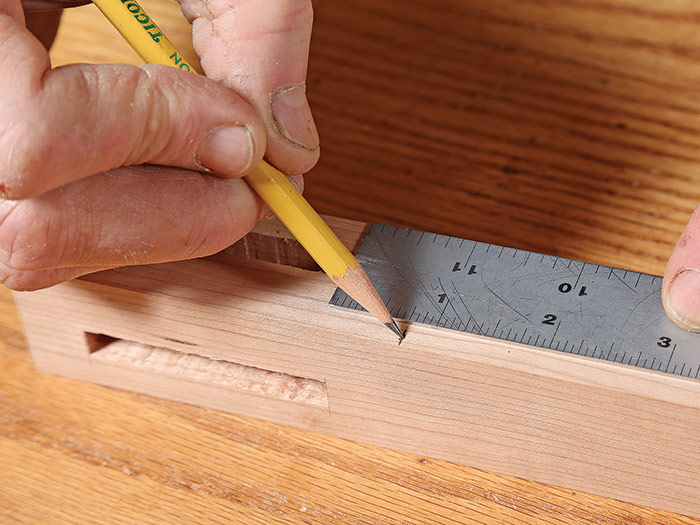
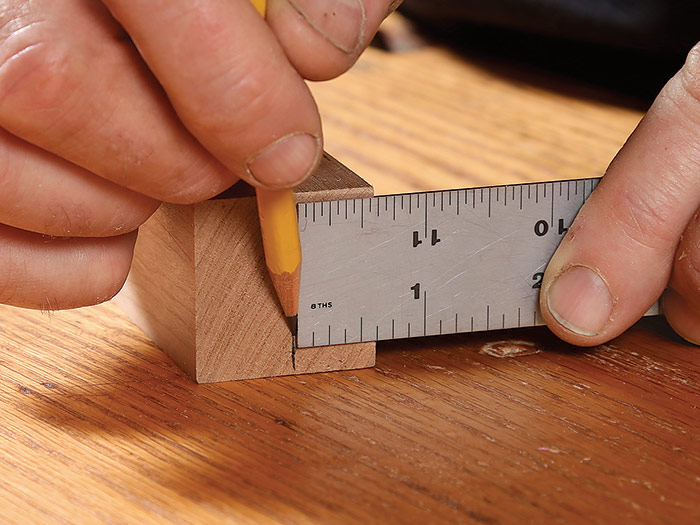
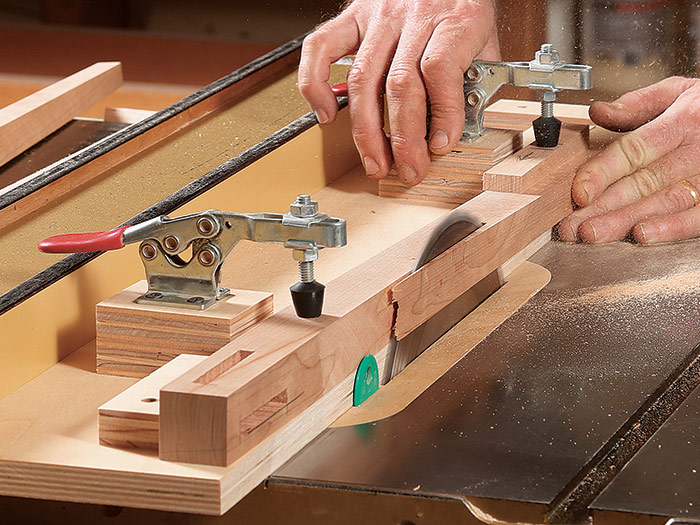
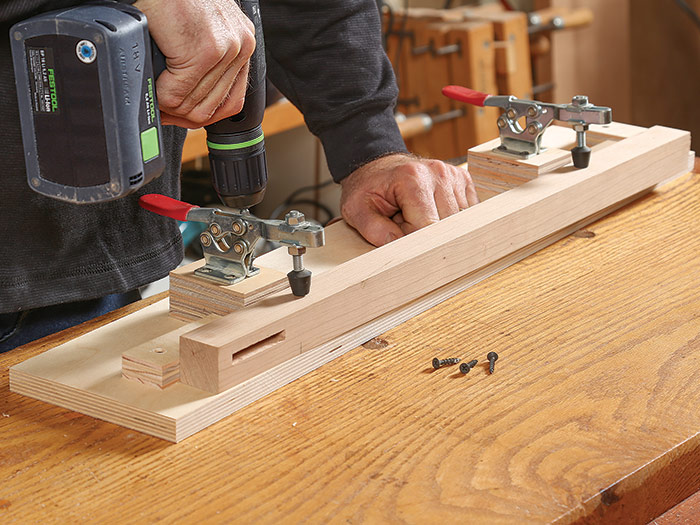
Now clamp the leg blank to the sled platform, with the material to be removed overhanging the edge. Position the top and bottom of the leg approximately 2 in. from the platform’s ends, with the top of the leg leading the cut.
With the leg clamped in place, add the three pre-drilled plywood stop blocks—approximately 3⁄4 in. thick by 1-1⁄2 in. wide by 4 in. long—that will ensure accurate repeatability. All three stops should be pressed up to the leg. Screw the stops in place. Now you can remove the clamps and leg from the platform.
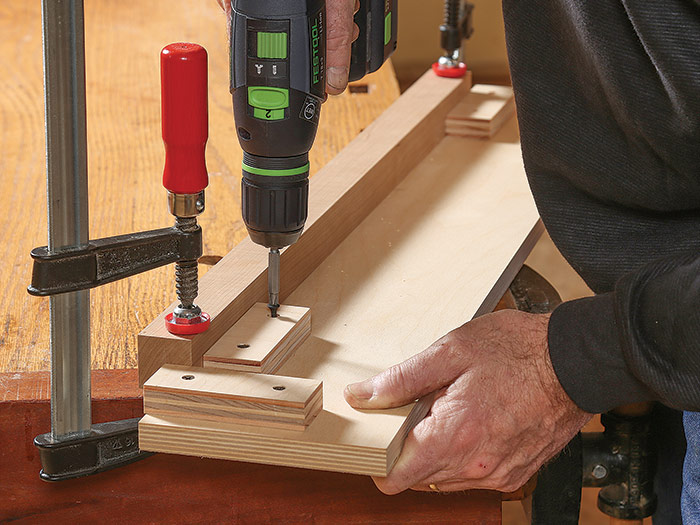
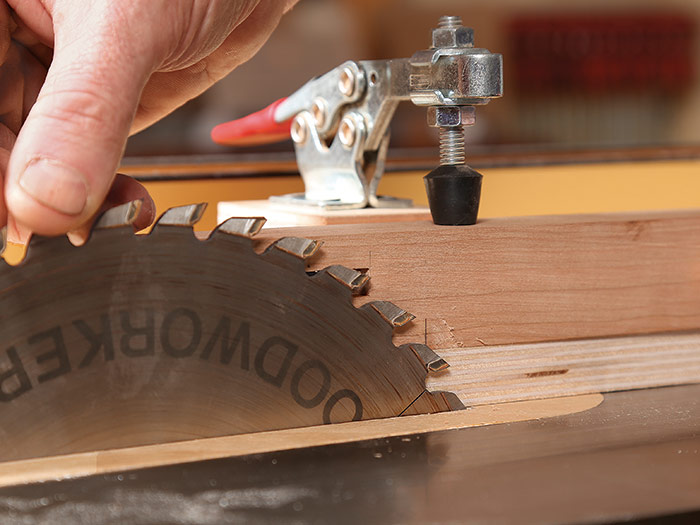
At this point, the leg can be quickly nested and placed against the stop blocks, but it won’t be secure. For that, mount two toggle clamps to riser blocks roughly the height of the leg’s thickness and secure them to the sled near the ends of the leg.
Using the jig
I prefer to use the sled on a tablesaw since it leaves the smoothest surface requiring the least cleanup, but you can also use it at a bandsaw. I recommend mortising the legs before tapering them. Not only does this spare you from cutting joinery on a non-square piece, but you also can use the mortises to confirm you’re tapering the correct faces.
Slip a leg into position and clamp it in place. The mortises should be at the leading edge of the jig, with one facing down and the other toward the sawblade. Now slide the saw’s fence to the edge of the jig platform so that the overhanging portion of the leg will be sawn during the rip. To confirm that the fence is where it should be, I turn the blade by hand to nick the leg to make sure the cut begins in the right spot or just past it.
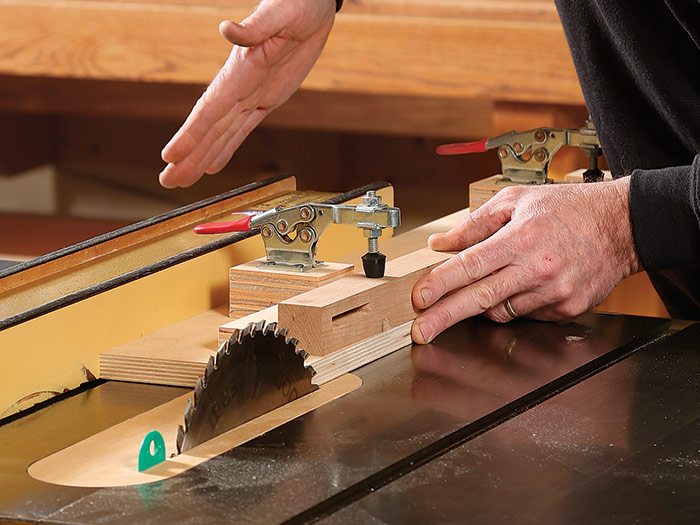
When feeding the jig though the cut, keep it tight to the fence, as if ripping a board. using a toggle clamp as a handle during this operation offers safety and good control. It is important to have the splitter in place so the jig cannot drift into the back side of the blade, producing kickback.
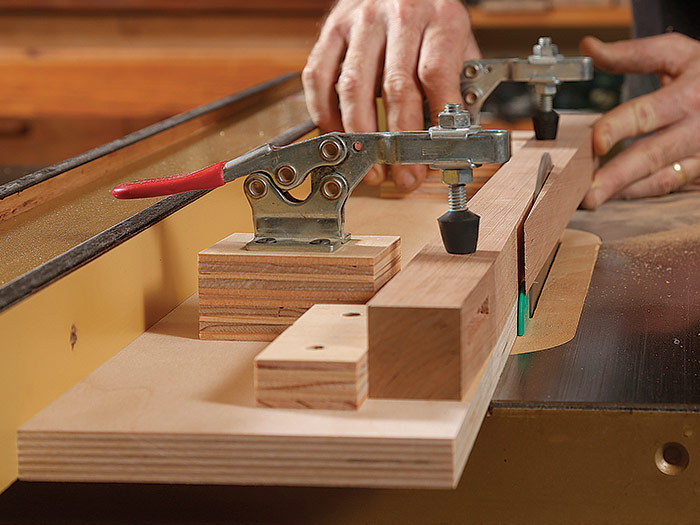
After cutting the first taper, rotate the leg clockwise so the other mortise is facing the sawblade and the taper is facing up. Snap down the toggles and repeat. note, however, after one side has been tapered, the toggle over the bottom of the leg will no longer touch when snapped into position. a spacer shim can quickly be made from the initial tapered cutoff.
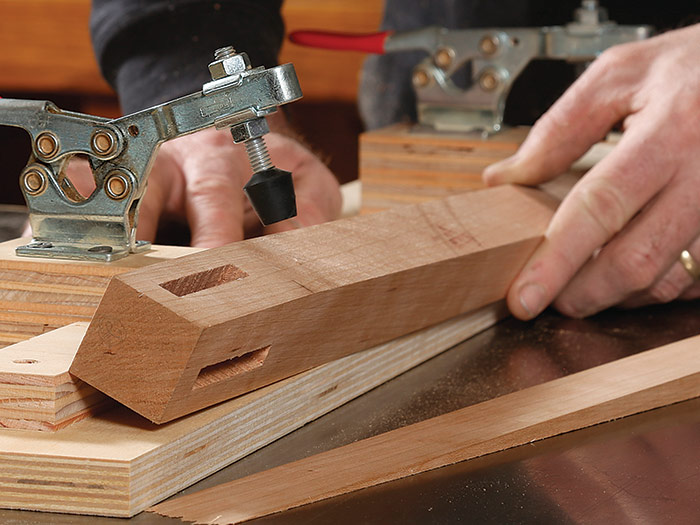
When all tapers are cut, handplane them to clean off any machine marks. Be careful here, though. Don’t extend the taper so far that you leave a gap at the bottom of the apron shoulder. Pencil a line where you want the taper to stop and then a series of scribbles below that to let you know when you’re nearing your line. also, take care to keep the tapered surfaces square.
See how Tom cleans up his tapers to perfection in this video.
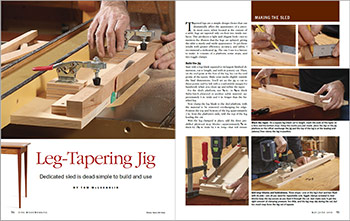
Drawing: Dan Thornton. From Fine Woodworking #268. To view the entire article, please click the View PDF button below:
More tapered leg goodness on FineWoodworking.com:
- Three Federal Legs – Power tools speed the process, banding adds style
- Splay-Legged Table – Straightforward design with a refined flair
- Build a Harvest Table – A quick, satisfying project with simple lines and loose-tenon joinery
- Perfect Tapers on the Tablesaw – Make tapered legs of all types, quickly and safely
Fine Woodworking Recommended Products
Ridgid EB4424 Oscillating Spindle/Belt Sander
Bosch 12V Trim Router
Fein Turbo II HEPA Wet/Dry Dust Extractor




Comments
For the second taper, I find that placing the cutoff under the first taper helps keep the top of the second taper square to the leg.
Log in or create an account to post a comment.
Sign up Log in