Attaching Solid-Wood Tabletops
Five ways to keep your top tight and flat through the seasons.
Synopsis: Since the very first table was built of wood, furniture makers have faced the challenge of holding a tabletop securely to its base while allowing it to expand and shrink with the seasons. Everyone has a favorite technique; here, Bob Van Dyke looks at five of the simpler methods, from shopmade to store-bought: figure-8 clips, screw pockets, table mounting clips, cabinetmaker’s buttons, and ledger strips.
All solid wood will move with the seasons. A board will increase in width as atmospheric humidity increases and shrink in width when the humidity decreases. Since the beginning, furniture makers have faced the challenge of holding a tabletop securely to its base while allowing for this movement.
There’s no shortage of techniques. Here I’ll show you a few of the simpler methods available, from shopmade to store-bought. In all cases, be absolutely sure that there is no chance of the screw even coming close to poking through the top. I have seen cases where the tip of the screw is so close to the surface that it creates a small dimple that’s visible when the top is viewed in raking light.
If there is any doubt in your mind, don’t hesitate to test the whole process on a mock-up top and apron rather than taking the chance of ruining a perfectly good top.
Screw Pocket
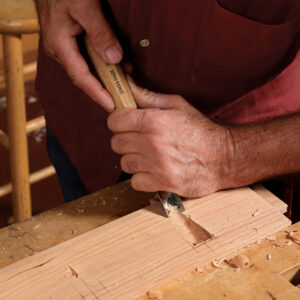
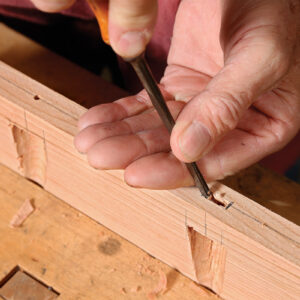
An angled screw in a pocket is one of the simplest and most traditional methods of attaching a top. A long tapered recess, or pocket, is cut into the inside face of the apron using either a flat bench chisel or a large carving gouge. Before you can cut the pocket, you must determine the pilot-hole angle.
To do this, decide how far you want the screw to project into the thickness of the top. This allows you to locate the screw head so that it seats itself near the center of the apron’s thickness. The pilot hole by itself does not allow for wood movement. You have to taper the hole in the apron to allow the screw to pivot. This method keeps the top tight all year long.
Cabinetmaker’s Buttons
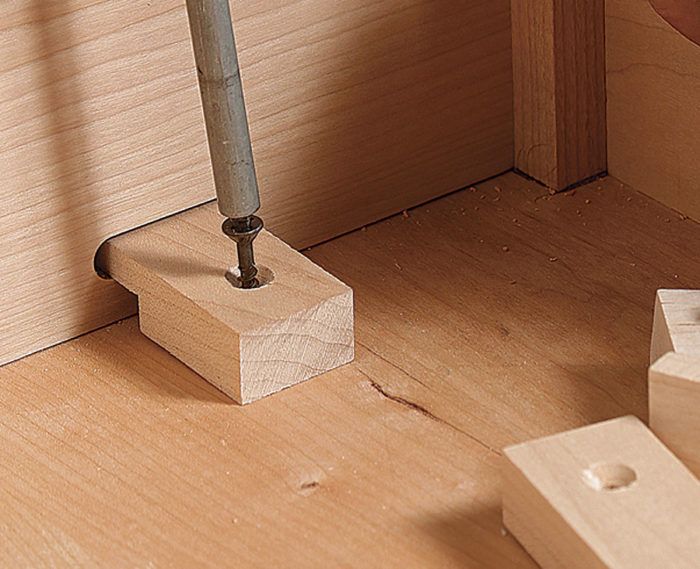
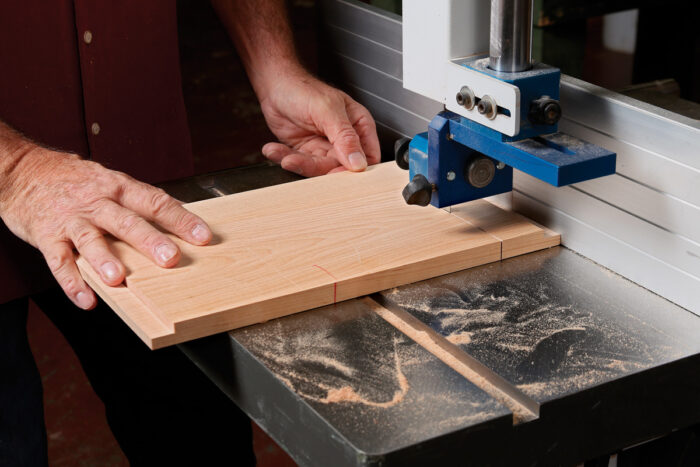
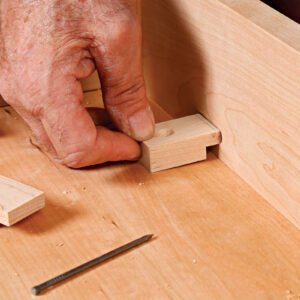
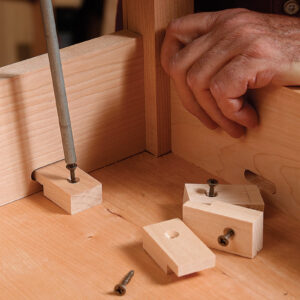
Shopmade buttons are strong and allow for plenty of wood movement. The buttons each have a tongue cut into the end grain that fits into a shallow mortise on the inside face of the apron. The tabletop is free to expand and contract while the buttons slide in their mortises. The buttons can be made quickly by cutting a rabbet on both ends of some hardwood stock. Cut the ends off at the bandsaw, and repeat the process. Last, drill a countersunk hole through each button.
Make the mortise a bit wider than the button and locate it so that the top of the button sits about 1⁄16 in. below the top of the apron. This forms a gap that will make the button pull the top down tightly to the apron as it’s screwed in place, and the side gaps allow it to move side to side as needed.
Ledger Strips
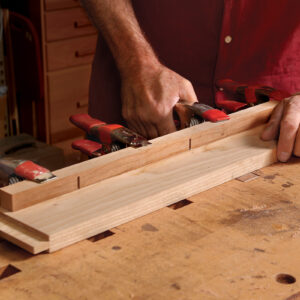
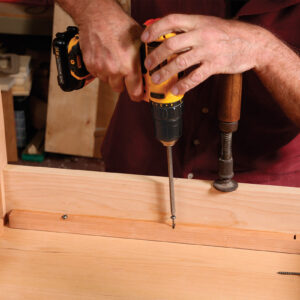
Another effective and low-tech method is to glue or screw ledger strips about 1⁄32 in. below the top edge of the inside face of the apron. Round-head screws are then driven into the tabletop from underneath. The pilot holes in the side apron ledger strips must be tapered (see p. 23) to accommodate the movement of the top from front to back. The back edge of the top is secured by cutting a few sawkerfs into the face of the rear ledger strip and then gluing that face to the apron. A screw through the center of each sawkerf will have complete freedom to pivot front to back with the seasonal movement of the top.
For the full article, download the PDF below:
Fine Woodworking Recommended Products

Starrett 12-in. combination square
Bessey EKH Trigger Clamps
Dubuque Clamp Works Bar Clamps - 4 pack




Log in or create an account to post a comment.
Sign up Log in