Scrapwood Project: Plane Shaving Ornaments
With this kid-friendly project, learn to make wonderful ornaments out of something most of us throw away.
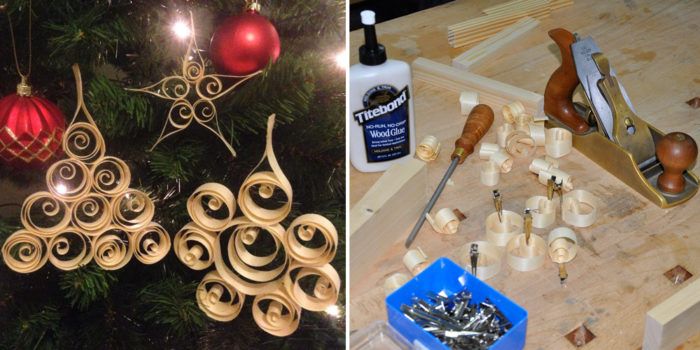
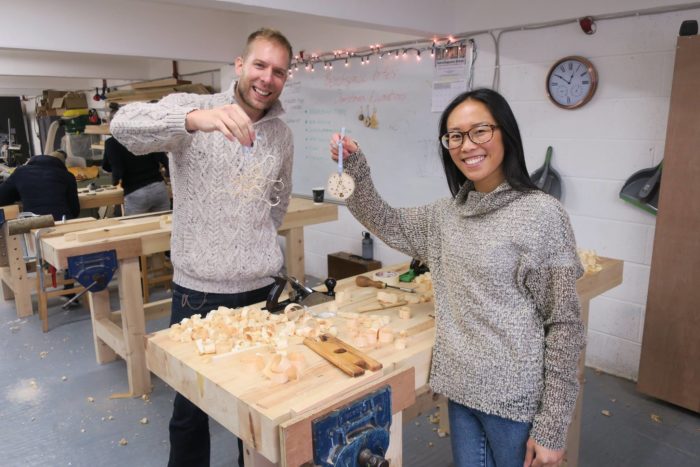
This project is a great way to share your passion for woodworking with the whole family. I have also used this project in my classroom as a way to grow students confidence in their abilities to adjust their handplanes. It’s as simple as using a bench plane and carefully controlling the chip breaker and mouth opening to produce curls that get glued together to create intricate designs. Once the plane is dialed in, everyone can give it a try and create an ornament which will grace the family tree for generations.
Start with the right stock
In my experience, this technique works best with Scots Pine or Sitka or Norway Spruce commonly know as White deal, though I have gotten good results from common radiata pine, a domestic wood available from the big box stores in abundance. Walnut and poplar also lend themselves well to the curls and can be used to bring contrast to your designs.
I start by milling my clear stock to my desired thickness.The thicker the timber the more of the blade is in contact, and given the fact that we are taking a thick cut, can make it difficult to plane. I usually mill up the stock to 3/4-in. (19mm) at lengths of 7-in (180mm) to 9-in (230mm).Feel free to experiment, even combining different thicknesses in a single ornament.
Grain orientation
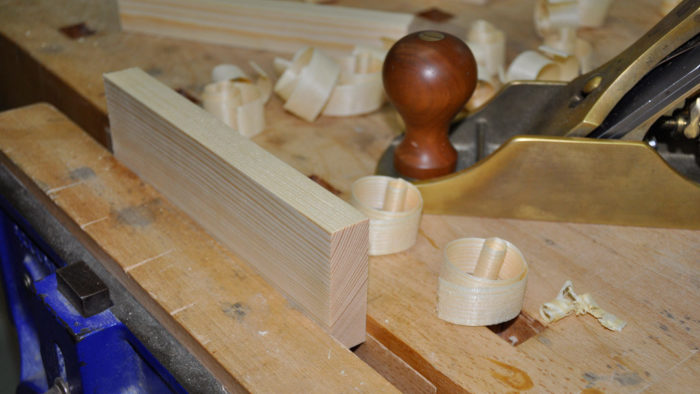
What’s important here is to take note of the stock’s grain orientation. Look at the end grain, here you should find the annual rings running into the planing edge at 90 degrees, this is the radial face. Planing the radial face is often times far more consistent than tangential. We’ll always want to have as much radial edge facing our plane’s sole as possible. This can create short grain but that helps add to the curl of the shaving.
Start shaving
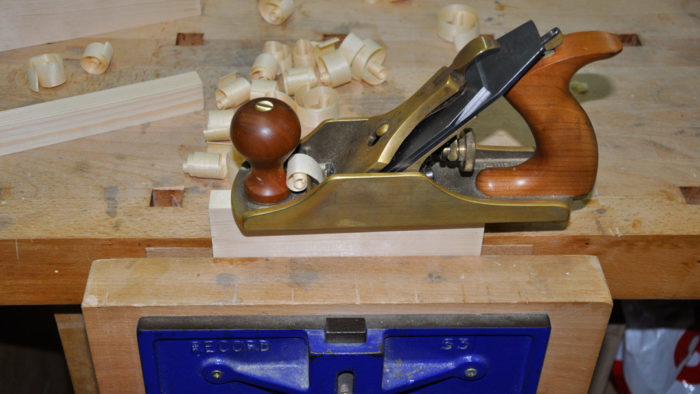
Next consideration is the chip breaker and frog adjustment. Different species and planes will require different settings. Too often, my own students are afraid to adjust their plane for fear they might irrevocably change it and never get it back to fine gossamer shavings. The more comfortable you become changing the setting on a handplane, the easier it becomes to get the settings you need next time.
In general, you will find that backing off the chip breaker allows one to take a heavier shaving. However, this will only work when in conjunction with the frog moved back as thicker shavings will clog the mouth opening. Take time here to explore various settings.
Once you have a perfect shaving–around 1/64-in. to 1/32-in. (0.3-0.6mm) in thickness seems to work best–you’re away for slates!
Time to get creative
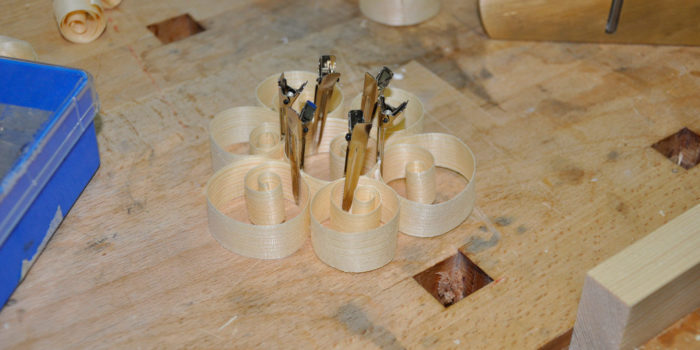
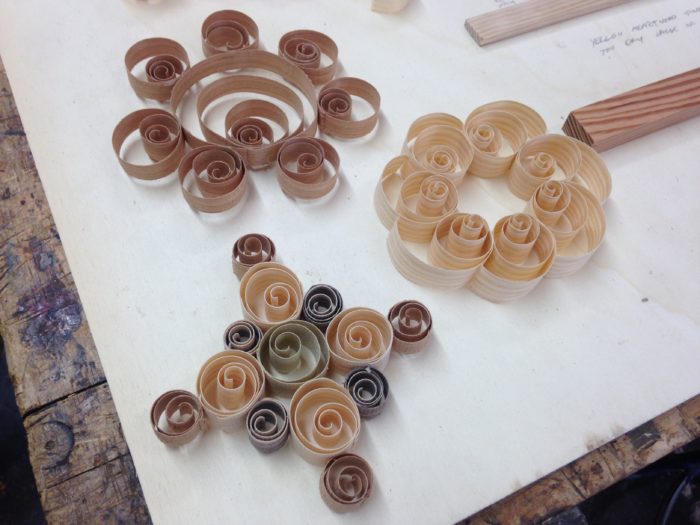
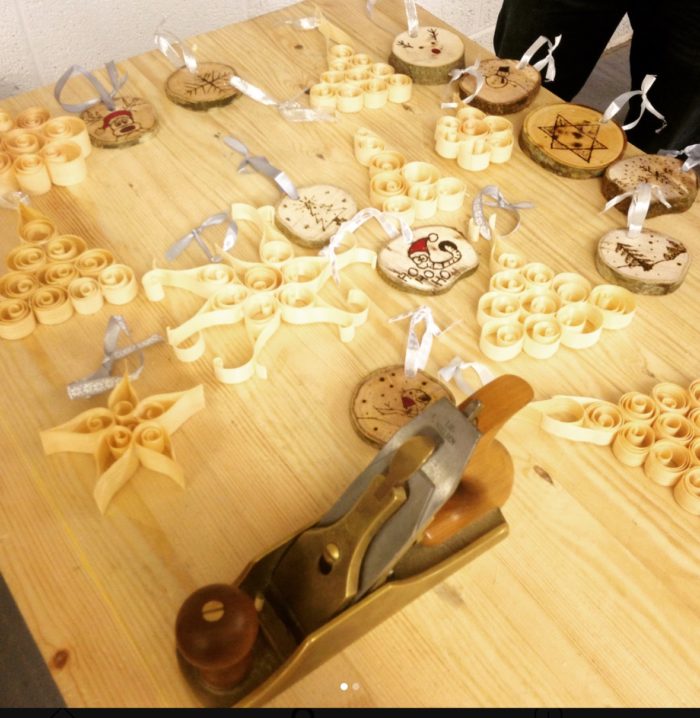
Now that you’ve got your curly handplane shavings, it’s as simple as creating patterns by gluing the shavings together. The cheapest, most effective clamps for this task are simple hair clips that can be bought in beauty supply store, and it’s best to use a quick setting glue like Titebond Quick and Thick. After a short time, you can start combining your shavings into larger ornaments. Finally, you can decorate them with some ribbon, glitter, string, and paint before you hang them on the tree.
–Seán Breen is professional woodworker and teacher in Galway, Ireland
Fine Woodworking Recommended Products

Suizan Japanese Pull Saw


Log in or create an account to post a comment.
Sign up Log in