Build a Sofa Table
An Arts & Crafts design with a contemporary twist.
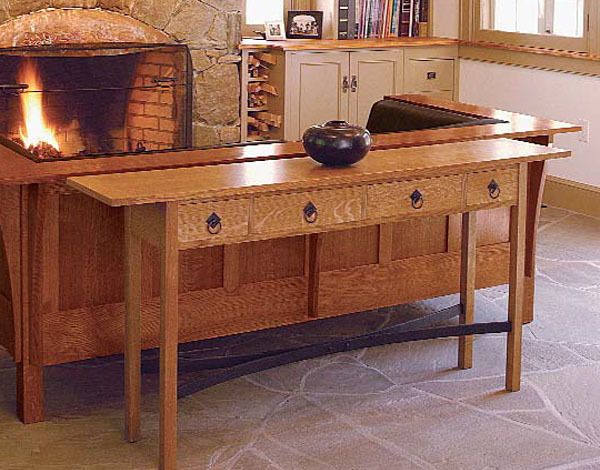
Synopsis: Here’s an Arts and Crafts sofa table with some exceptional details, including a unique steel stretcher system, quartersawn legs, double mortise-and-tenon joinery, and breadboard ends. Gibson offers a step-by-step explanation of the building process and detailed project plans, as well as information on how to find a blacksmith to produce the steel stretchers. A perfect piece of furniture for a narrow but frequently trafficked space, the table is 12 in. deep by 60 in. wide and won’t obscure the detailing on anything behind it.
A couple of years ago, some friends expanded their small farmhouse by adding a wing that included a new a living/dining room. At one end they built a big fieldstone fireplace and moved in a Stickley-style sofa. The back of the sofa faces the dining-room table a half dozen feet away. A narrow table at the back of the sofa would offer a convenient place to lay out food, plates, or serving utensils, but there was very little room to work with. The tabletop could be no deeper than 12 in. In addition, the base could not completely obscure the quartersawn oak panels in the back of the sofa.
This table was designed to fit that space. Its top is exactly 1 ft. deep and 60 in. wide, big enough to be useful but not wide enough to block traffic. Its drawers are shallow—just 3 in. deep inside—so the upper part of the table presents a low profile. To keep it from looking too spindly, I added a curved steel stretcher at the base. The table fits the spot perfectly, but it also could work in any long, narrow space, like an entrance hall.
Nothing about the construction is complicated, although two components—the legs and the steel stretcher—require more than their fair share of planning.
Making the legs
Gustav Stickley’s Craftsman furniture gets a good deal of its charm from its simple, rectilinear lines and the rays exposed on the radial face of the white oak he typically used. To make the legs, Stickley milled an interlocking profile into the edges of four pieces of 4/4 quartersawn stock and glued them together so the distinctive figure showed on all four sides. There is more than one way to make the legs this way, so choose an option that works best for you.
Cutting the base joinery
Milling leg pieces so that a radial face is exposed on each side takes time and patience, but the rest of the joinery in the table is straightforward. Apron pieces on the sides and back are joined to the legs with mortise-and-tenon connections. At the front of the table, two long rails connect the legs. Short dividers create the drawer openings. Here, the joinery is all mortise and tenon.
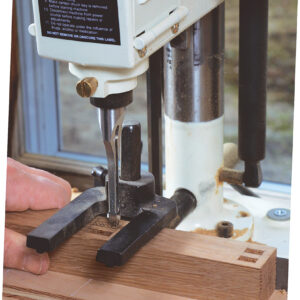
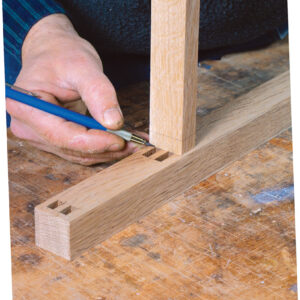
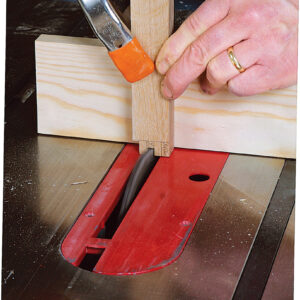
To make the drawer-rail assembly as sag-free as possible, the two rails are as heavy as I could make them: 3⁄4 in. thick and 1-1⁄8 in. wide. The double mortises on each leg for the bottom rail are 3⁄4 in. wide by 1⁄4 in. thick by 1⁄2 in. long. For the top rail, the mortises are 1⁄2 in. wide. The ends of the rails get a corresponding double tenon. With a single tenon, you easily can adjust a tablesaw jig with a piece of scrap until the tenon fits the mortise perfectly, then run off all of the tenons quickly. For a double tenon, that’s not possible. So lay out the joints on each piece and, using a miter gauge, cut the tenons by eye with a dado blade on a tablesaw. If you’re careful, the process is quick and accurate. At the very least, a dado sure makes it easy to remove the waste between the tenons—a chore when you’re chopping them out by hand.
Each of the three vertical dividers be-tween the drawers gets a stub tenon, 1⁄4in.thick by 9⁄16in. wide by 3⁄8in. long. This drawer assembly can be glued up in advance. But first, cut a biscuit slot in the back of the lower rail at each divider location.The slots will be used later for the drawer runners, and it’s easiest to cut them now.
Making the steel stretcher
Stickley furniture has mostly straight lines.This table does, too, but I thought a curved stretcher at the bottom of the table would relieve some of that monotony. Making itfrom a completely different material was appealing, too. My son, Ben, fabricated these two curved pieces from mild steel,heating the pieces in a coal forge and hammering them into shape over a pine log. The two
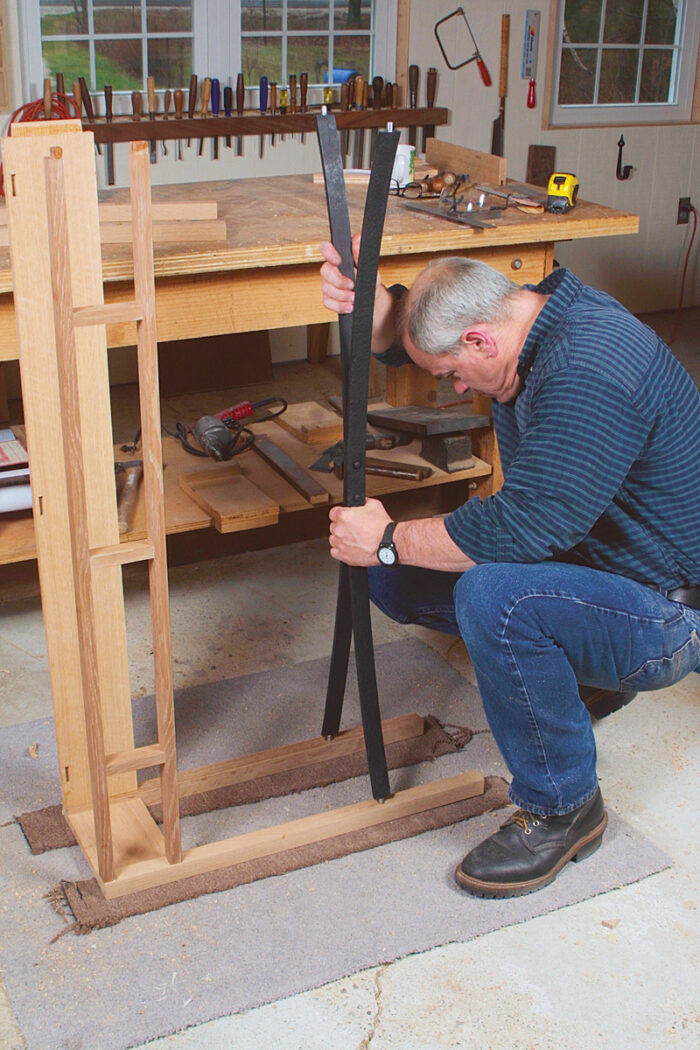
pieces are joined at the center by a pair of 1⁄4-in.steel rivets.
Ben had to make the stretcher fit exactly between the legs of the table base. To guarantee a good fit,
I drew the stretcher full scale on a piece of plywood. That gave Ben a reference against which to check his work. At the ends of the stretcher pieces,he formed 1⁄2-in.-long tenons that fit into mortises drilled into the inside faces of the legs. The stretcher is glued to the legs with epoxy. Finding a blacksmith to make parts such as this is not always easy, but a national organization of blacksmiths can help. This table also can be made using wooden stretchers.
Once the steel stretcher has been made,the parts of the table can be glued together.To make the glue-up manageable, the side aprons and the drawer-rail assembly should be glued together first. After that,the drawer-rail assembly, the long back apron and the stretcher are put together. A dry run, and an extra pair of hands, is a good idea. Once the glue has dried, add the drawer runners and horizontal dividers. I made these from poplar. They are glued to the inside of the drawer-rail assembly to create level, square openings for the four drawers.
Adding drawers and the top
The drawer fronts were cut from a single board to create continuous figure and col-or across the front of the table. Cut the 3⁄4-in.-thick drawer fronts first. They should fit flush into their openings. The poplar drawer sides, 3⁄8in. thick, are cut to width in order to slide perfectly into the openings. I handplaned the drawers to fit after they were glued up. To operate smoothly, they must fit their openings snugly.
The drawers come within 1⁄4in. of the rear apron. Small strips of poplar glued or screwed to the back of the runners stop the drawer fronts so they’re flush. Once the drawer sides and front have been cut out,cut a1⁄4-in.-wide groove around the inside edge, beginning 1⁄4in. up from the bottom edge. The back of the drawer is not as wide as the sides and is cut to stop at the top of the groove for the bottom.
These drawer bottoms are clear white pine, 1⁄4in. thick. Just about any material will do, including 1⁄4-in.-thick hardwood plywood. The bottoms should be oriented so that the grain runs side to side. Glue up the drawer box first, then add the bottom and secure it with a single screw set in the back. A slot in the bottom allows the pine to move seasonally without disturbing the dimensions of the drawer box.
Making the top and breadboard ends
I made the top from a plank roughly 7 in.wide by 10 ft. long. I cut it in half and edge-joined the pieces for a good match in figure and color. After the two pieces had been glued up and cut to finished size, I cut two breadboard ends 21⁄2in. wide and as long as the top is wide. A breadboard end is a wood cap that fits over haunched tenons on the end of a tabletop. I use them on tabletops because they are visually pleasing and keep the top flat.
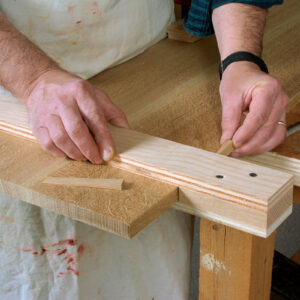
This table’s breadboard end is 3⁄4in. thick by 21⁄2in. wide by 12 in. long. On the table-saw, I plowed a 1⁄2-in.-deep groove in the center of one edge. This is the depth of the haunched tenon. Then, on the grooved edge, I marked the locations for three tenons 2 in. wide, then cut a 11⁄2-in.-deep mortise at each location. Transfer the marks from the breadboard end to the tabletop.
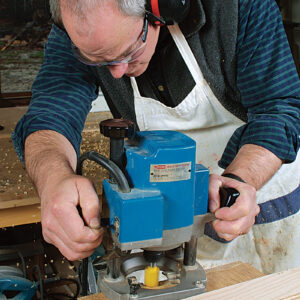
I used a router and a simple shopmade jig to make the tenons on the ends of the top. The jig ensured that the shoulder of the tenon would be int he same plane on each side of the table
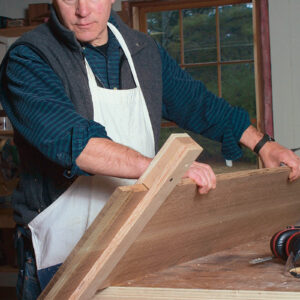
On the tenon, I extended the marks I’d made from the breadboard end and trimmed the tenons to width. I used a jig-saw for the inside tenons and a handsaw for the outside haunches. Finally, I fit the breadboard end to the tenons, trimming where necessary for a good fit.
On a wide top, each tenon can be pinned with a wood peg, but holes in the outer tenons should be elongated to allow for seasonal movement in the top. Because this top is only 12 in. wide, I used a single pin on the middle tenons.
This table is stained to the same reddish brown of the sofa. The stain color is a 50-50 mix of two Minwax stains, ipswich pine and puritan pine. The topcoat is Tried& True varnish oil.
From Fine Woodworking #162
For the full article, download the PDF below.
Fine Woodworking Recommended Products

AnchorSeal Log and Lumber End-Grain Sealer
Ridgid R4331 Planer



Log in or create an account to post a comment.
Sign up Log in