Mini Workbench Works Wonders
This benchtop model has all the features of a full-size bench.
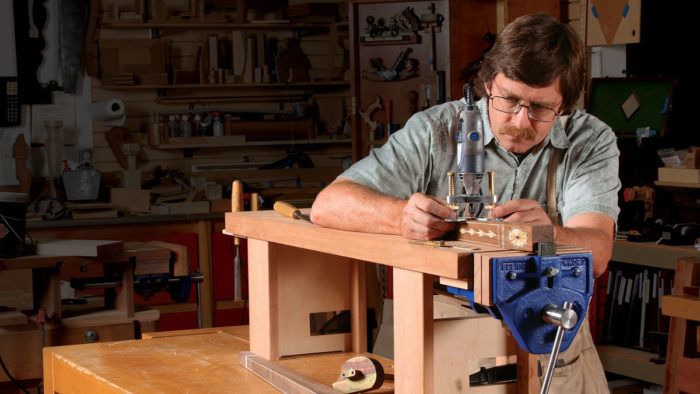
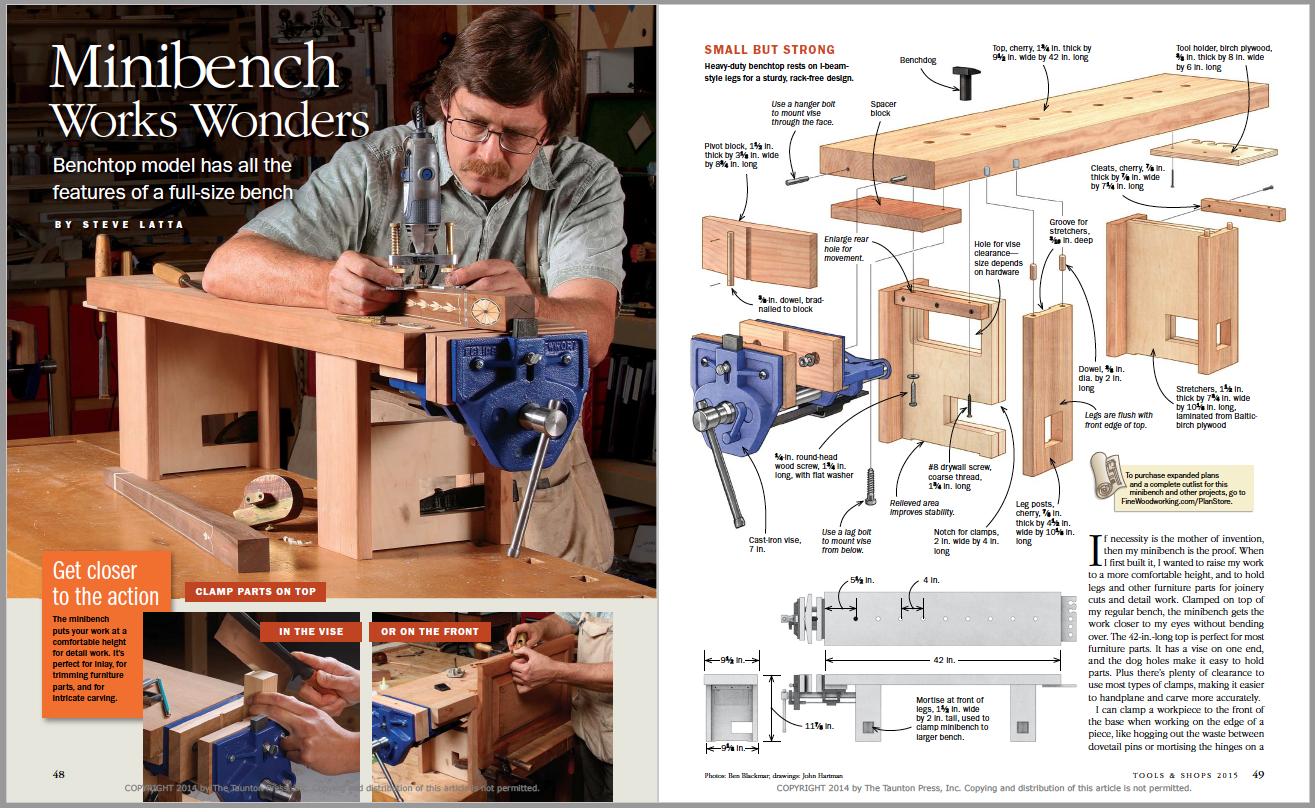
Synopsis: This mini bench by Steve Latta puts your work at a comfortable height for use with small power tools, hand tools, all kinds of joinery, and detail work. Clamped to the top of a regular workbench, it is the perfect length for most furniture parts. It has a vise on one end, and a row of dog holes for holding parts. There’s plenty of clearance below for clamps. The top rests on two strong I-beam legs. The legs are mounted flush with one side of the top so that you can clamp work to the side of the bench. Each leg assembly is mortised on the flush side so that the bench can be clamped to the top of your regular workbench. The leg closest to the vise has a clearance hole to make way for the vise hardware.
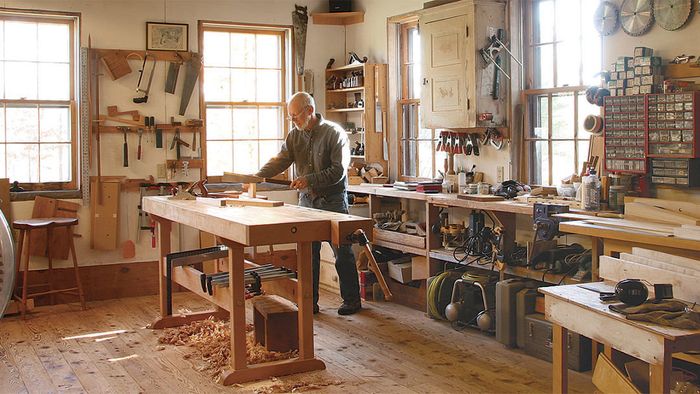
If necessity is the mother of invention, then my minibench is the proof. When I first built it, I wanted to raise my work to a more comfortable height, and to hold legs and other furniture parts for joinery cuts and detail work. Clamped on top of my regular bench, the minibench gets the work closer to my eyes without bending over. The 42-in.-long top is perfect for most furniture parts. It has a vise on one end, and the dog holes make it easy to hold parts. plus there’s plenty of clearance to use most types of clamps, making it easier to handplane and carve more accurately.
I can clamp a workpiece to the front of the base when working on the edge of a piece, like hogging out the waste between dovetail pins or mortising the hinges on a door. And a tool holder on one end helps me keep track of wayward tools. The small benchtop consolidates my work area, helping me stay focused on my task. Because the work area is limited, tools seem to get put back more often too, letting me work more efficiently. For all these reasons, this minibench has become my primary bench.
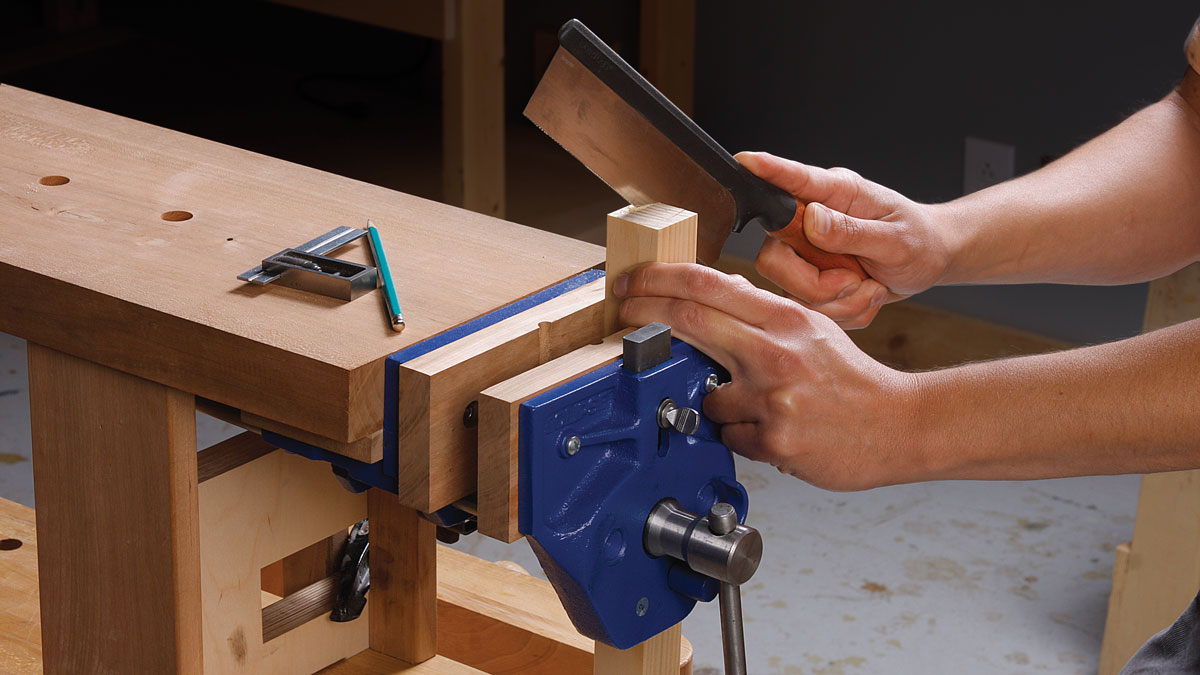
Pick a tough wood for the top
The benchtop is cherry, but most hardwoods will do. Ultimately, you need a wood that’s wear-resistant and tough enough for benchdogs and hold-downs. Mill the top to final dimensions, then drill the 3 ⁄4-in.-dia. holes for the benchdogs at the drill press. They should be centered on the top and spaced about 4 in. apart down the length.
I wanted this compact bench to have a vise, so I chose an Eclipse 7-in. quickrelease vise with a built-in benchdog—a must for holding long furniture parts like legs and rails. The quick-release makes for fast, easy adjustments. Mount the vise so that the jaws are 1⁄16 in. below the top of the bench, to protect you from dulling your sharp tools on the metal jaws. Set the height of the vise by using a spacer block mounted under the benchtop. The thickness of the block will depend on the vise you use. After gluing on the spacer block, you can install the vise.
Video web extra: Mini Workbench Makes Detail Work Easier
Photo: Ben Blackmar
 From Fine Woodworking #244
For the full article, download the PDF below:
Fine Woodworking Recommended Products
Tite-Mark Marking Gauge
Woodriver Circle Cutting Jig

Estwing Dead-Blow Mallet


Comments
I built this some time ago and it is a great addition to the shop. Being able to have detail work at a height where you don't have to bend over is really helpful, especially if the work takes a fair amount of time. The bench doesn't take up much space, but it's easy to move if you need to do so.
I built this earlier this year and wonder why I didn’t think of it myself :)
I love using it.
I also built one when this article was first published. For us older guys this is great for the back and great for the eyes; especially if you're wearing varifocal glasses, this arrangement helps you get your work in the right part of the lenses for the best close-up view.
I have been enjoying a tall perch stool for close-up work, and am constantly learning how to adjust the work, my body, and my tools for maximum effect and minimal strain, but the best thing I've found for my back has been adjusting my posture and strengthening my core muscles. I took great inspiration and instruction from Esther Gokhale's 8 Steps to a Pain Free Back, which includes photos from her years of investigations into posture and it's relationship to back pain. That, Aikido, and yoga have put joy back into all my work (I'm 62, and had chronic back issues from childhood.)
I'm very impressed with every article Steve Latta writes, I really like his ideas.
I too purchased the plans for this amazing bench. I take it everywhere I need to do woodworking, you never know when you need a good bench. You may find mine clamped to my pick-up tail gate. Love it! Thanks Steve
Log in or create an account to post a comment.
Sign up Log in