Make Drawer Dividers for Your Tools
Easy-to-make drawer dividers keep tools safe and secure.

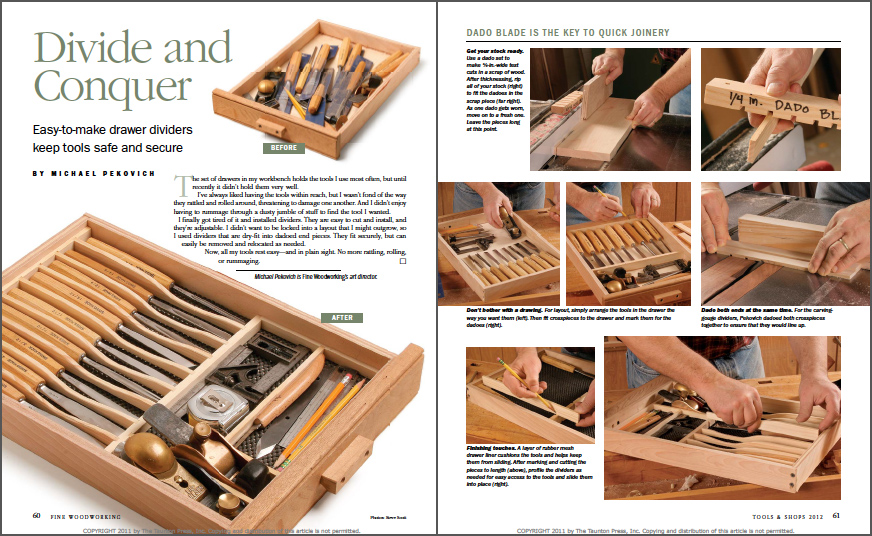
Synopsis: If you have a bunch of tools rattling around in your workbench drawer threatening to damage one another (or you when you reach for them), it’s time to install some dividers. These are easy to cut and install, and adjustable so you can change the layout when you want to. Dry-fit into dadoed end pieces, they fit securely but can be removed and relocated as needed.
The set of drawers in my workbench holds the tools I use most often, but until recently it didn’t hold them very well.

I’ve always liked having the tools within reach, but I wasn’t fond of the way they rattled and rolled around, threatening to damage one another. And I didn’t enjoy having to rummage through a dusty jumble of stuff to find the tool I wanted.
I finally got tired of it and installed dividers. They are easy to cut and install, and they’re adjustable. I didn’t want to be locked into a layout that I might outgrow, so I used dividers that are dry-fit into dadoed end pieces. They fit securely, but can easily be removed and relocated as needed.
Now, all my tools rest easy—and in plain sight. No more rattling, rolling, or rummaging.
Dado blade is the key to quick joinery
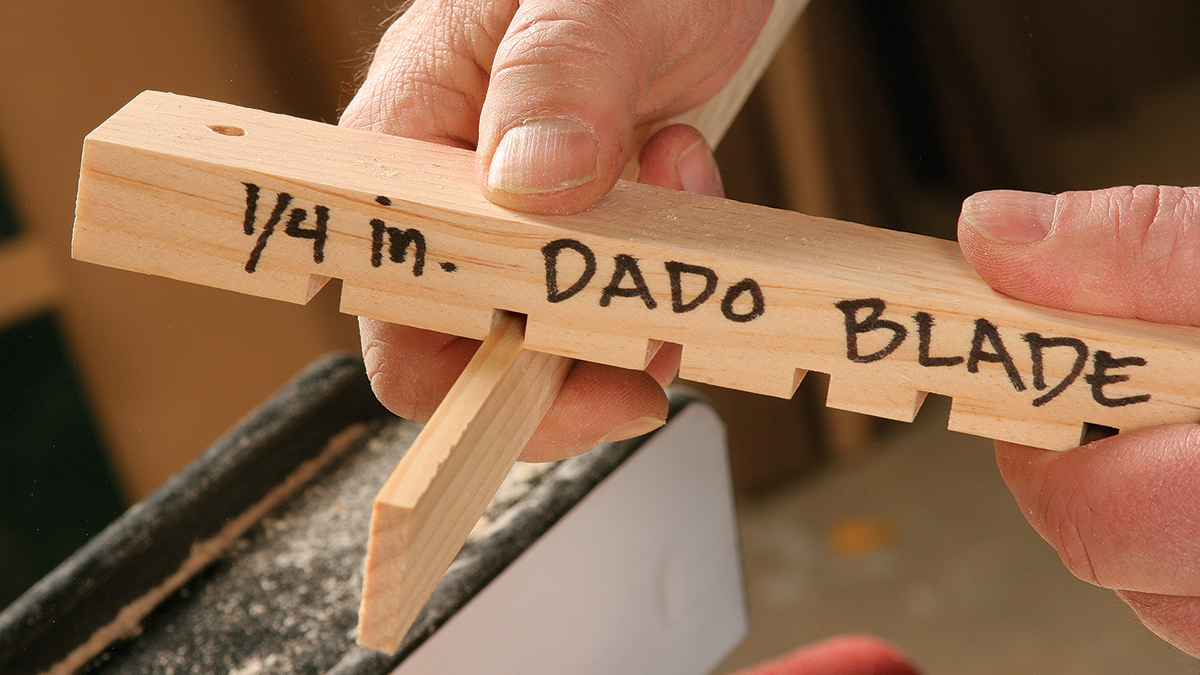
Get your stock ready. Use a dado set to make 1/4 -in.-wide test cuts in a scrap of wood. After thicknessing, rip all of your stock to fit the dadoes in the scrap piece. As one dado gets worn, move on to a fresh one. Leave the pieces long at this point.
Don’t bother with a drawing. For layout, simply arrange the tools in the drawer the way you want them. Then fit crosspieces to the drawer and mark them for the dadoes.
Dado both ends at the same time. For the carving-gouge dividers, Pekovich dadoed both crosspieces together to ensure that they would line up.
Finishing touches. A layer of rubber mesh drawer liner cushions the tools and helps keep them from sliding. After marking and cutting the pieces to length, profile the dividers as needed for easy access to the tools and slide them into place.
From Fine Woodworking #223
To view the entire article, please click the View PDF button below.
Fine Woodworking Recommended Products
WoodRiver Router Bit Storage Case

Woodriver Rechargeable Desiccant Bag




Log in or create an account to post a comment.
Sign up Log in