How to make banding
Pete Michelinie's shares his techniques for creating a timeless furniture element.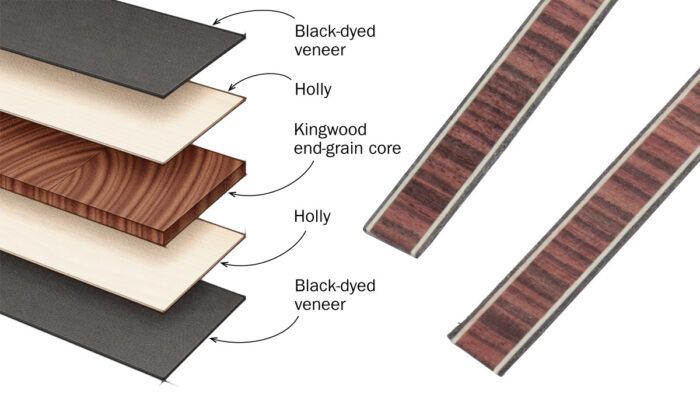
If you’ve never made banding before, this is a great pattern to start with. For one, the design is versatile. It also incorporates skills used in other patterns, such as working with end-grain parts to yield a balanced pattern, effectively gluing up a laminated brick, and safely ripping the brick into thin strips at the tablesaw. This pattern uses kingwood for its central strip, and holly and black-dyed veneers for the thinner outer strips. The white and black highlight the kingwood nicely.
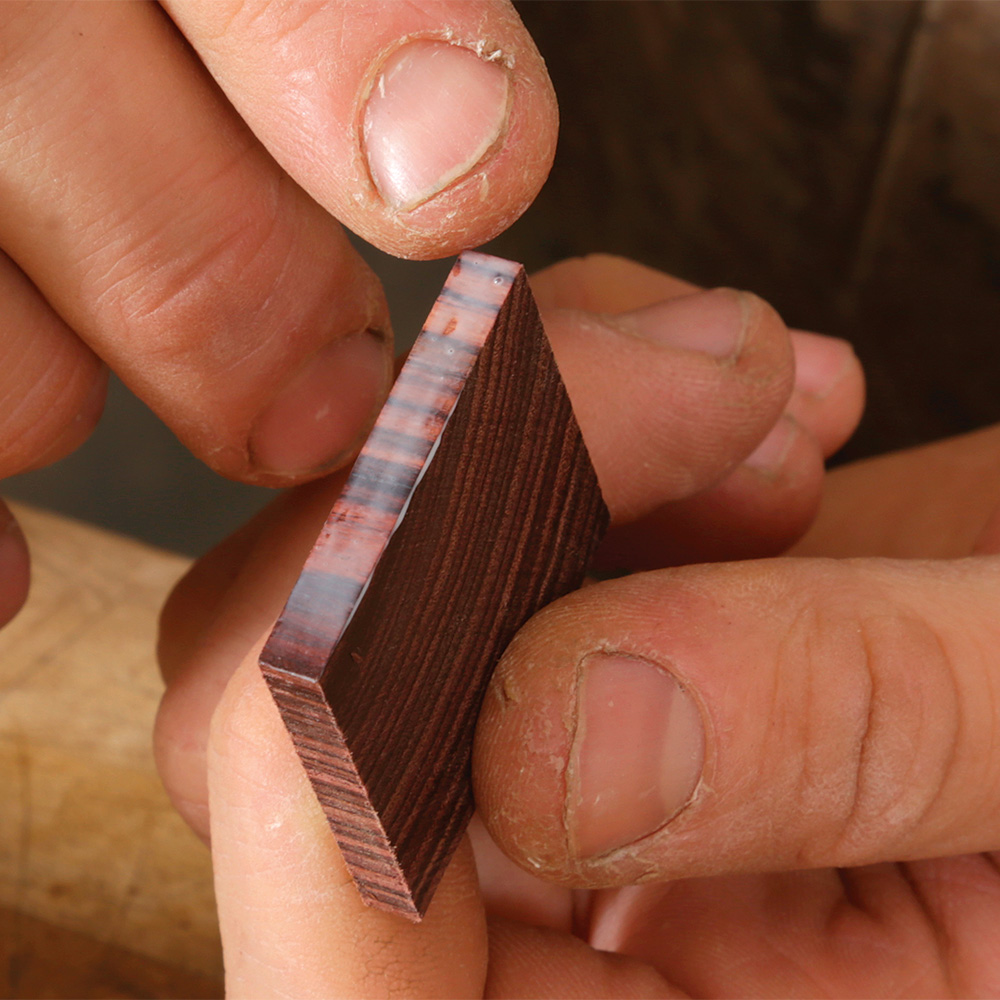
Start by milling the cross-banding’s central strip. I went with kingwood, of the rosewood family, because of its variegated color. I milled up a stick of kingwood 1-1/4 in. sq. by 12 in. long, and then I crosscut slices from it. The thickness of the slices determines the width of the cross-banding’s core. For this banding, that’s 3/16 in. Use a clean and sharp sawblade for best results.
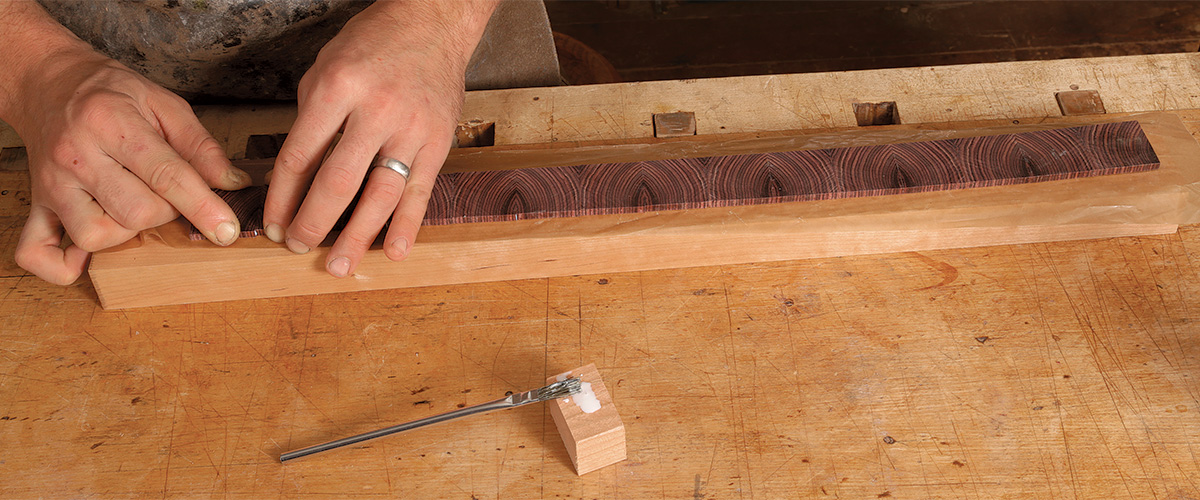
Lay these end-grain squares side to side, being sure to keep them oriented and in order. Flip every other piece edge for edge, like a book-match. This will help balance it visually. On a strip of waxed paper, glue these squares to each other, edge to edge, using a little yellow glue and a rub joint. Stop once you have a length slightly greater than the longest single run of banding.
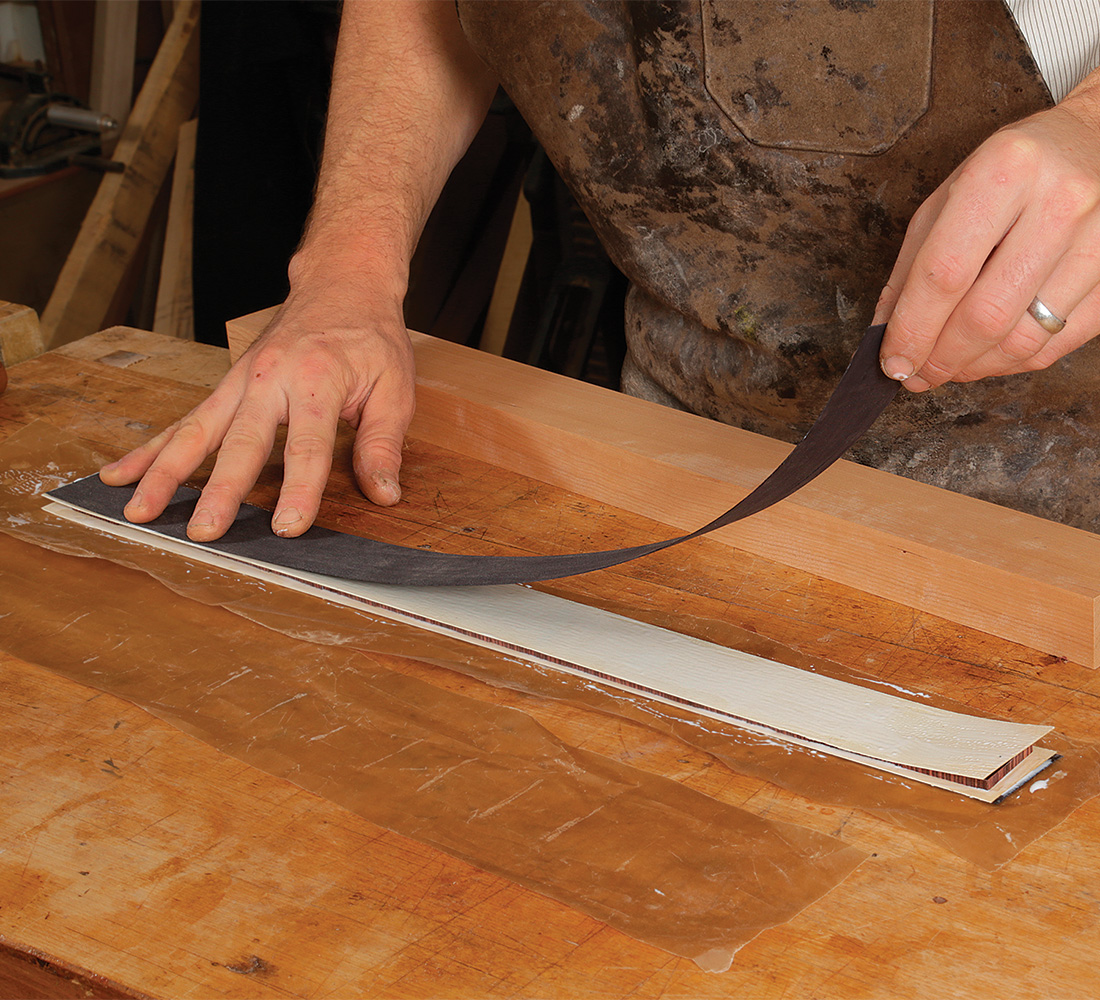
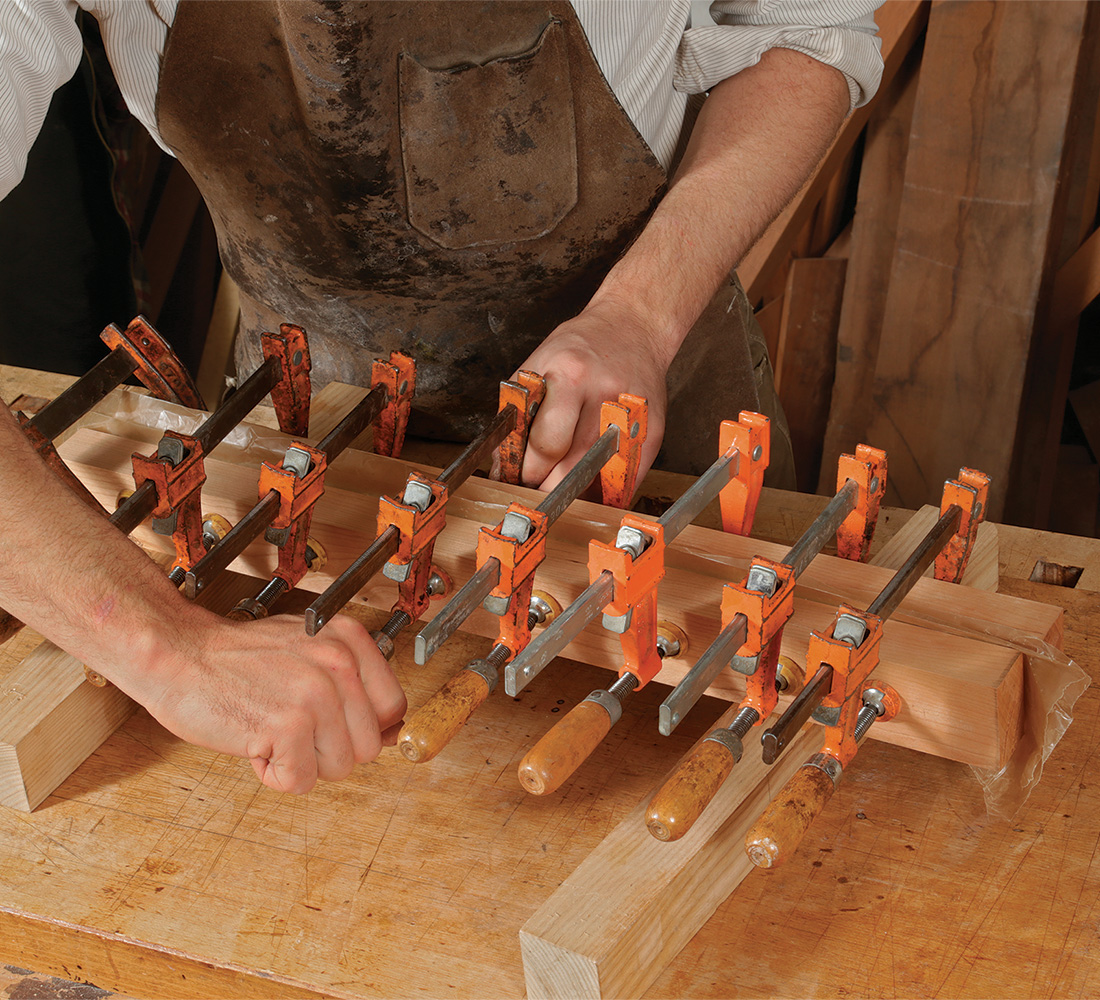
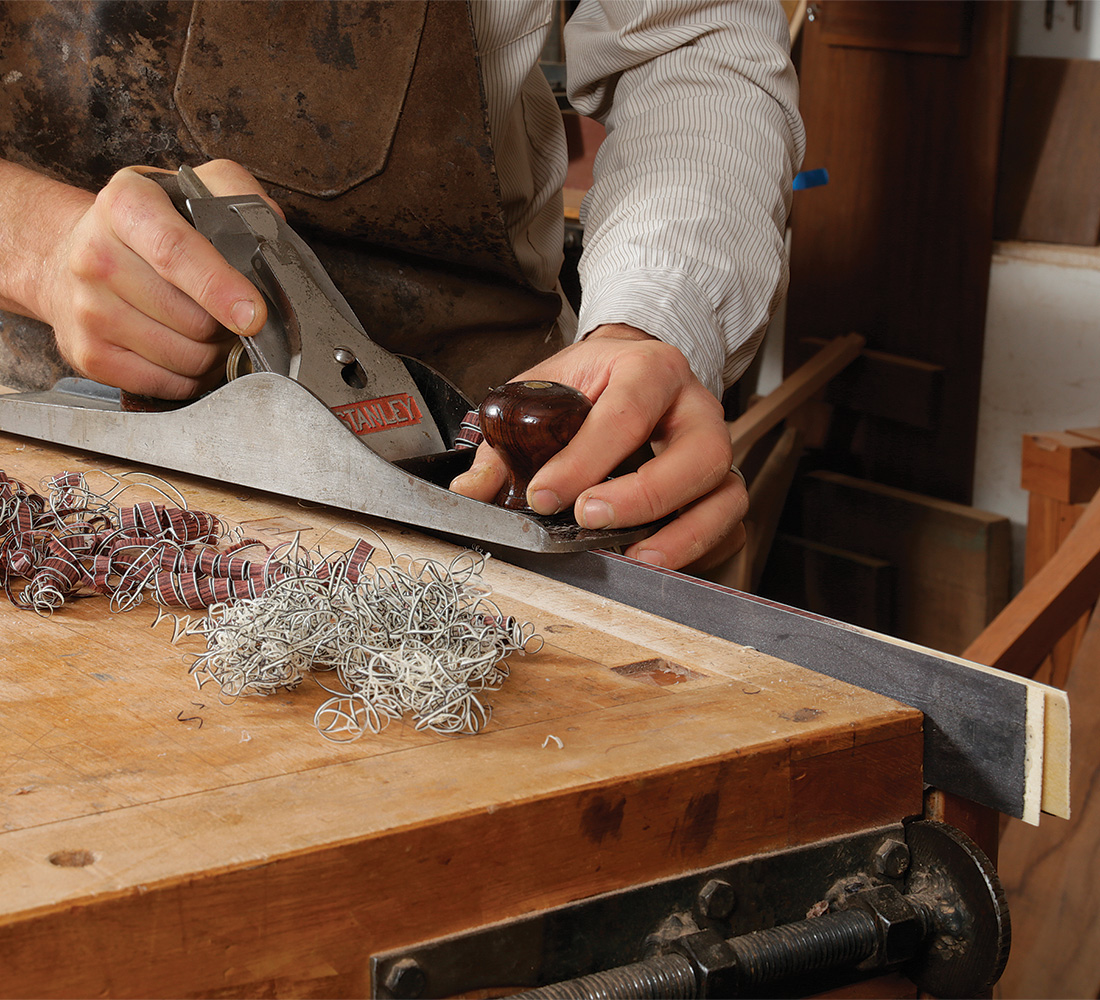
Now comes the intermediary step: laminating the brick. Carefully sandwich this delicate length of end-grain squares between two pieces of holly and black-dyed poplar veneers. I prefer to have the holly touching the kingwood and the black poplar on the outside. Glue up this brick using yellow glue and make sure to clamp well using cauls. You don’t want variation in its thickness. Once it has dried, handplane the edges flat and admire the first view of your handmade cross-banding.
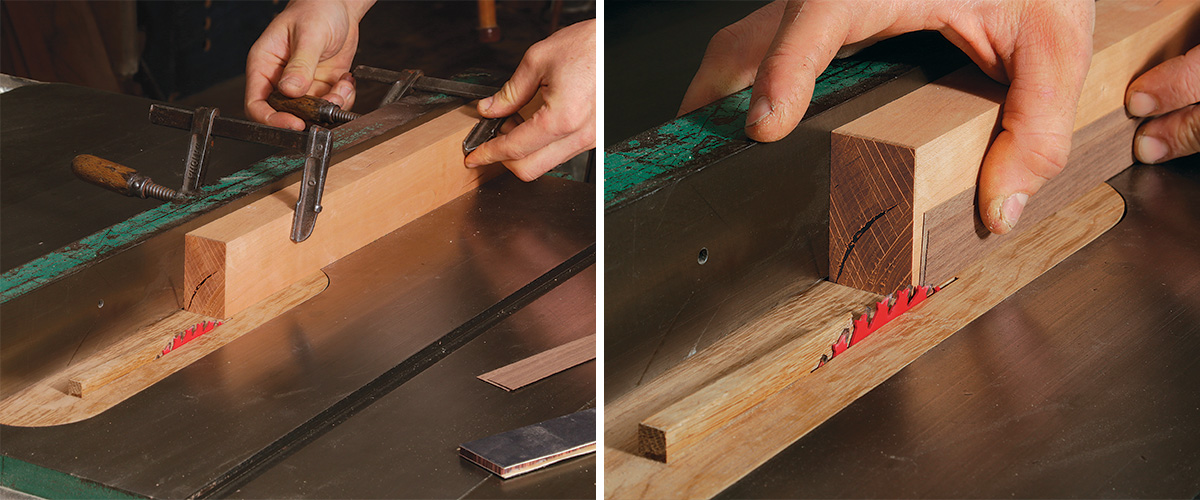
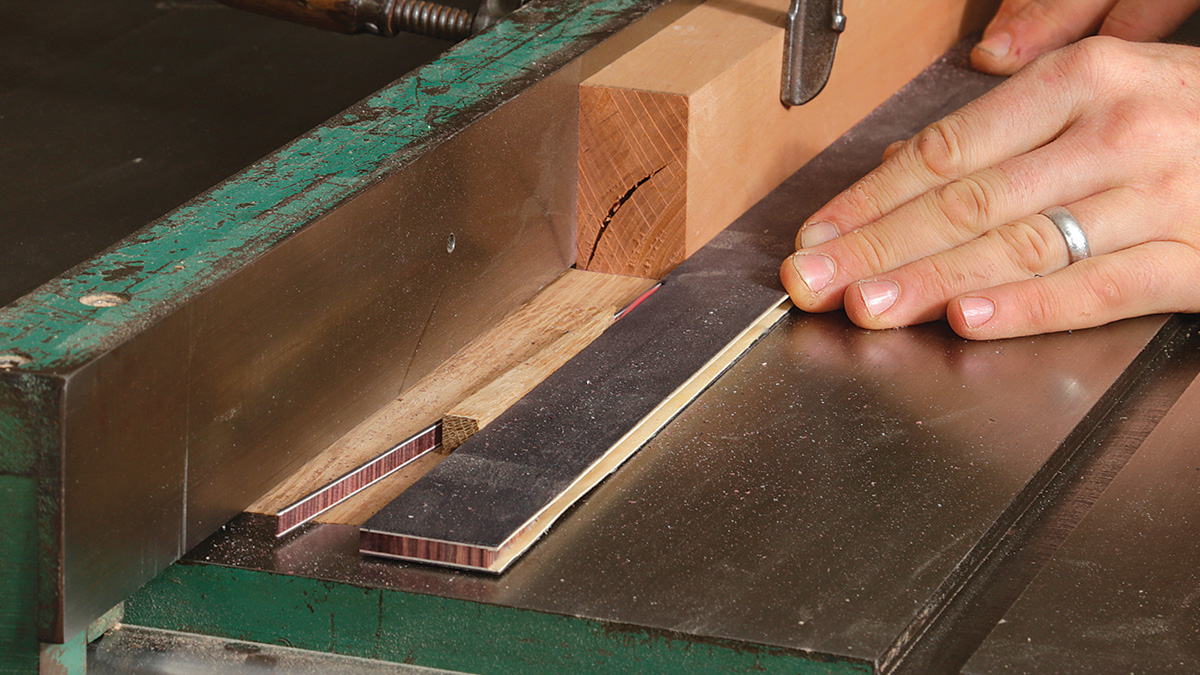
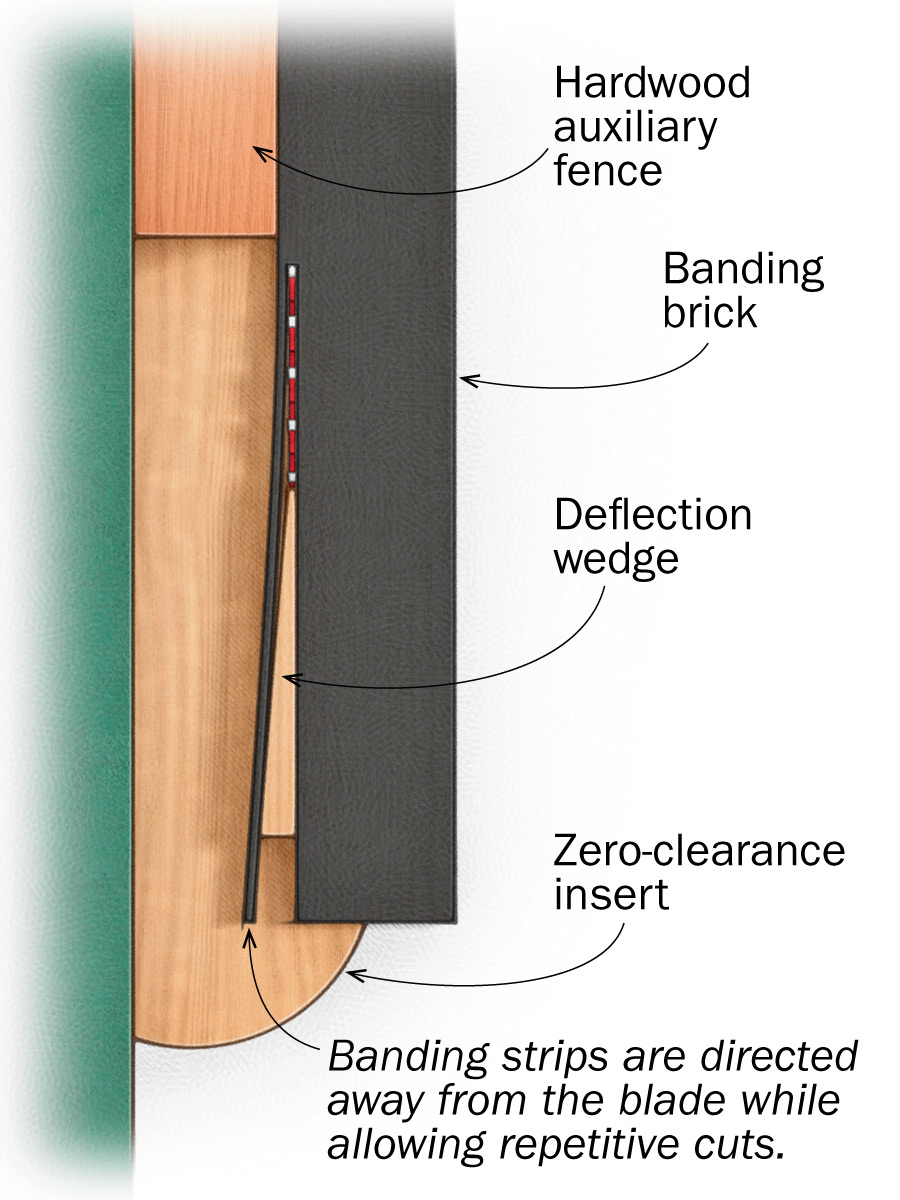
Head over to the tablesaw and, using an auxiliary fence and an insert plate with a deflection wedge, cut the banding. This setup directs the thin strips away from the blade while also allowing you to make repetitive cuts. Use a thin-kerf blade to minimize waste, and set your fence to give you banding that is between 1/32 in. and 1/16 in. thick.
 |
Make Your Own Bandings |
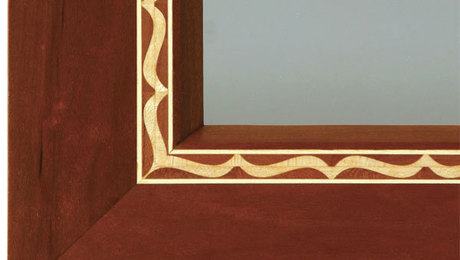 |
Router-Made Bandings |
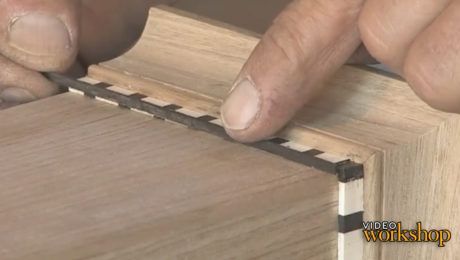 |
Decorative Details: Molding and Banding |
Fine Woodworking Recommended Products

Bahco 6-Inch Card Scraper
Whiteside 9500 Solid Brass Router Inlay Router Bit Set






Log in or create an account to post a comment.
Sign up Log in