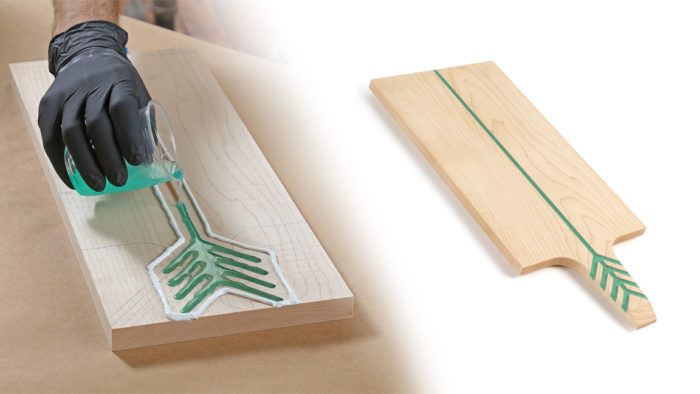
How to create dramatic inlays with epoxy
Add a bit of pigment for a bold inlay statement
Synopsis: Epoxy resin makes a great inlay material because it allows you to create delicate, complicated patterns without having to cut and match delicate, complicated inlay pieces. Here, Christopher Moore explains how to use resin to create stunning inlay and expand your design horizon. From issue #267—Mar/Apr 2018
In 2011, I started a furnishings company called Noble Goods with the help of my wife, Molly. We wanted to explore new materials and make functional objects for the home. I had just ended a six-year stint at a company specializing in cast resin furniture, interior architectural surfaces, and decor. The furniture and home goods we wanted to make were an opportunity to combine our passion for design and woodworking with the knowledge of pourable plastics I had gained on the job.
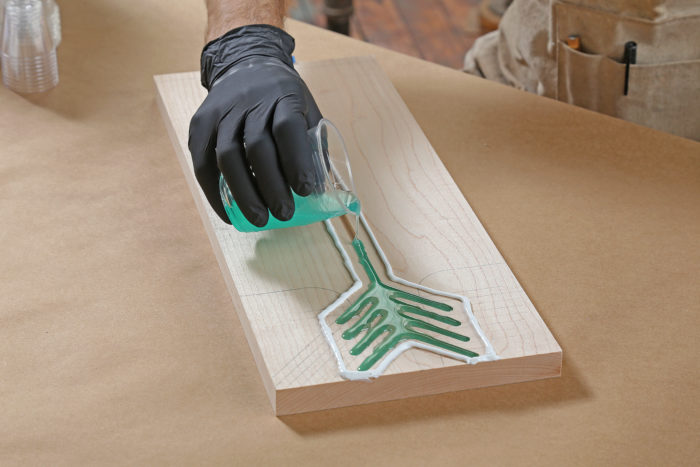
Resin is a wonderful inlay material. You can create delicate patterns without the worry of having to cut and fit matching, delicate inlay pieces. Instead, after drawing and cutting “mortises” for the resin, just pour the resin and watch as it fills the voids. You have an unlimited choice of colors, and the resin can be as translucent or opaque as you’d like. There really are no limits on the designs possible with resin inlay. It’s also a lot of fun, even magical at times.
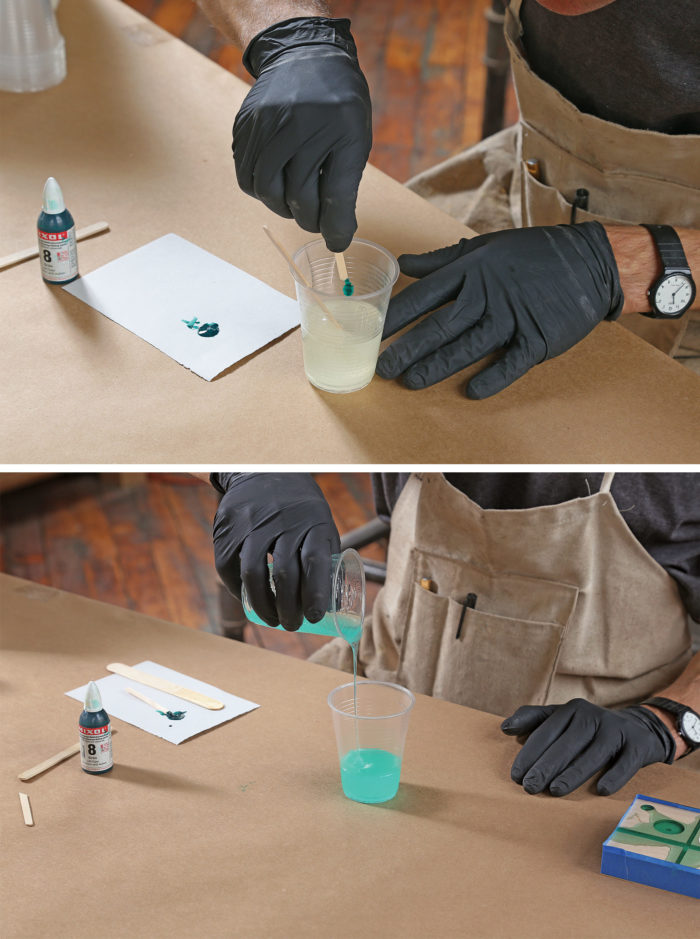
I have seen some dramatic failures with resin inlay, both my own and those of friends. Improper setup times, incomplete hardening, bubbles, shrinkage, colors gone wrong—all are potential pitfalls. But they can be avoided. I’ll show you how to mix resin (I prefer epoxy) and add color to it, as well as demonstrate how to pour it cleanly and clean up after it has cured.
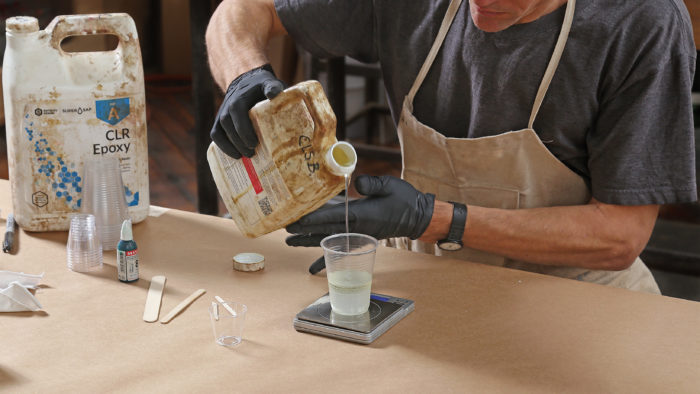
The three most common types of resin are polyurethane, polyester, and epoxy. All three require careful mixing or they will set too quickly, only partially, or not at all. They each have great benefits, but I’ve found that epoxy is best suited as inlay material in wood. It doesn’t react dramatically with the moisture present in wood, it’s durable, and when sanded properly it can be finished with a variety of topcoats, wax, and food-safe oils like mineral oil. Finished in one of these ways, epoxy is beautiful. It is also relatively odorless, and less dangerous during application than other types of resin.
I use an epoxy from Entropy (entropyresins.com) most often. I mix CLR general purpose laminating resin with the CLS hardener to create an epoxy with a slow pot life (20 to 60 minutes), good clarity, and that gives off little heat as it cures. If the grooves are more than 1⁄4 in. deep, switch to a “casting” resin for a longer pot life. Don’t use quick-set epoxies intended for repairs. They tend to have a short pot life, and put off a large amount of heat as they cure. This can lead to trapped air bubbles, yellowing, and even cracking.
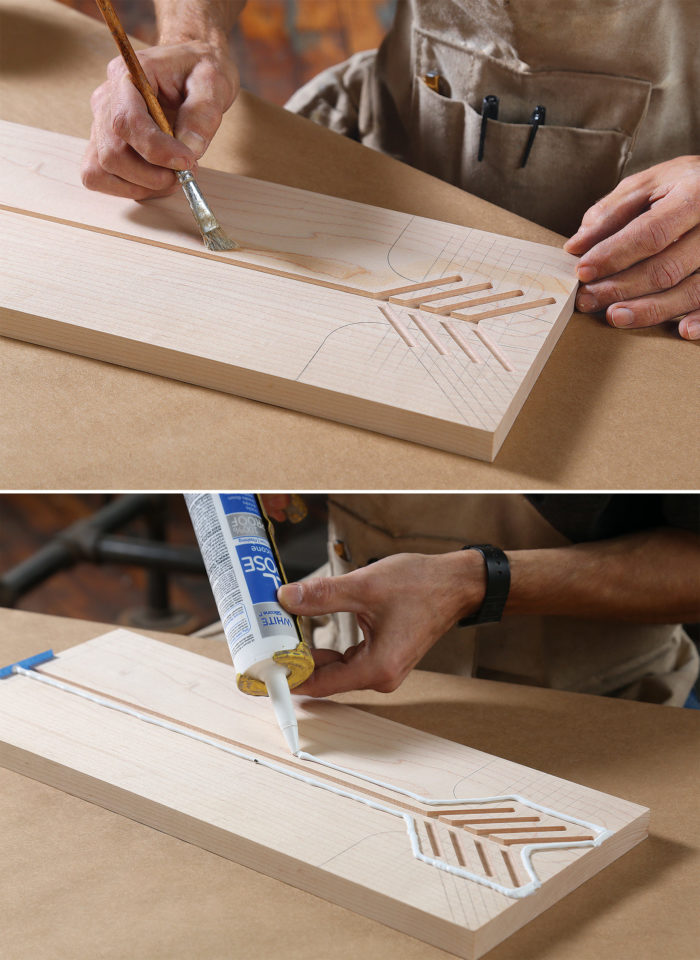
There are three things to consider when choosing a wood for epoxy inlay: the wood’s density, the size of its pores, and how thirsty its fibers are. Wood significantly softer than cured epoxy will sand more quickly than the epoxy, and you might end up with the inlay proud of the surrounding surface. Big pores, like those in red oak, can cause problems, too. The epoxy gets into them and it’s very difficult to get out, which is a problem if the pores are on the surface alongside the inlay. Finally, epoxy can flow into the fibers surrounding the inlay areas via capillary action. Beneath the surface, this isn’t a problem and actually makes for a stronger bond. But near and on the surface, it creates an unattractive halo of color.
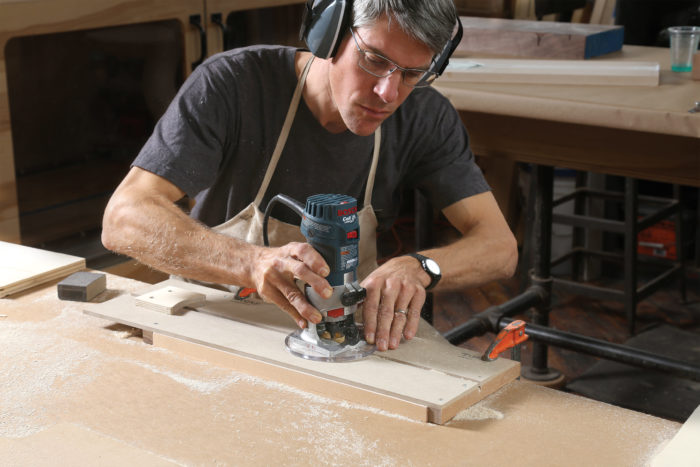
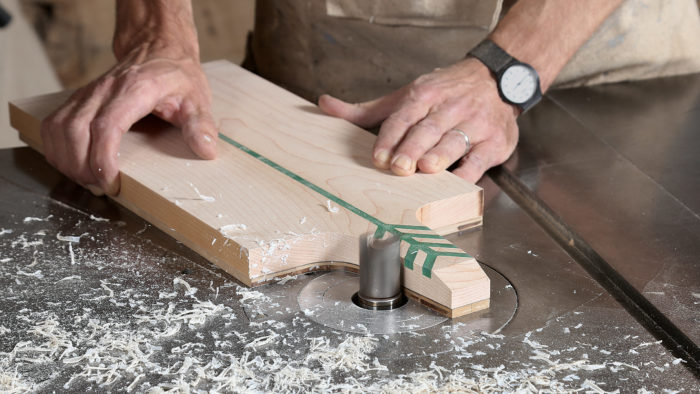
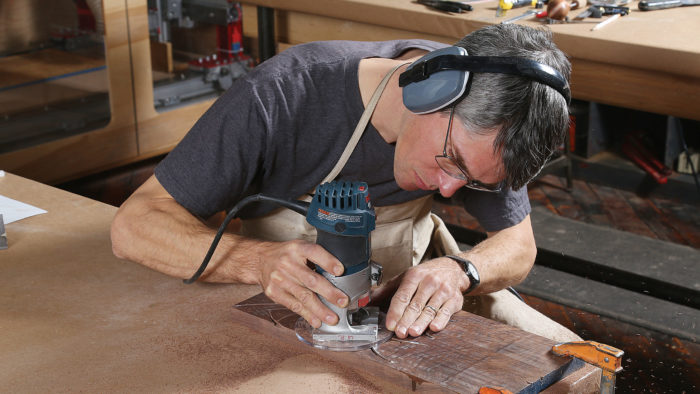
Clean Up and Cut to Shape
A pattern like this one should take just a few minutes to sand flush to the surface. Then it’s on to shaping the workpiece.


What woods work well? Cherry, walnut, and maple have proven excellent for resin inlay, and they are the ones I use most often for cutting boards and cheese boards.
Resins can be tinted in a variety of ways, but I use Mixol pastes most often. The colors are intense, and come already suspended in a liquid medium that plays well with epoxy. Wet pigments are less likely to cause air bubbles in epoxy than dry pigments. There are 30 colors, and all but a few work well (avoid colors 6, 7, 10, and 18, because their color might change over time)
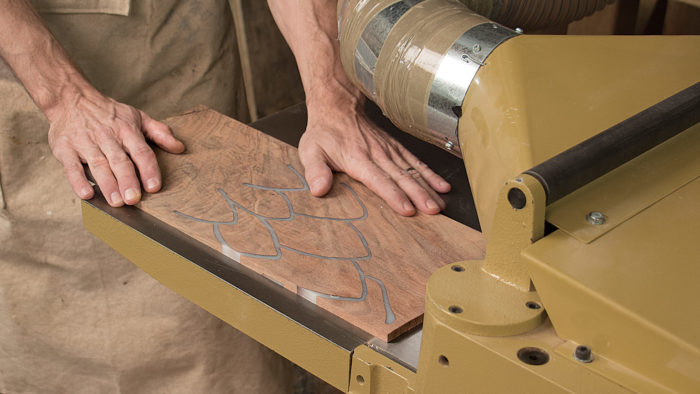
Resin All The Way Through
By cutting deep grooves and planing off the bottom of the workpiece after the epoxy has cured, you can create objects like this box lid, with the resin pattern visible on both the top and bottom.

More on FineWoodworking.com:
- All About Epoxy – An adhesive and a finish, epoxy finds a variety of uses in woodworking and boatbuilding
- Epoxy Inlay – Tough, fast-drying resins can replace traditional wood accents
- How to Toughen Wood with Epoxy – Create durable screw threads and long-lasting jigs
Fine Woodworking Recommended Products
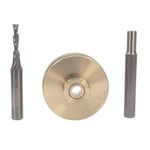
Whiteside 9500 Solid Brass Router Inlay Router Bit Set
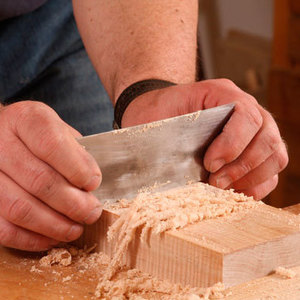
Bahco 6-Inch Card Scraper


Comments
While I have never tried inlay with epoxy, this article inspires me to do so. Thanks for a well-written and informative article.
Log in or create an account to post a comment.
Sign up Log in