
Build a Table Saw Sled for Miters
This precision jig eliminates gaps and headaches.

Synopsis: Used on doors, face frames, and picture frames, frame miters are not as easy to execute as they look. The parts must be cut precisely at 45° and at the exact length. Then they must be glued and clamped properly. By using his dedicated miter sled and cutting the parts to length before they are mitered, Craig Thibodeau has mastered the frame miter. Here, he shows you how to make his sled and how to use it. Then he shares techniques for clamping that will make assembly easier.
Frame miters—used to make doors, face frames, and picture frames—look easy but are deceptively difficult to do cleanly and without gaps. Not only do the parts need to be cut at exactly 45° (and any inaccuracy is compounded in the two halves of each joint), but the parts also need to be cut to the correct length. Even if you cut the parts and miters right, you still have the challenge of getting the angled surfaces clamped and glued properly.
I use frame miters quite often in my contemporary-style work, most frequently on the tops of tables and cabinets, where the frame surrounds and protects a veneered panel. Through experience, I’ve developed some surefire methods for cutting and clamping these joints.
The key to my success is twofold. First, I use a dedicated miter sled for the tablesaw. Second, I cut the parts to final length at 90° first, then I use the fresh-cut ends as the reference for the actual miter cuts done on the sled. This method helps me cut miters precisely the first time, without a lot of test-fitting and recutting.
Sled guarantees a perfect joint
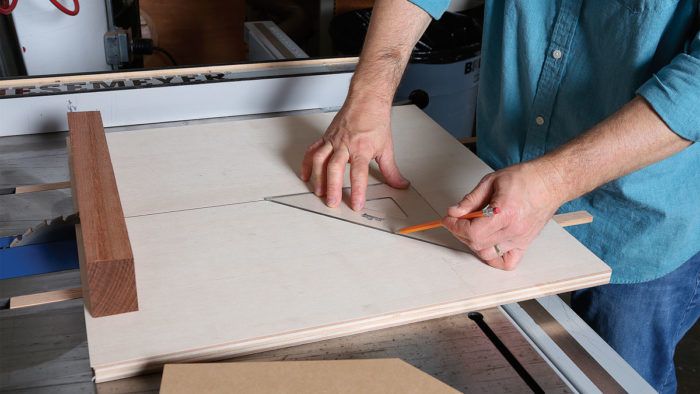
My miter sled cuts both left- and right-hand miters easily and accurately. It’s essentially a standard crosscut sled, but I add a 45° fence to it.
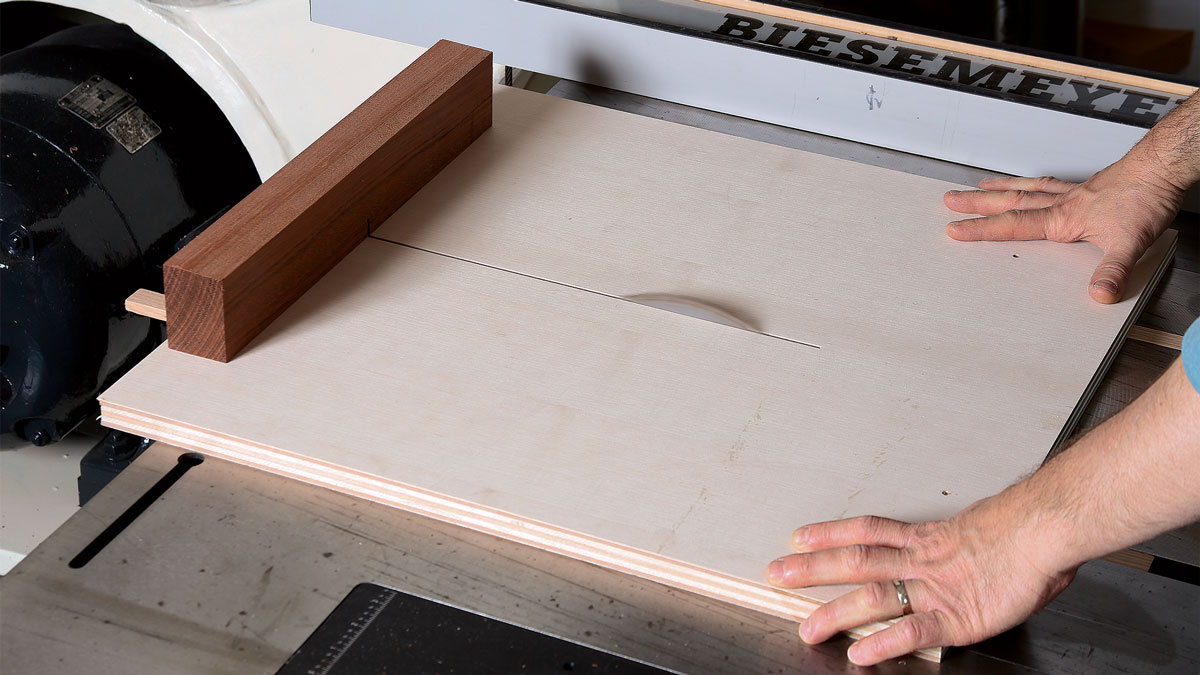
Once you have the runners and stiffening block on your sled, make a stopped cut down the center of the sled base. Then mark a 45° line on one side of the kerf, using a 45° drafting square placed against the sawkerf. You’ll use this line to adjust the fence at roughly 45°. Screw down one side of the fence, then make some test cuts using frame offcuts. Cut the mitered pieces all on one side of the sled only. That way when you put them together, the error is doubled. If you were to cut one piece on each side of the sled, the corner would end up 90° but one side might be 47° and the other 43°. The test pieces and all the frame pieces you make must be flat, straight, and square. Your first test cuts should be very close to 45°.
Once they are exactly 45°, clamp and screw down the opposite side of the fence. Be sure to locate the screws so they will not be in the path of the blade. Then cut another set of miters and check to make sure they are perfect.
 From Fine Woodworking #257
For the full article, download the PDF below:
Fine Woodworking Recommended Products
Hedgehog featherboards
Incra Miter 1000HD
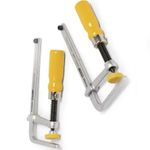
MicroJig Matchfit dovetail clamps


Comments
The problem with this jig being used on a table saw is you will get tear out especially if you are using picture frame molding. This jig would be much more effective on a radial arm saw.
There is one missing dimension, the distance from the stiffener block and the nose of the 45 degree plate. Also I am adding a T-Slot sliding block so I don't have to remount the stop block for each width of the frame.
Log in or create an account to post a comment.
Sign up Log in