Get Better Cuts With Your Planer
With these tips you'll eliminate tearout, banish snipe, and get smooth results every time.
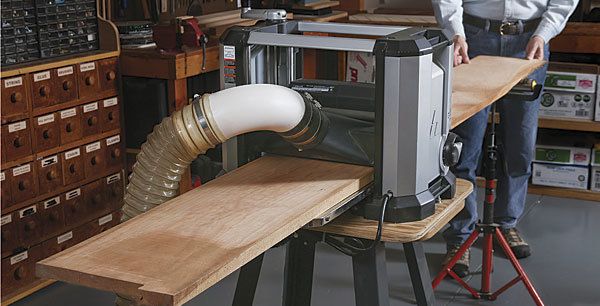
Synopsis: Quality woodworking requires stock that’s been milled flat, smooth, and of a consistent thickness. Your planer is essential to that process. Its job is to work in tandem with the jointer: The jointer surfaces one face flat; the planer creates an opposite face smooth and parallel to it. Here are some tips on how to use your planer effectively to eliminate tearout and minimize snipe, along with advice on planing narrow or short stock and stock that’s too wide for your jointer.
Precisely prepared stock, with a smooth surface and consistent thickness, is the foundation of quality woodworking. The planer is essential to that process.
It’s important to understand that a planer does not flatten wood. Instead, the planer works in tandem with the jointer to flatten and square stock; neither can do the job of the other. The jointer is used first to surface one face flat, and the planer creates an opposite face smooth and parallel to it.
Set up your planer for success
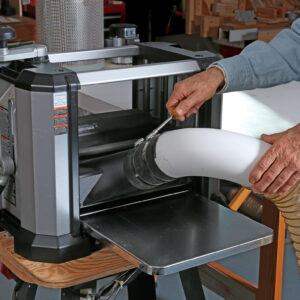
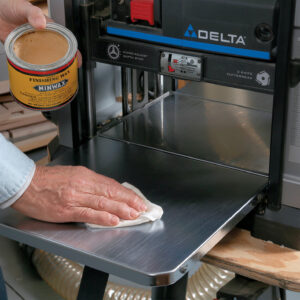
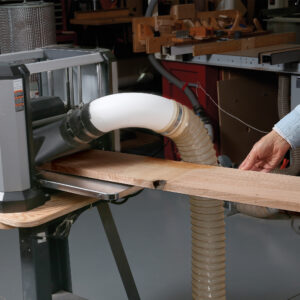
Like other woodworking machines and tools, a planer must be well-tuned to do its job properly. Keep the knives clean and sharp, and change them when the planed stock’s surface becomes irregular or grooved, when chipout becomes significant, and when the feed rate becomes noticeably more sluggish. The infeed and outfeed tables must be flat and in the same plane as the bed, and they must be smooth, clean, and treated with wax or dry, silicone-free lubricant for a low-friction surface. Dust collection is critical for personal health protection and ease of cleanup. It also can affect the quality of the cut, because unevacuated chips can dimple the face of the workpiece or get under the piece and cause an irregular cut.
Keep it clean and waxed
Back to basics
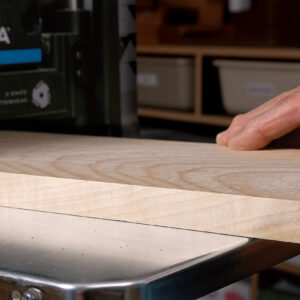
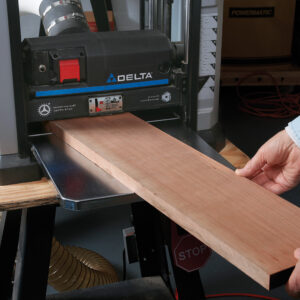
While the planer seems to do the work for you, there are a few tips to help you get the best results. Before you turn on the machine, identify the grain direction of the board. Look at the edge of the board and position it so that the grain runs downhill into the planer. Plane in the wrong direction and the machine will leave a rough, chipped-out surface.
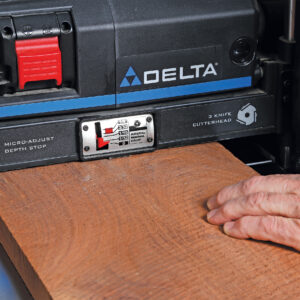
Also, limit the depth of cut to 1⁄16 in. or less. This makes tearout less likely and reduces wear and tear on the motor. After setting the depth of cut, tighten down the cutterhead lock if present.
When planing, don’t always feed boards into the center of the bed. Use the entire width of the cutterhead to even out knife wear and get a lot more life in between knife changes. Feed boards with difficult grain into the planer skewed at an angle, which helps create a cleaner shear cut across the grain.
Once both faces are parallel, remove material equally from both faces by flipping the workpiece, end for end, between passes to keep proper grain orientation. This removes material equally from both sides, which helps the board remain flat.
Tips for tearout-free planing
A planer’s job is to create a smooth surface. But for many woodworkers, tearout is a common problem. Here are a few simple tricks that will help you minimize or even avoid tearout completely.
Tips for avoiding snipe
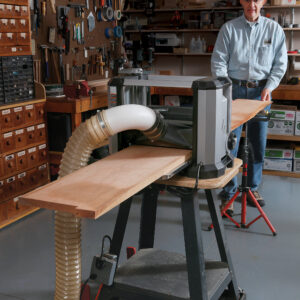
We’ve all seen snipe—that ugly gouge on the leading or trailing end of the board. It happens when the stock is not supported by both the infeed roller and the outfeed roller at the same time.
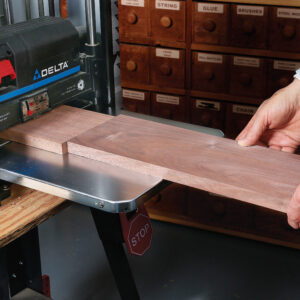
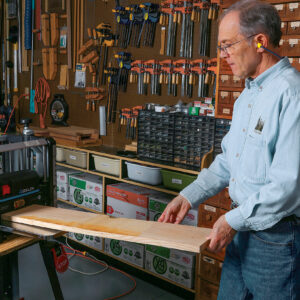
One of the simplest ways to avoid snipe is to lift up on the trailing end of the board as it enters the machine and then on the leading end on the outfeed side as it exits. This keeps the end of the board that is not supported by the opposite feed roller flat to the bed. You also can start with a workpiece that is extra long and then cut off the snipe at each end. Or, snipe can be reduced by feeding boards through the planer butted end to end. This keeps the feed roller tension equalized. This “planer train” technique can also be used to control shorter stock.
How to minimize snipe
Snipe can ruin stock, so take steps to deal with it before sending material through the planer. Thankfully, it’s not impossible to work around.
Edge-planing stock
Stock that has already been milled to have parallel sides and relatively smooth edges can be planed on edge to fine-tune the width and yield smooth edges.
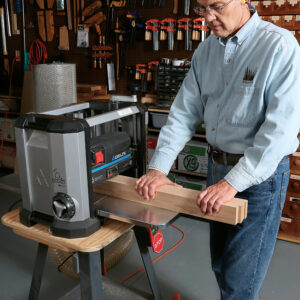
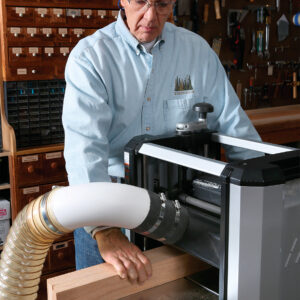
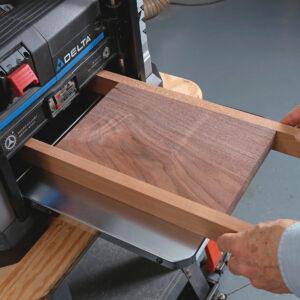
If you are going to try this, the maximum width of the stock should be equal to, or less than, five times the thickness of the stock. For 1-in.-thick stock, the board should be 5 in. wide or less. This keeps the stock from being pressed over and out of square by the feed rollers. When I plane stock this way, I feed it through in small bundles (see photo, above left). This helps keep the boards upright and feeding at the same rate. Also, always use the centermost portion of the planer. On some planers, the feed rollers are spring-loaded on the ends and can cause the stock to tip.
Planing narrow and short stock
Edge-planing narrow stock or trying to face-plane stock that’s too short isn’t just difficult, it can be dangerous. Avoid accidents with these techniques.
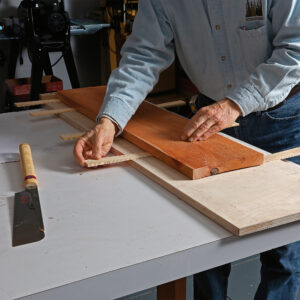
While the planer and jointer are best used as a team, sometimes a board is too wide, too heavy, or just too cupped and bowed to be flattened efficiently on the jointer. The solution is a simple planer sled that’s reusable and easy to set up in minutes.
The sled is a sheet of 3⁄4-in. plywood or MDF, just narrower than the capacity of the planer and as long as you need it to be. A short hardwood cleat glued at the trailing edge keeps the sled and the stock on it moving at the same pace.
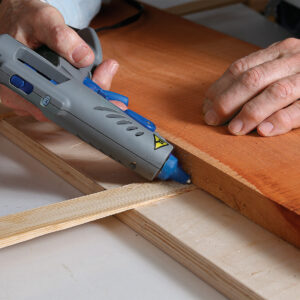
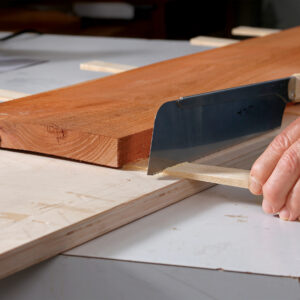
Setting up the sled is easy. Put the stock on the sled with the end against the cleat. Use wood shims to stabilize the board from rocking and then under any spots where the board is off the sled. It’s best to keep stock removal even across the board, so don’t over-shim on one end or side but rather spread out the difference over the board. Once the shims are in place, attach them with hot glue. Then trim the shims so that they don’t overhang the sled sides.
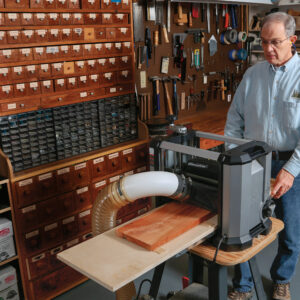
Just like normal stock, run the stock and sled through the planer and take light passes until the top face is flat. Then remove the stock from the sled, flip it over, and plane the opposite face.
Jerry C. Forshee is a furniture maker in Bloomington, Ind.
For the full article, download the PDF below:
Fine Woodworking Recommended Products
Makita LS1219L Miter Saw
Forrest Woodworker II Blade
Shop Fox W1826




Log in or create an account to post a comment.
Sign up Log in