Build a Simple Crosscut Sled for the Table Saw
This essential tablesaw jig ensures square cuts.
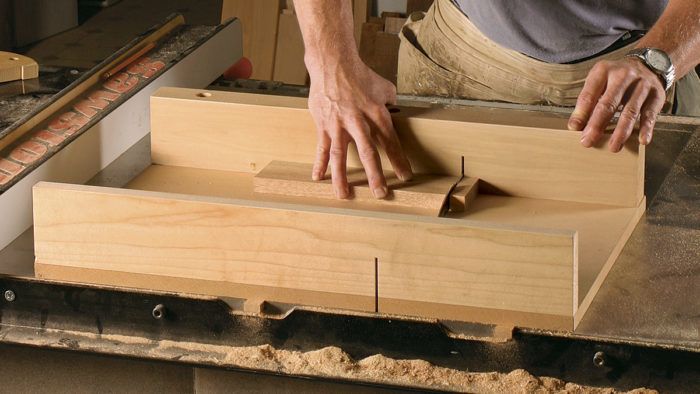
Synopsis: Woodworking goes better when angles are precise, true, and consistent. Gary Rogowski’s tablesaw crosscut sled can help ensure this result. He uses the jig to produce square ends on stock, make consistent repeat cuts, cut precise angles, and cut a variety of joints. He relies on the jig to help him do all of this work safely and with greater accuracy. Rogowski’s sled is a versatile tool with a few carefully assembled parts. Its accuracy relies on close-fitting hardwood runners and a square fence.
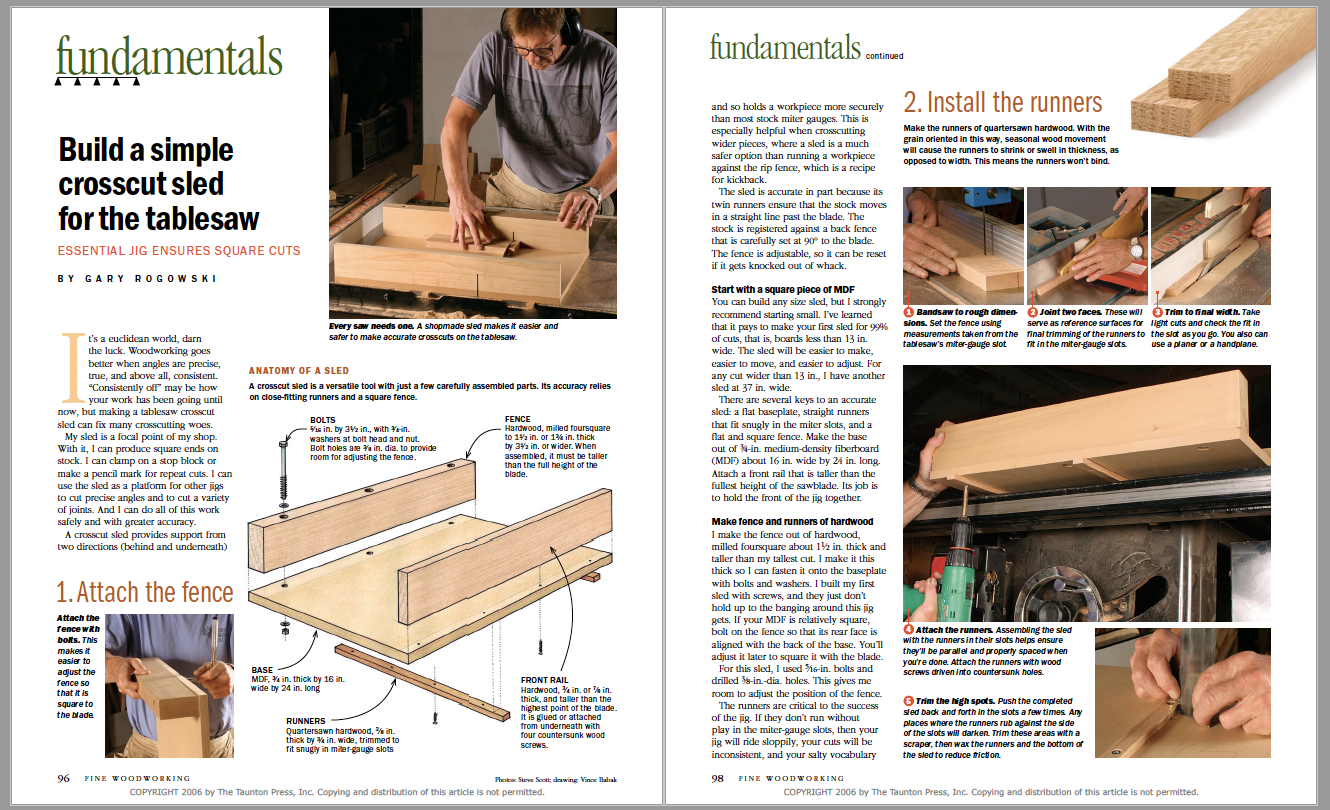
It’s a euclidean world, darn the luck. woodworking goes better when angles are precise, true, and above all, consistent. “Consistently off” may be how your work has been going until now, but making a tablesaw crosscut sled can fix many crosscutting woes. My sled is a focal point of my shop. with it, I can produce square ends on stock. I can clamp on a stop block or make a pencil mark for repeat cuts. I can use the sled as a platform for other jigs to cut precise angles and to cut a variety of joints. And I can do all of this work safely and with greater accuracy.
A crosscut sled provides support from two directions (behind and underneath) and so holds a workpiece more securely than most stock miter gauges. This is especially helpful when crosscutting wider pieces, where a sled is a much safer option than running a workpiece against the rip fence, which is a recipe for kickback.
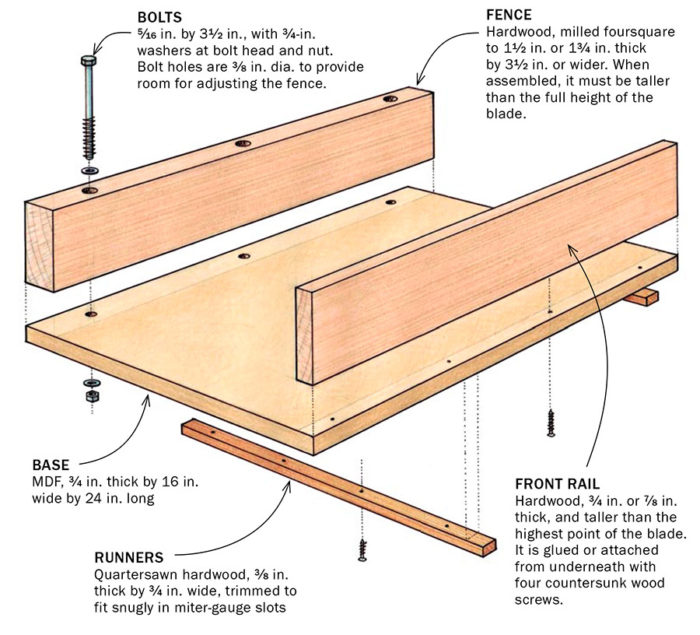
The sled is accurate in part because its twin runners ensure that the stock moves in a straight line past the blade. The stock is registered against a back fence that is carefully set at 90° to the blade. The fence is adjustable, so it can be reset if it gets knocked out of whack.
Start with a square piece of MDF
You can build any size sled, but I strongly recommend starting small. I’ve learned that it pays to make your first sled for 99% of cuts, that is, boards less than 13 in. wide. The sled will be easier to make, easier to move, and easier to adjust. For any cut wider than 13 in., I have another sled at 37 in. wide.
There are several keys to an accurate sled: a flat baseplate, straight runners that fit snugly in the miter slots, and a flat and square fence. Make the base out of 3⁄4-in. medium-density fiberboard (MDF) about 16 in. wide by 24 in. long. Attach a front rail that is taller than the fullest height of the sawblade. Its job is to hold the front of the jig together.
Make fence and runners of hardwood
I make the fence out of hardwood, milled foursquare about 11⁄2 in. thick and taller than my tallest cut. I make it this thick so I can fasten it onto the baseplate with bolts and washers. I built my first sled with screws, and they just don’t hold up to the banging around this jig gets. If your MDF is relatively square, bolt on the fence so that its rear face is aligned with the back of the base. You’ll adjust it later to square it with the blade.
For this sled, I used 5⁄16-in. bolts and drilled 3⁄8-in.-dia. holes. This gives me room to adjust the position of the fence.
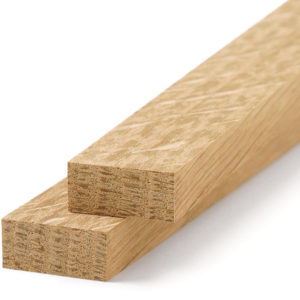
The runners are critical to the success of the jig. If they don’t run without play in the miter-gauge slots, then your jig will ride sloppily, your cuts will be inconsistent, and your salty vocabulary will grow at an alarming rate. Make the runners of hard-wearing quartersawn stock such as oak or maple, about 3⁄8 in. thick, or slightly thinner than the depth of the gauge slots. You don’t want the runners bottoming out in the slots and lifting the baseplate off the saw table.
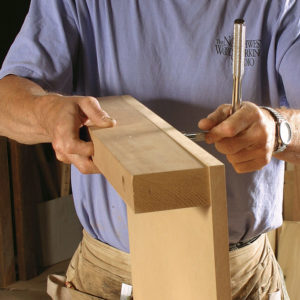
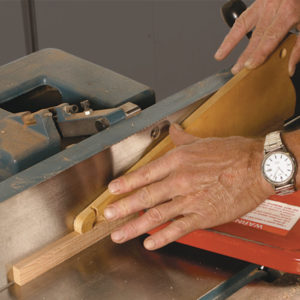
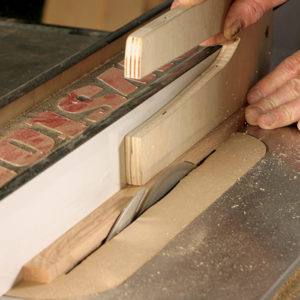
Make the runners to fit snugly in width, trimming them with a handplane to fit into the gauge slots. Next, drill four countersunk holes in each runner for flat-head screws to hold it in place.
Install the runners |
|
|
|
 |
 |
 |
 |
 |
Mount the runners and adjust the fence
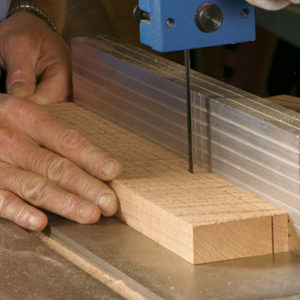
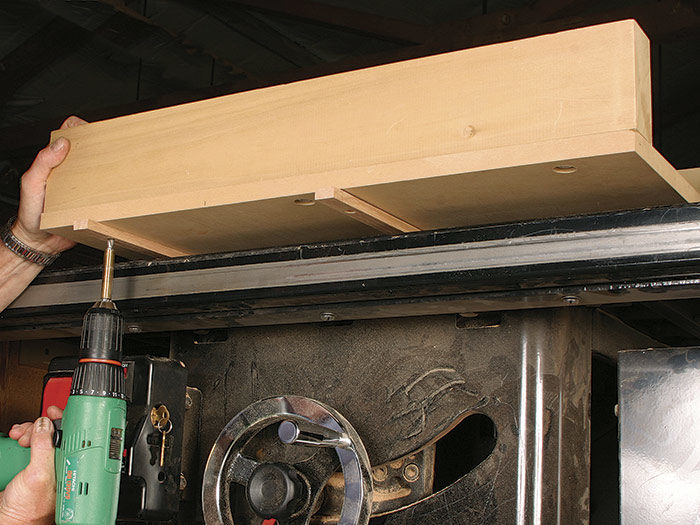
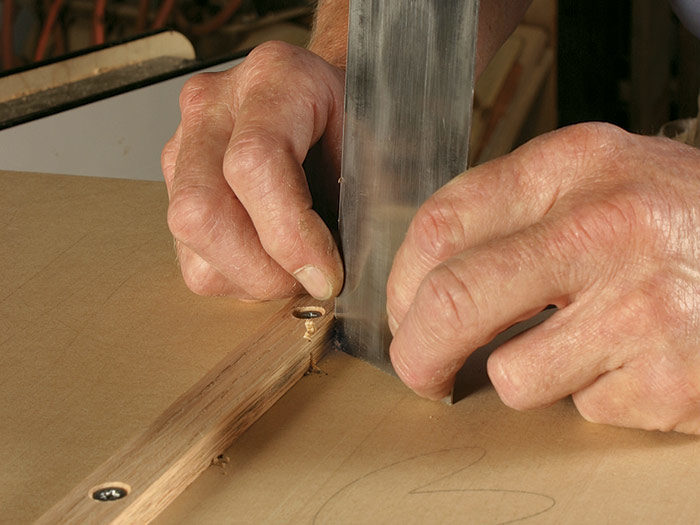
Place the runners in the slots, lay the assembled base and fences on them, and push the package all the way to the rear of the saw table so that one set of countersunk holes is visible. Make sure the jig’s fence is relatively parallel to the back edge of the saw. Mount two screws into the sled, one in each runner. Then slide the assembly back to the front edge of the saw table so that two more holes are visible. Mount these screws and then flip the sled over and drill and mount the four remaining screws.
Place the sled in the slots and try to push it. The runners will probably be too tight. Wax them and the bottom and see if will slide. If not, check for black spots on the runners that show where they’re rubbing. Use a scraper or shoulder plane to trim those areas, rewax, and try again. The sled should move effortlessly in the slots with no side-to-side play.
Now you’re ready to start working. Make the first cut in the sled by raising the blade just enough to slice through the baseplate. Then raise it for a higher cut. Place a piece of scrap on the sled and crosscut it, checking the results with a square. Adjust the fence accordingly. You can make a through crosscut and flip the pieces to see if they line up perfectly, but I prefer to use a square. Lock down the fence with the bolts when you’re cutting square.
Square the fence to the bladeThe sled won’t make accurate crosscuts unless the fence is precisely perpendicular to the blade. The oversize bolt holes in this fence make it possible to adjust the angle until test cuts yield square results. |
|
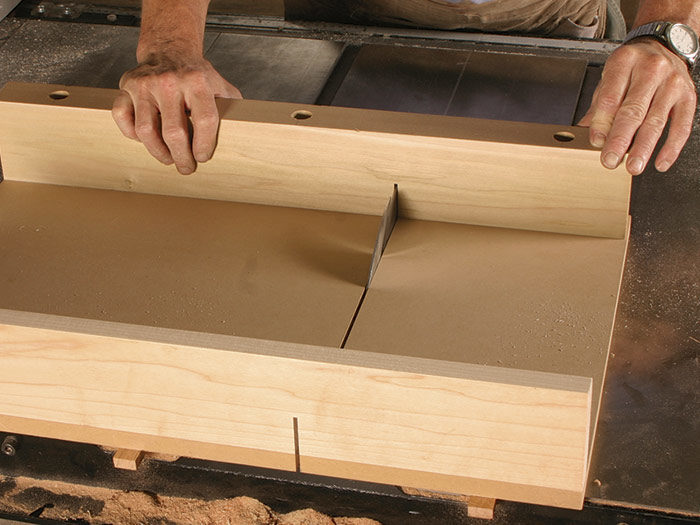 |
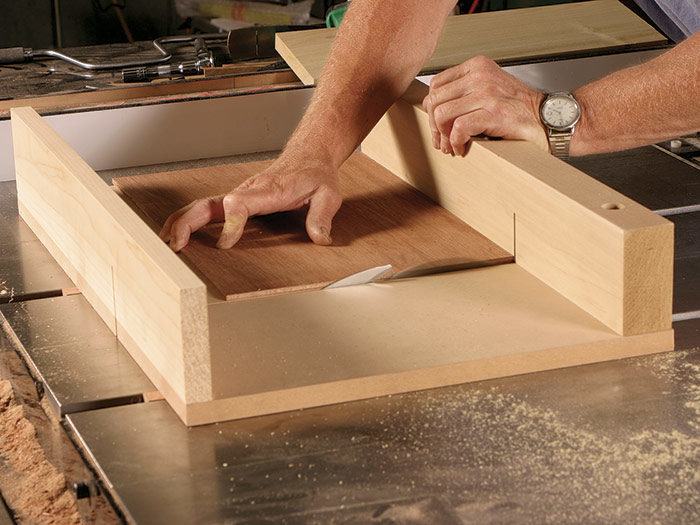 |
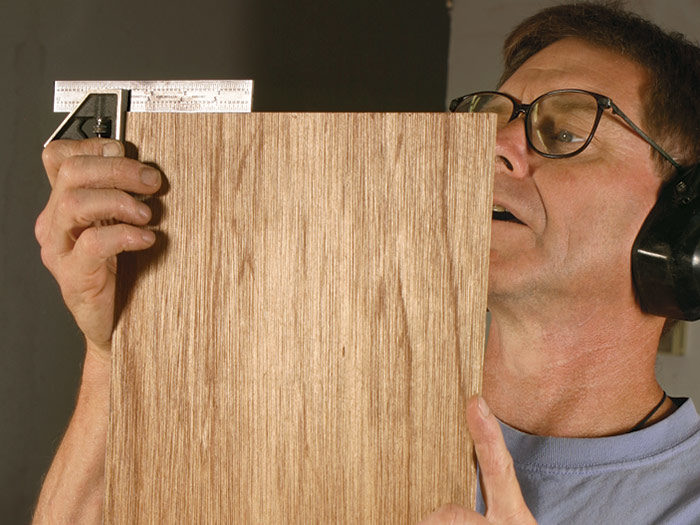 |
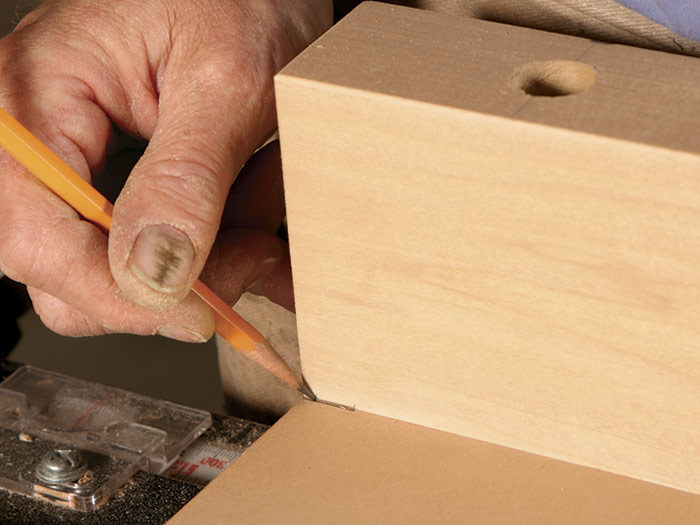 |
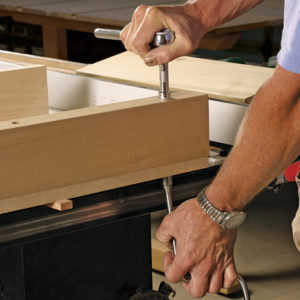 adjusting, crank the bolts home and you’re ready to make crosscuts. |
|
Remember to always set the jig down so that it’s not resting on its fence. You don’t want it knocked about. Also, be very careful of the exit point on the sled. Mark this zone to remind yourself never to place your fingers close to it.
Photos: Steve Scott; drawing: Vince Babak
From Fine Woodworking #188
To view the entire article, please click the View PDF button below:
Fine Woodworking Recommended Products
Double Sided Tape
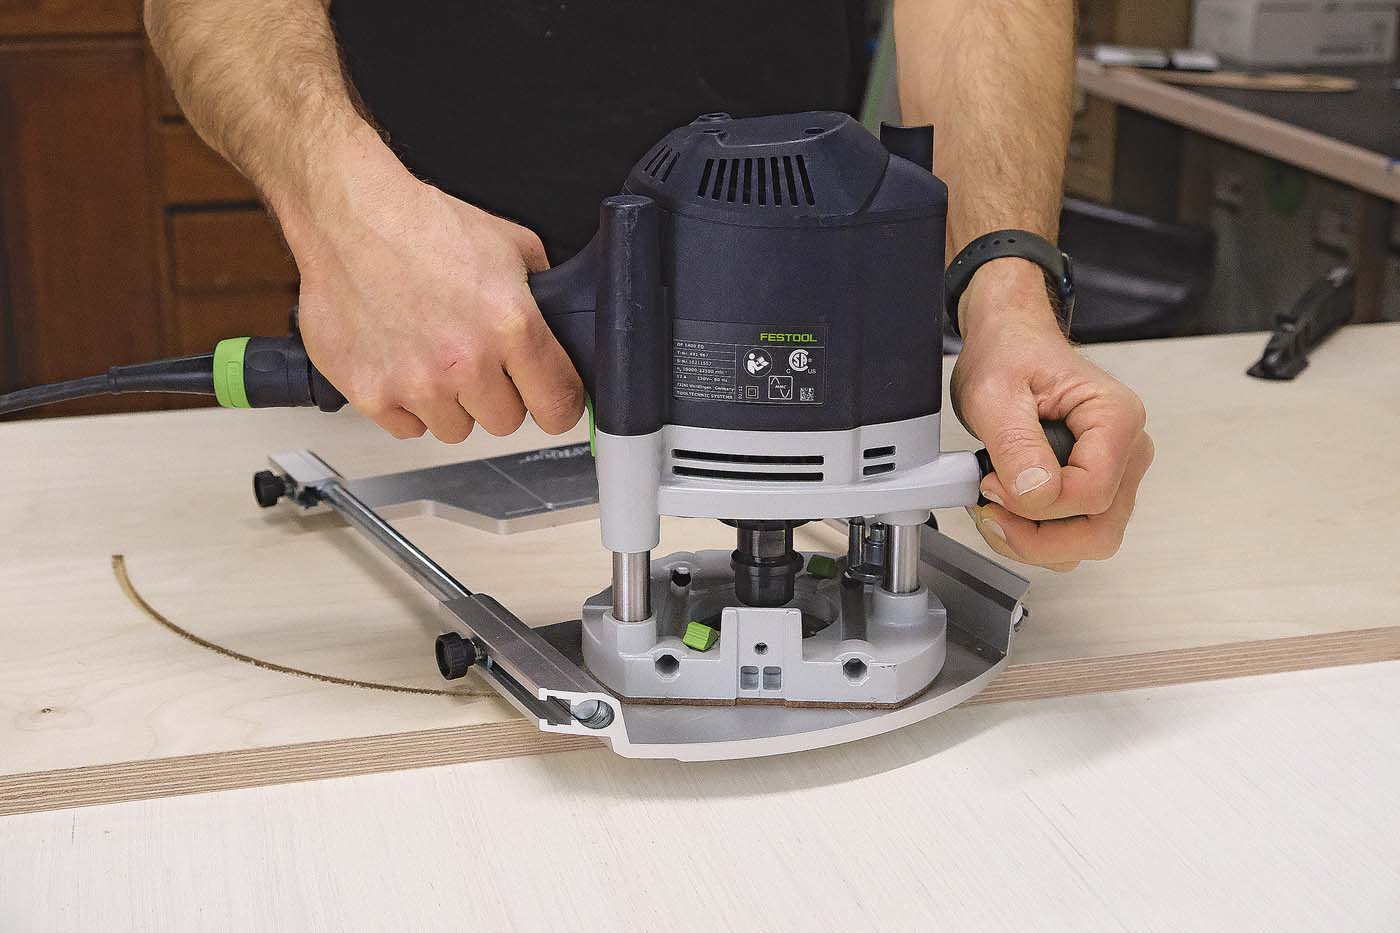
Woodriver Circle Cutting Jig
Incra Miter 1000HD




Log in or create an account to post a comment.
Sign up Log in