Craftsman-Style Comfort in a Morris Chair
Mortise-and-tenon joinery looks good and makes it last.

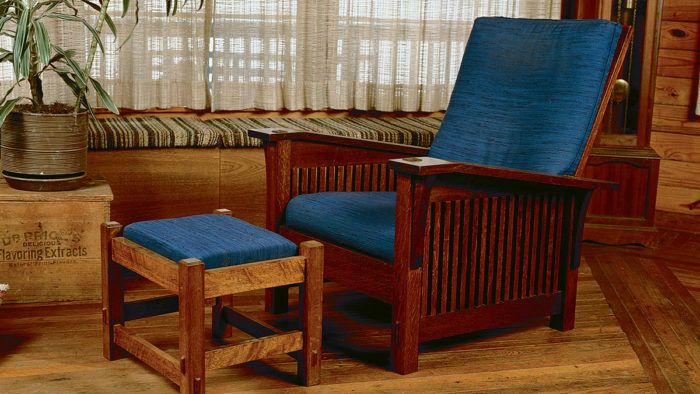
Synopsis: This Morris chair built in the Craftsman tradition features an adjustable reclining back. Gene Lehnert designed this chair after researching Stickley furniture, and the chair relies on pinned through-tenon joinery. Lehnert defines the Morris chair and explains how he built his version, veneering the legs to get the quartersawn look. He used a hollow-chisel mortiser in his drill press to cut the mortises in the legs and spindle mortises in the rails. He explains how to make the arms and build the back, offering alternative methods of cutting the tenons. He gives tips on assembling the parts and finishing the chair using ammonia. A detailed project plan shows how it all went together.
The Morris-style spindle chair is my favorite Gustav Stickley piece. In his popular Craftsman magazine, Stickley wrote, “No better or more comfortable and useful chair was ever designed.” The chair, which features pinned through-tenon joinery, makes a comfortable, adjustable-back chair in the Craftsman tradition. I worked up this version after looking at a lot of museum pieces and studying examples in Stickley’s Craftsman magazine, books and other magazine articles.
Although Stickley sometimes used other woods, his primary choice was quartersawn white oak, which he darkened by fuming with ammonia. Even in his day, Stickley commented that quartersawing was a wasteful method of woodcutting. Today, the wood is rather difficult to find. However, larger retail suppliers have it for about $5 a board foot. It should be selected for color match and figure. Be extra careful when choosing the stock because variations in wood tone mar color uniformity during the fuming process, a finishing technique I’ll discuss later in this article. Sapwood should be eliminated as it tends not to darken when fumed.
Building the chair

The legs are composed of a solid core with in.-thick veneers glued around them. Veneering this way provides uniform quartersawn figure on all four sides of the legs. The through-tenons at the leg tops are in. sq. with bevels on the ends, as shown in the drawing on p. 40. I use my motorized miter box set at an angle of 12° to cut the bevels. On the back legs, the tops are both beveled and slanted, using a disc sander, to match the angle of the arms. Note that the shoulders on these tenons are angled to support the arms. Because pinned through mortise-and-tenon joints are Stickley hallmarks, it is important they be properly executed. Also, note the corbels that support the rear arms are angled at the tops.
The bottom side rails are supported also using pinned through mortise-and-tenon joints. I use a hollow-chisel mortiser in my drill press to cut the mortises in the legs and the in. spindle mortises in the rails. The work is held on an angle block clamped to the drill-press table. The slant of the angle block is 1 in. rise to in. run. I clamp the same angle block to my tablesaw’s sliding table to cut the angled tenon shoulders of the top and bottom side rails and the spindles.
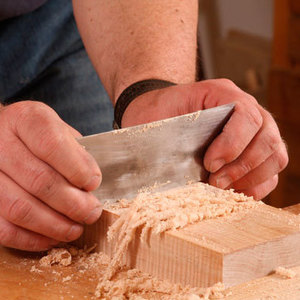
Because of their angles, the upper and lower shoulders on the rails and the front and back shoulders on the spindles must be pared by hand. The tenons for the upper side rails are cut before their top slants are cut. I sometimes cut the tenons using an angled sliding table on my router table. These techniques ensure precisely fitting mortise-and-tenon joints for the legs, rails and spindles.
From Fine Woodworking #101
For the full article, download the PDF below:
Fine Woodworking Recommended Products

Diablo ‘SandNet’ Sanding Discs

Festool DF 500 Q-Set Domino Joiner

Bahco 6-Inch Card Scraper

Get the Plan
CAD-drawn plans and a cutlist for this project are available in the Fine Woodworking store.


Log in or create an account to post a comment.
Sign up Log in