Workshop Tip: Simple, effective setup for trimming plywood edging
Simple setup works on router table or shaper.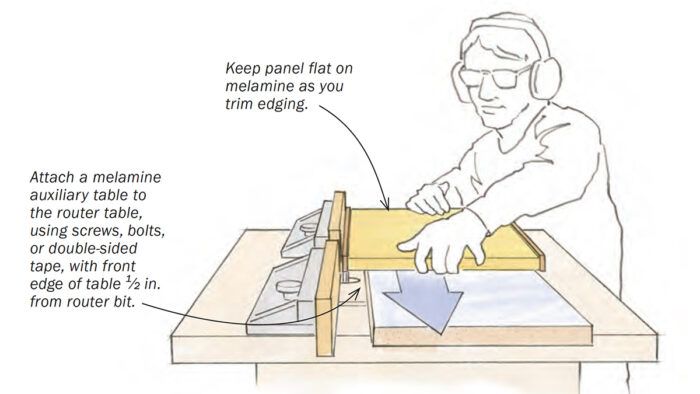
Trimming solid edging on plywood is a tedious task, especially if you have a lot of shelves and cabinet edges to process. I know the magazine has offered a number of good solutions, but the following is the favorite by far in my pro cabinetry shop. The setup is simple, and works on either a router table (with the user feeding parts by hand) or a shaper equipped with a power feeder.
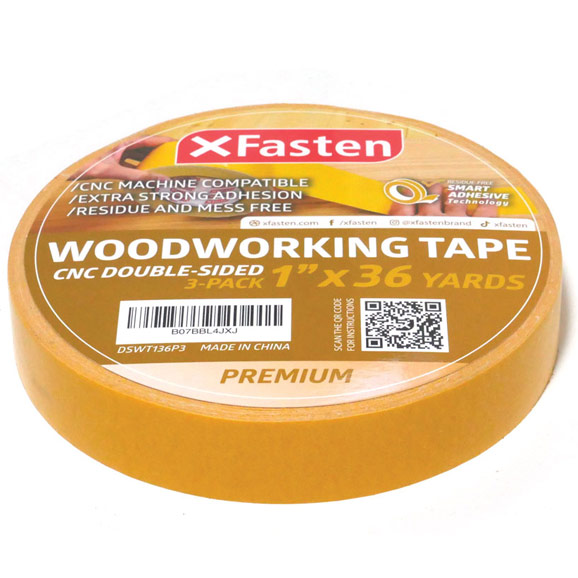
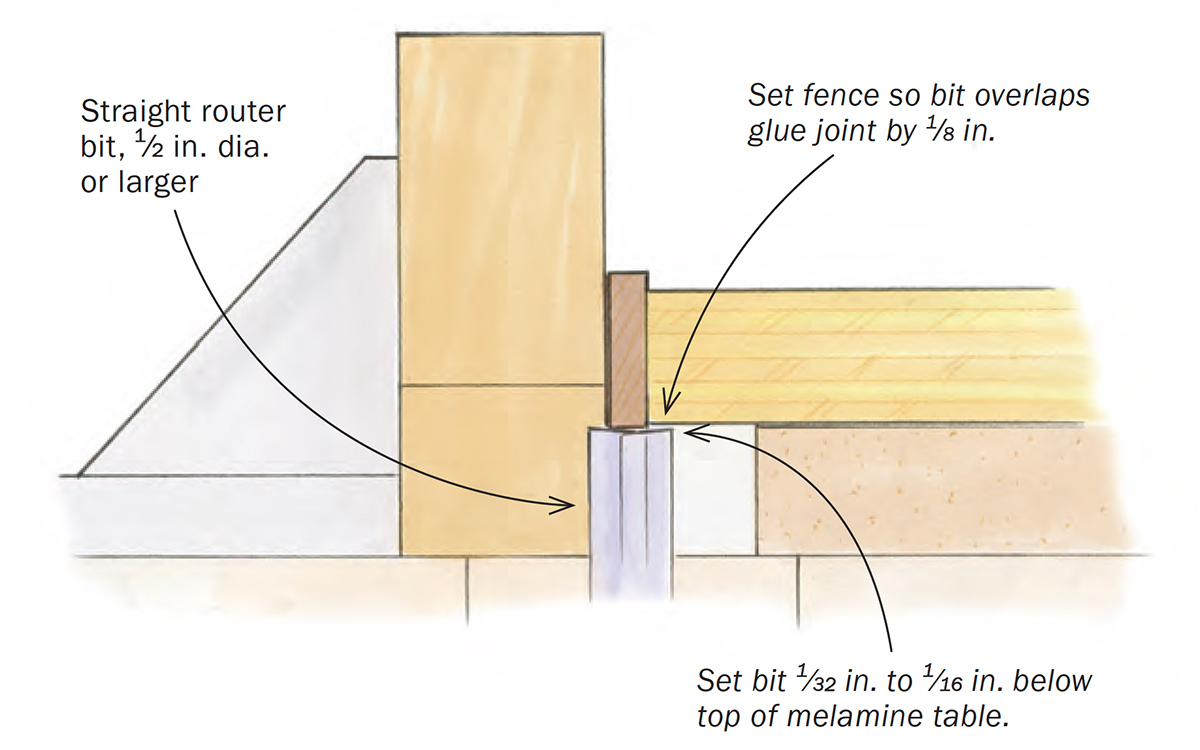
Start by loading a straight bit in the router (or equivalent shaper cutter). A 1/2-in. bit will work for thin edging, but bigger is better. Then attach a melamine auxiliary table on top of the existing table, using double-sided tape, or better yet, using screws, or T-slots and bolts, to make it easier to attach and detach. Set the table 1/2 in. or so away from the bit, to leave room for overhanging edging on the bottom side, as well as any glue squeeze-out there. Last, set the fence to position the outside of the cutter under the edging you are trimming, and raise the bit until it’s 1/32 in. to 1/16 in. shy of the top of the melamine table. Keep your panels flat on the melamine as you trim the edging, and the job will go quickly, with great results. A climb cut, moving left to right, will give the cleanest results, but a right-to-left cut will be easier to control.
This setup will leave a sliver of edging to be block-planed and sanded away in short order.
—STEVE LANN, Hyattsville, Md.
Illustrations by Dan Thornton
From Fine Woodworking issue #296
 |
Workshop Tip: Trim edge banding on the router table |
 |
Trim Plywood Edging Flush, Simply and Safely |
 |
How to Build Beautiful Cases from Plywood |
Fine Woodworking Recommended Products

Veritas Precision Square
Double Sided Tape
Ridgid EB4424 Oscillating Spindle/Belt Sander




Comments
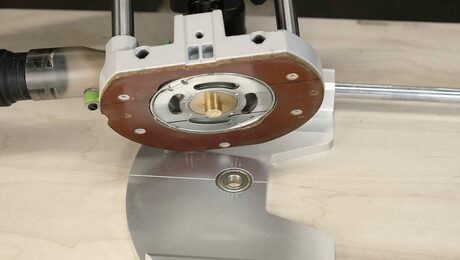
Interesting. I just used my router with the same bit to trim edge banding from two large walnut ply conference tables. I made a larger base for the router out of 1/4" ply that extended to cover half of the bit, and plunged it through the ply leaving a semicircle. I set the bit height to just trim the banding proud of the base table by going to the table saw top, putting down several layers of masking tape, and lowering the bit to that level. That gave me clearance to trim without digging into the top. Tested on the bottom, worked fine, then did the tops, also fine. Different method to do the same thing on a large surface.
Log in or create an account to post a comment.
Sign up Log in