A Stronger Miter
Reinforcing with a mortise and tenon locks the pieces in perfect position and adds strength to an otherwise weak joint
Synopsis: Seth Janofsky shows how to lay out and construct a tenoned miter joint. Accurate layout is critical. The mortised piece isn’t so difficult, but making the tenon fit the mortise takes some work. If all goes well, assembling this sturdy joint will be a breeze.
There are many good ways to join two pieces of wood—mortise-and-tenon joints, bridle joints, lap joints, dovetails—and they all have a place in a woodworker’s repertoire. Aside from their structural suitability to the job at hand, each visible joint imparts a particular character to a piece of furniture.
Aesthetically, sometimes the miter joint is the best choice. For example, when you have two pieces of wood coming together at a right angle, the simple miter joint is as close as you can come to not having a visible joint at all. So if you are working, say, in a clean, contemporary style, you will find the mitered look indispensable. The miter joint also is commonly associated with Scandinavian, Japanese, and Chinese furniture.
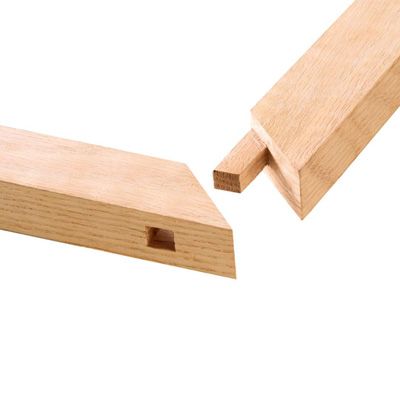
Why add a tenon to a miter?
Construction-wise, the miter is one of the weakest joints because there is no mechanical interlock of members to add strength, and because the glue joint is basically end grain to end grain. Also, it often is difficult to clamp the assembly perfectly in position and keep it there while the glue sets up.
The tenoned miter joint solves these problems. Adding a mortise-and-tenon to the joint—visible or not—increases strength and causes the parts to lock in perfect position while being glued.
If you want to make Japanese- or Chinese-style furniture, you will be called upon to cut a tenoned miter. If you will be working in a modern style, you can use a variation where the tenon is not visible in the finished joint.
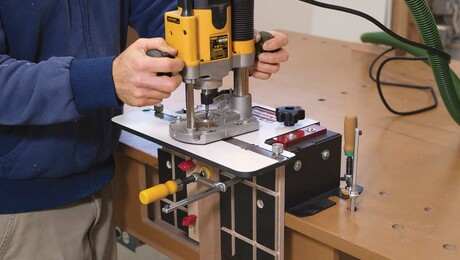
The tenoned miter joint can be made by hand or by machine. I usually find that the most efficient and accurate method is a hybrid of the two: I cut as much of the joinery as possible on the tablesaw and finish up with precise handwork.
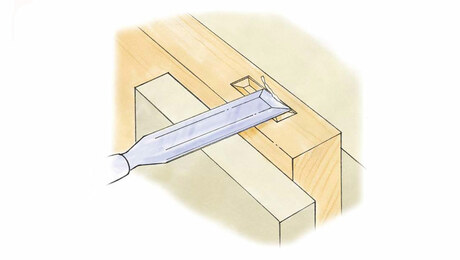
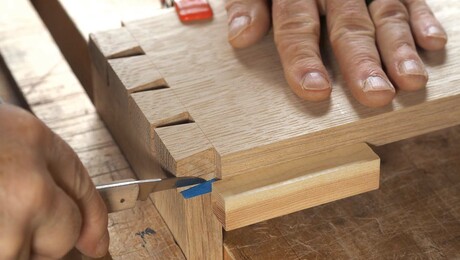
Accurate layout is critical
To make a tenoned miter, first mill the stock squarely and cut the pieces to their exact lengths. Then mark all of the parts precisely. I use a machinist’s square, a miter (45°) square, and a sharp pencil, starting with the miters and including each face of the mortises and tenons. Because of the miters, you can’t transfer the mortise location to the tenoned piece accurately, so the finished joint depends on accurate layout beforehand.
From Fine Woodworking #175
For the full article, download the PDF below:
Fine Woodworking Recommended Products
Olfa Knife

Marking knife: Hock Double-Bevel Violin Knife, 3/4 in.

Festool DF 500 Q-Set Domino Joiner


Log in or create an account to post a comment.
Sign up Log in