Secrets to a Perfect Mitered Box
Learn how to create a seamless grain match and gap-free joints for mitered boxes.
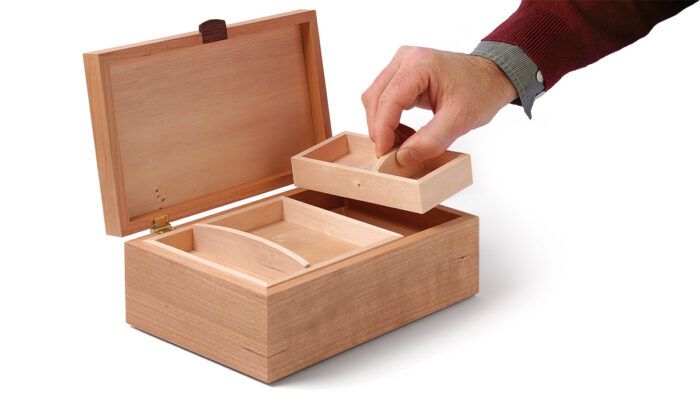
Synopsis: What’s so hard about making a mitered box? On the face of it, it seems an easy project. But if you want to turn out a beautiful small box, all the details have to be flawless. From the joinery and proportions to the wood’s color and grain, everything has to work together perfectly. This box succeeds for just that reason, and its designer, Matt Kenney, takes you through every step, from the mitered corners to the fitted lid.
It’s not hard to make a box, but it is difficult to make a beautiful one. Mistakes are hard to hide on such a small piece, and even the tiniest ones stand out more than on a larger piece of furniture. For a box to truly sing, every detail—from the proportions to the quality of the joinery, from the wood’s color to the pattern and size of its grain—must be flawless.
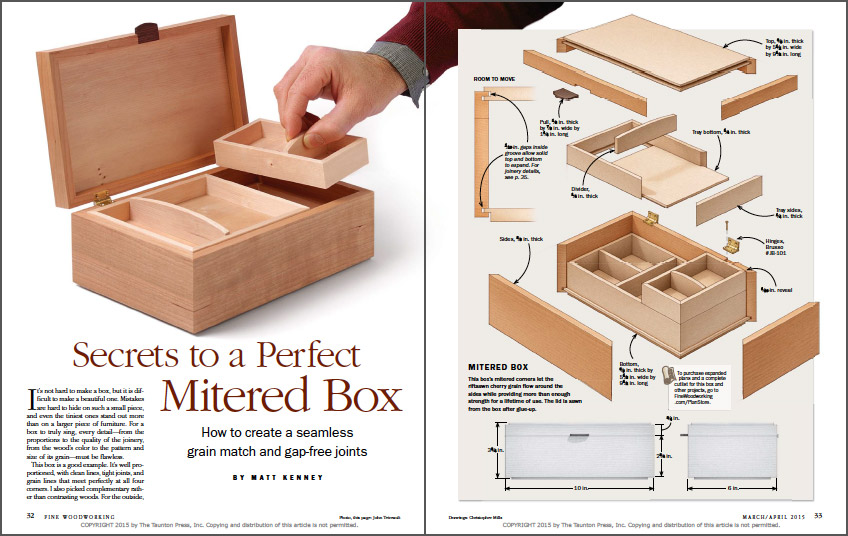
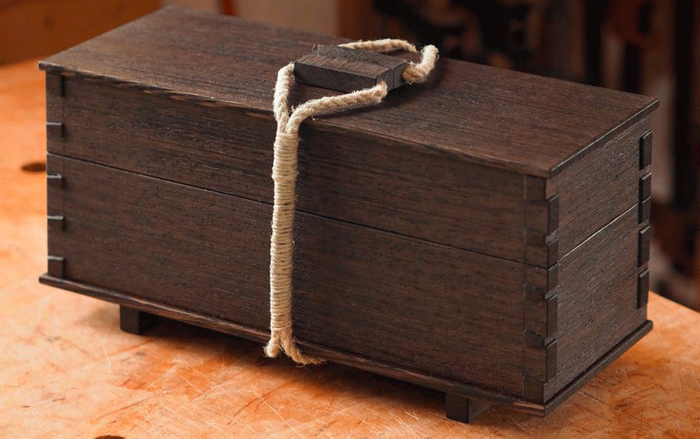
This box is a good example. It’s well proportioned, with clean lines, tight joints, and grain lines that meet perfectly at all four corners. I also picked complementary rather than contrasting woods. For the outside, I chose riftsawn cherry to take advantage of its warm, earthy color and straight, tight grain. I used quartersawn spruce, which also has an arrow-straight grain pattern, for the top and bottom. The straight, tight grain lines work well on a piece of this size. For the pull, I decided on cocobolo with a rich brown color and visible grain that make it pop from the rest of the box.
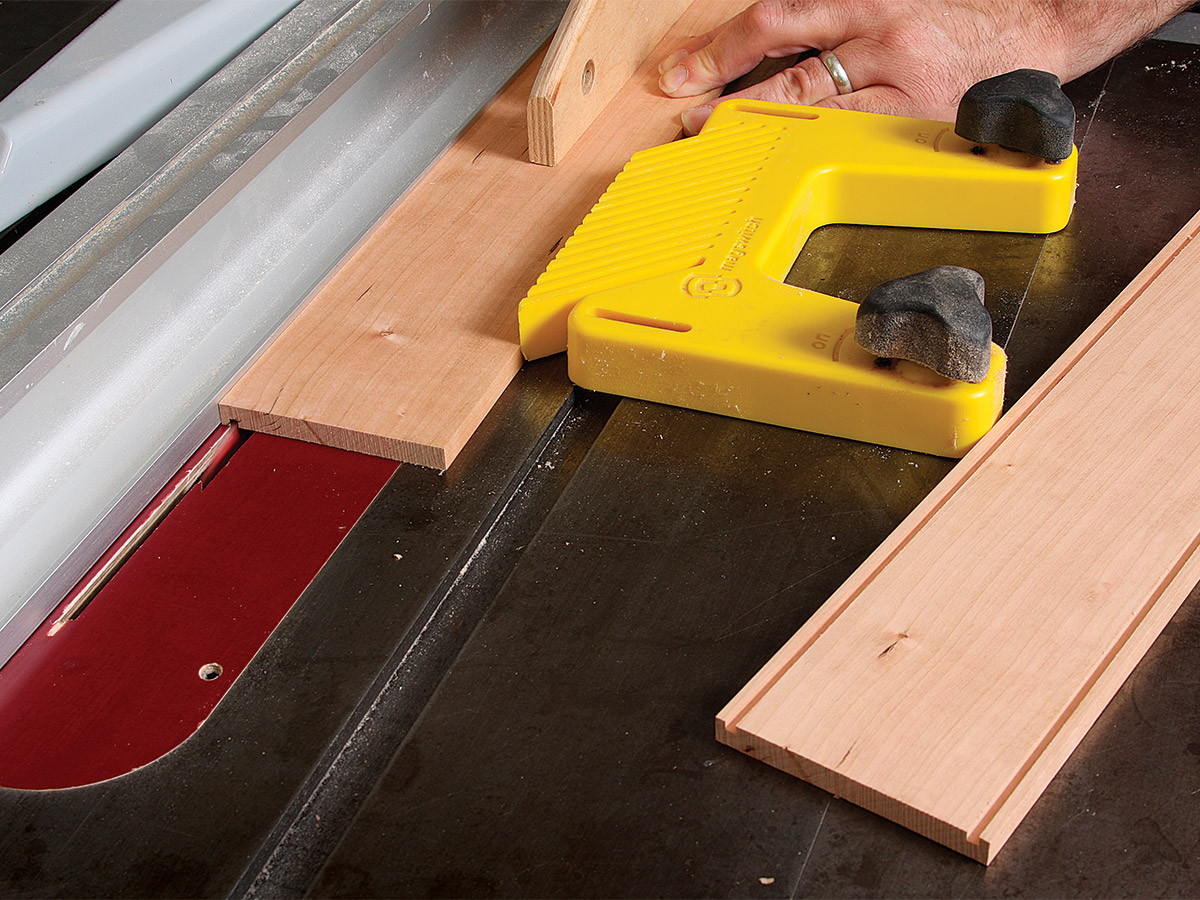
The top itself is grooved around its edges, with its bottom lip fitting a groove in the sides. This configuration gives the top a tight fit and also reduces its visual thickness. After final assembly, the lid is cut away from the box using the bandsaw.
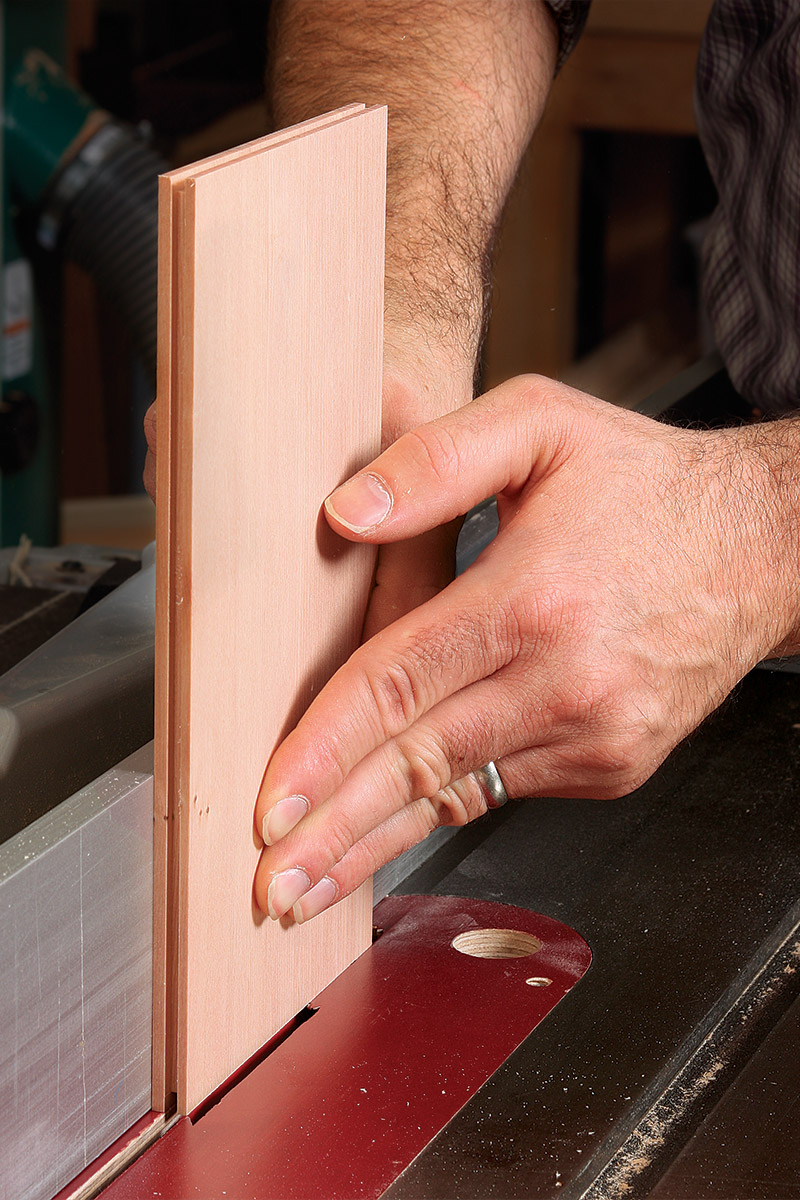
The box bottom is rabbeted to fit a groove in the sides and is left proud at the bottom to create a nice shadow line. The interior features two levels of stacked, mitered trays. These were built using the same technique as the rest of the box.
Plan the grain carefully
To get the four-corner match, start by resawing a 5/4 cherry board into two 1/2-in.- thick pieces. The board should be a few inches longer than the box’s final dimensions and about 1/4 in. wider. The outside faces of the thick board become the inside of the box, and the freshly sawn faces become the outside. One end and the front come from one board, and the other end and the back come from the second board.
Joint the resawn faces and plane them to 1/32 in. over final thickness, removing material only from the inside faces of the box.
At this point, the grain match at the corners where the two different boards meet will be close, but not perfect. Here’s how I dial it in. Lay the boards down, outside faces up, so that they butt against one another end to end. Shift one board up and down until its grain lines up with the other (see bottom left photo, opposite). One board will end up lower than the other. Trim the bottom of that board so that the bottom edges on both pieces align. Next, rip both pieces to final width, placing the bottom edges against the rip fence. Once the pieces are mitered, the grain should wrap around the box perfectly.
From Fine Woodworking #246
To view the entire article, please click the View PDF button below.
Fine Woodworking Recommended Products

Veritas Precision Square

Suizan Japanese Pull Saw

Festool DF 500 Q-Set Domino Joiner


Log in or create an account to post a comment.
Sign up Log in