A Better Way to Build Boxes
Simple jigs and sleds plus a no-clamp assembly method help speed the construction process.
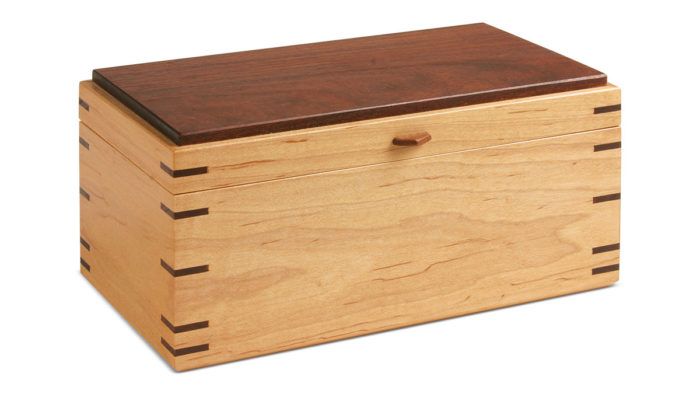
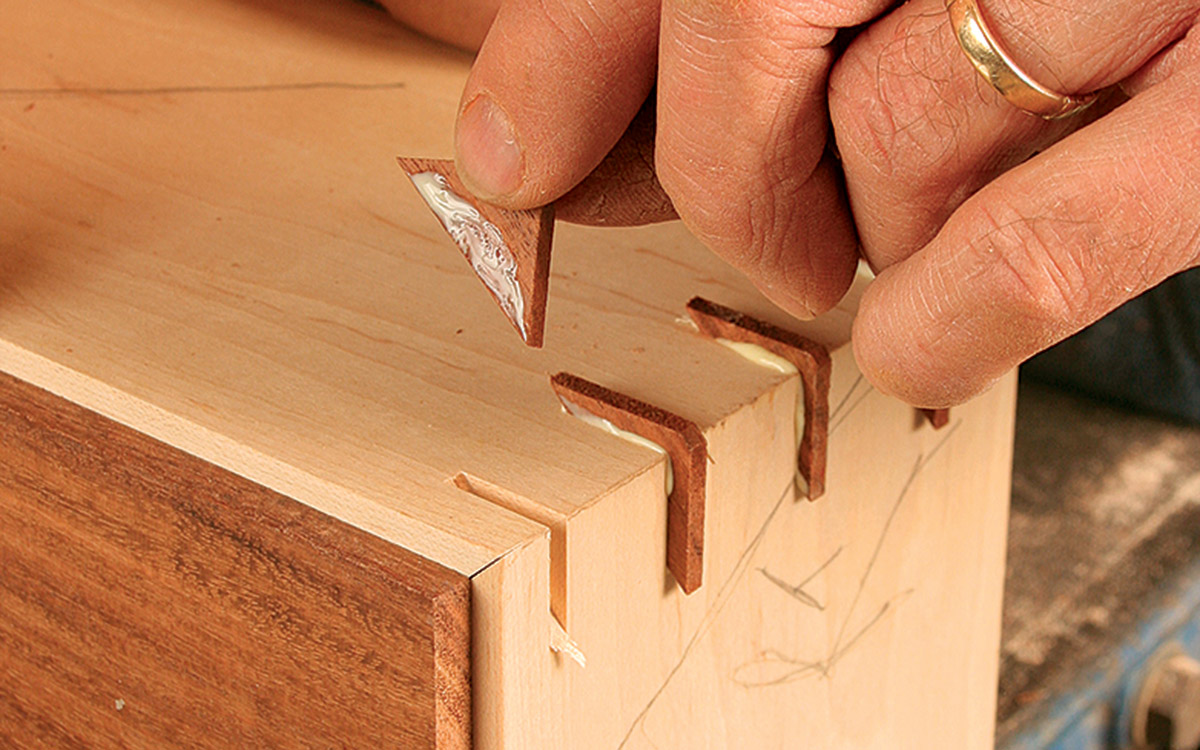
Synopsis: This striking box, with its maple sides and contrasting mesquite top, is one of Doug Stowe’s favorites and is an ideal project for demonstrating a continuous-grain construction method that is quick, simple, and elegant. The top is a floating panel that sits in a groove in the sides that serves two purposes: it makes the parts look thicker than they are, and it hides the gap for seasonal wood movement. The sides are joined with miters and splines. Simple jigs and sleds, plus a no-clamp assembly method help speed the construction process.
I began making and selling boxes in the 1970s, and I’ve made them in all sorts of sizes, shapes, and styles. This one, though, has always been a favorite. I’ve made it in a variety of woods, and I like how the sides create a visual contrast with the top and miter splines. I also like the top: It’s a floating panel but that’s not obvious at first. The secret is a groove in both the top and sides. When they come together, the top and sides seem thinner than they are and the gap for expansion and contraction is hidden.
The sides have continuous grain
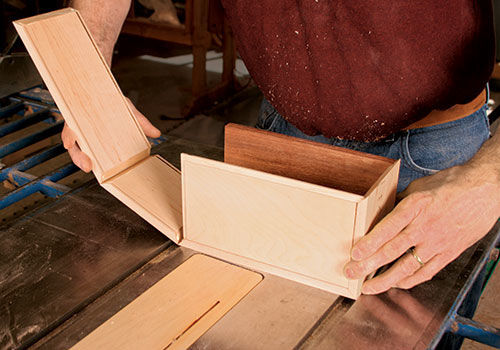
The sides are made from 3⁄8-in. stock, a suitable thickness for a small box. Because I like the appearance of the grain running continuously around all four sides, I add a few extra steps when preparing the stock. A continuous-grain look requires resawing, so start with stock milled flat to at least 1-1/8 in. thick. It should be about 4-1/2 in. wide and at least 16 in. long, a little longer than the length of the box front and one side.
Using a bandsaw, resaw the stock into two pieces, each just over 1/2 in. thick. Then move to the thickness planer to smooth and flatten the resawn side of each piece. Make light cuts until each piece is the same 3/8-in. thickness.
Lay out for continuous grain
Reassemble the sawn halves so the grain is arranged as it was before resawing. Then, open the halves like a book, with one end of the resawn board serving as the spine.
As you look at the two boards lying end-to-end, each with the resawn side facing up, keep in mind that each half must yield one front or back and one end. If an area of grain is especially striking, choose that section as the front and mark it in pencil. It doesn’t matter where the front falls on either half; as long as there’s room on each piece for one of the ends. Once the location of the front is decided, mark out the location of the back and ends. I also mark each side with an arrow pointing to the top edge of the box.
Sled and stop blocks ensure tight miters
Now you can cut the front, back, and ends to final length. I use a miter sled on the tablesaw with the blade tilted to 45° for all the mitering cuts. The procedure shown is for a left-tilt saw; for a right-tilt saw, make all the cuts from the opposite side of the blade.
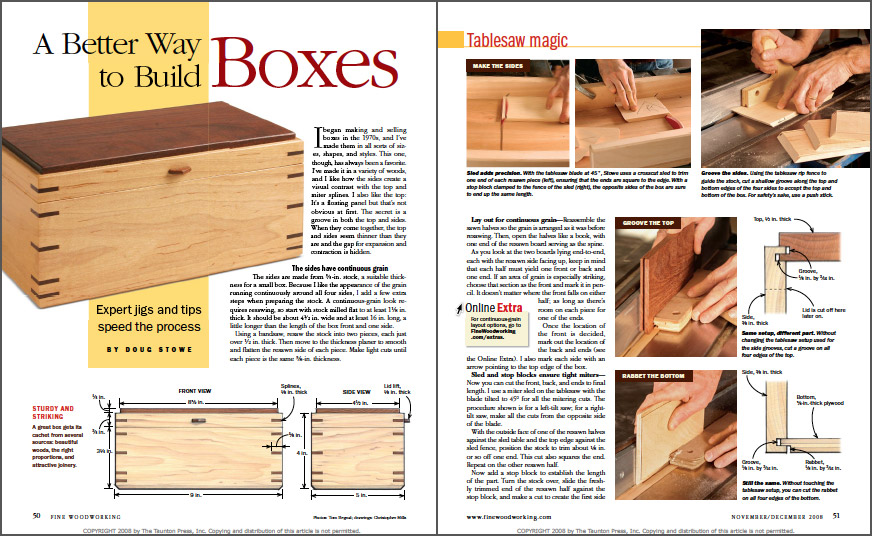
From Fine Woodworking #201
To view the entire article, please click the View PDF button below.
Fine Woodworking Recommended Products

Veritas Precision Square

Leigh D4R Pro

Starrett 4" Double Square


Log in or create an account to post a comment.
Sign up Log in