Workshop tip: Easy way to hide damage
Glue mixed with dry chips and dust gives a seamless patch.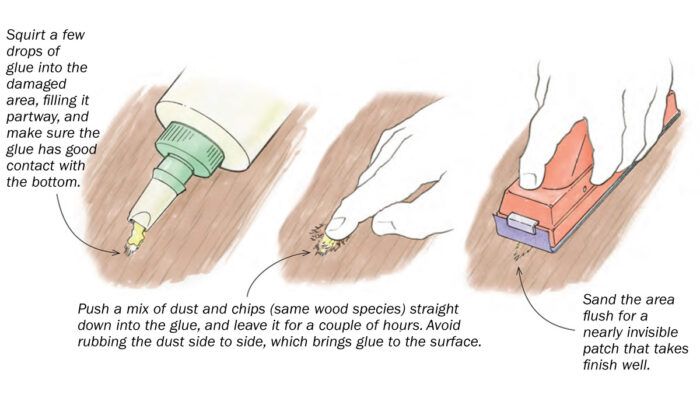
While it’s always best to fill gaps or damage with real wood if you can, that’s not always possible. In the past I’ve filled troublesome dings or damage with two types of material: a wax pencil or a mixed-up sludge of glue and sawdust. Frustratingly, the color of the wax pencil is never quite right and the dust/ glue gunk is always darker than the wood it’s made of.
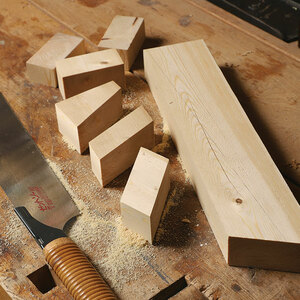
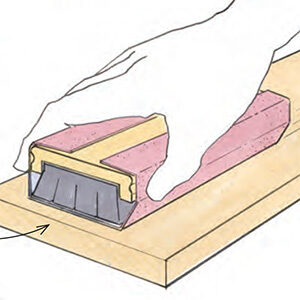
While planing some solid-wood edging flush on a recent cabinetry commission, I damaged the walnut plywood in a few spots, revealing the yellow glueline beneath the veneer. On a whim, I tried a new patching approach. I filled the little pit with a few drops of yellow glue, making sure the glue had good contact with the bottom. Then I mashed up some dry chips and dust from the solid walnut and pressed it onto the glue, pushing straight down without rubbing the chips from side to side. This keeps most of the glue away from the surface while still allowing it to hold the chips in place. Give the patch two hours to dry before sanding it level with a block. The patch takes any kind of finish well, with only the slightest darkening, making it really hard to find unless you tell someone it’s there. Resist the urge to do that!
—ASA CHRISTIANA, Portland, Ore.
Illustrations by Dan Thornton
From Fine Woodworking issue #292
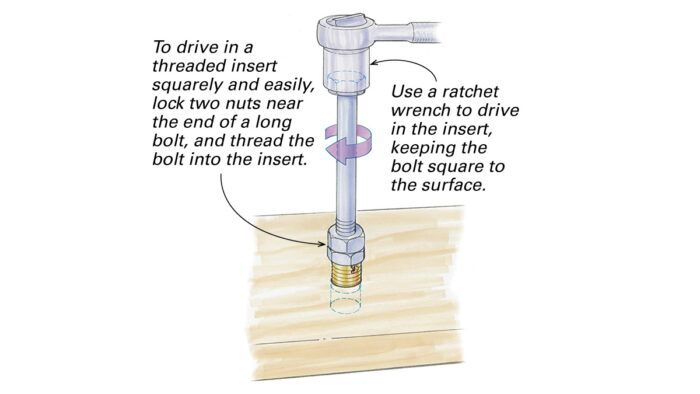 |
Workshop tip: Easy way to install threaded insertsAttach a long bolt to the insert and it will drive in squarely.
|
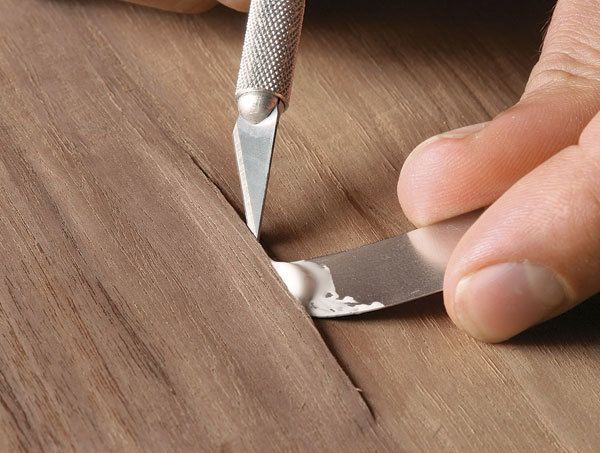 |
5 Smart Repairs for Veneering MistakesHow to make invisible fixes for common problems
|
 |
A Rust-free Winterized WoodshopHow to keep your tools from rusting during the cold winter months |
Fine Woodworking Recommended Products
3M Pro Grade Sandpaper
Waterlox Original
Diablo ‘SandNet’ Sanding Discs






Log in or create an account to post a comment.
Sign up Log in