D.I.Y. precision router base for rotary tools
Ben Strano makes a rotary tool base perfect for detailed inlay work for less than $5.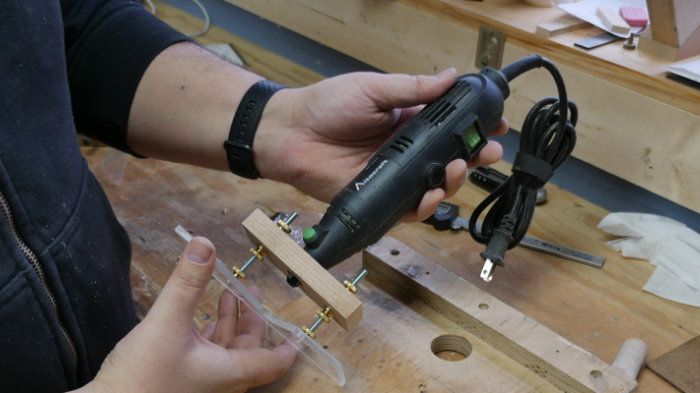
It’s no secret that I’ve been getting into luthiery lately. I’m a little more than a year into my quest, with two instruments behind me. In that short time, it’s become clear that while many of the tools luthiers and woodworkers use overlap, there are a lot of tools and accessories to buy if you’re going to be building fretted instruments from scratch. There are two obvious ways of obtaining these tools, jigs, and accessories. You can buy them, or you can make them. If you buy them, you should know they’re all pricey but worth it. If you’re like me, you’re likely to be making most of them, and buying the ones you just can’t make.
Bases for dremels and other rotary tools are readily available from luthier supply houses like StewMac and LMI, and from woodworking supplier Lee Valley. I’ve used them during an inlay class at Connecticut Valley School of Woodworking. They’re wonderful, and honestly, $65 for the Stew Mac base is well worth it. But like I said earlier, I need to save my money for items I can’t make.
After lots of researching on people who have made their own Dremel bases, I kept hitting the same wall as many others on the same quest. All of the bases thread onto the nose of the rotary tool. Dremel and most other rotary-tool manufacturers use a rare thread size on their tools. I can’t even remember what it was. While you can buy a tap that would fit it, they’re hard to find and just about the cost of a Stew Mac base if I remember correctly. Also, you’re likely to use it once, and that’s no way to save money.
I mulled this problem over for a few days, and the solution became so obvious I laughed. Unscrew the nose cap from the rotary tool and glue it to a piece of wood. Now you have the threads you need to be able to attach your rotary tool, and you didn’t need buy a tap. As far as I’m concerned, the nose cap serves no functional purpose when using the rotary tool off the base. I used a budget, no-name rotary tool that came with my CNC kit. If you use a Dremel brand rotary tool, you can purchase replacement nose caps easily. I couldn’t be certain it would fit my rotary tool so I just used the one off the tool.
Sourcing 1/4-in. plexiglass/acrylic for the base
I can list dozens of reasons why you should shop regularly at your local mom-and-pop hardware store, but this is one of my favorites. Home centers don’t cut plexiglass (or even plate glass) to size, so they don’t have scraps available. In fact, even many local hardware stores don’t do it anymore. If you find an old-school hardware store—usually one with creaky wood floors or a dog asleep in the corner–that’s where you want to start shopping from now on. Hardware stores don’t cut glass and plexiglass because it makes a lot of money (it doesn’t); they do it because they know it’s a huge pain in the rear for customers (it is) and it’s a service that keeps you away from the big guys. If you shop at this store often, you’ll probably get rewarded with free scraps. Cutting glass is simple, as is cutting 1/8-in. plexiglass. But 1/4-in. plexiglass is the dread of hardware store workers everywhere. Every single hardware store that cuts 1/4-in. plexiglass will have a pile of scraps that are too small for them to easily cut. If you ask nicely, you’ll likely get a piece for free. You’re going to cut it on the bandsaw, so the size isn’t much concern.
The build
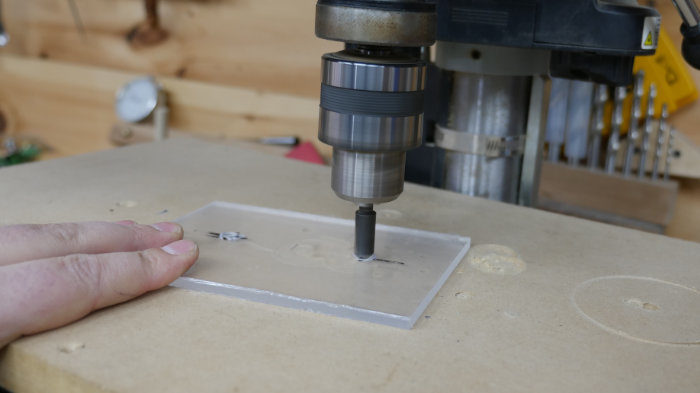
I started with a piece of 1/4-in. plexiglass that was roughly 6 in. by 4 in. I drilled two countersinks about 3 in. apart in the plexiglass. This will become the base of the router base.
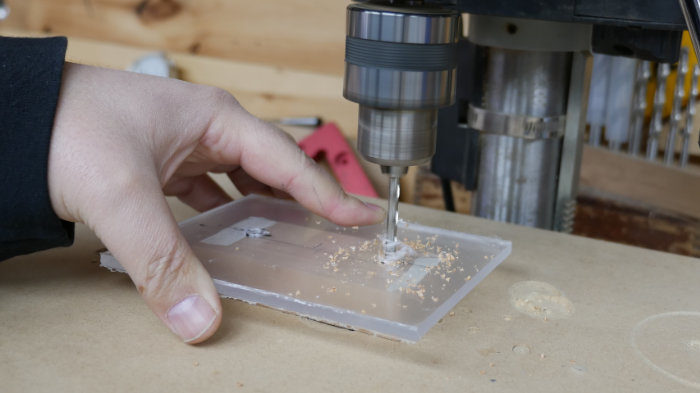
It’s hard to see in the photo above, but I used double-stick tape to attach a piece of wood destined to become the tool mount to the underside of the plexiglass and drilled a 3/16-in. hole through both pieces where the countersink was started.
 |
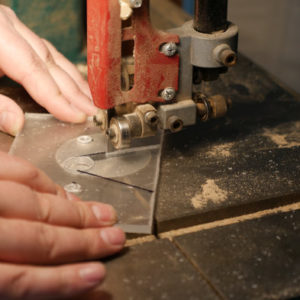 |
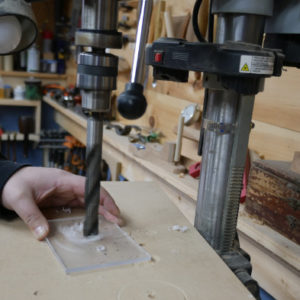
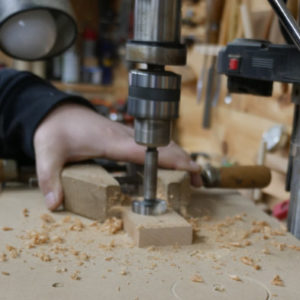
A 3/4-in. hole creates the center of the base cutout. After drawing some angled lines, I then brought the base to my bandsaw and cut out the rest using a regular woodworking blade. Use a sharp blade, go slow with the feed, and plexiglass cuts like a dream.
 |
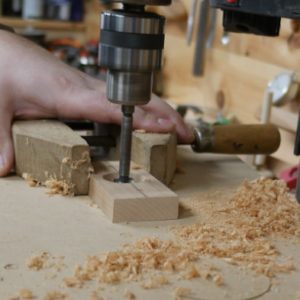 |
Back at the drill press, I drilled a hole wide enough (1-3/8 in. in my case) and deep enough to drop in the nose cap from my rotary tool. I finished it up with 5/8-in bit going through the base. I was left with a stepped hole.
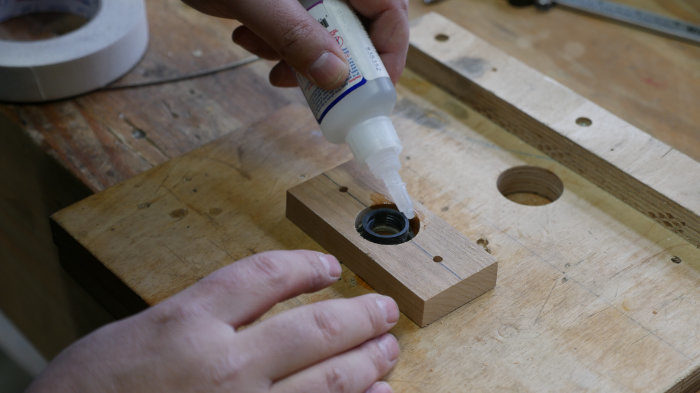
Using cyano-acrylate glue, I tacked the nose cap to the wooden tool mount. I tried to center it as best I could, but honestly I don’t think it would make a difference. While this is a “precision” base, it doesn’t have to be a precise build.
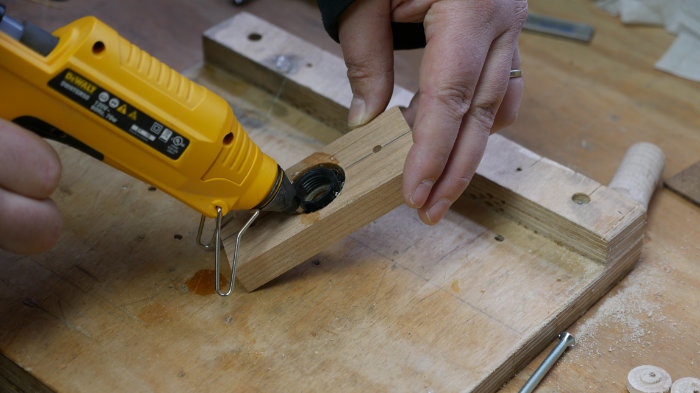
I then filled the rest with hot-melt glue. I know you think I’m crazy, but this piece has been hot-melt glued into the tool mount for about a year now, and it hasn’t shown one sign of letting go. Also, in theory I could heat up the glue and get the nose cap out again. I have no earthly idea why I’d ever want to do that though.
Put it all together with the hardware
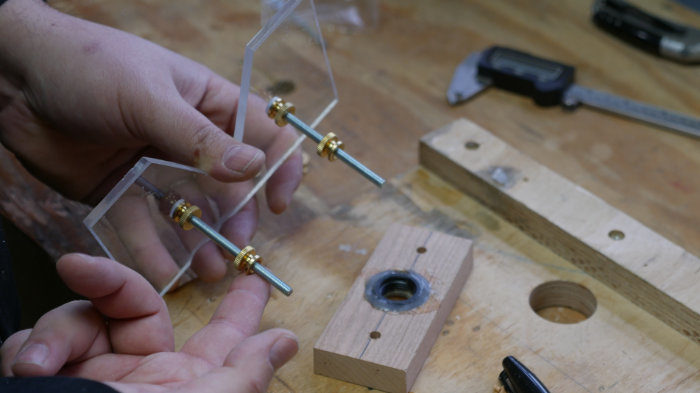
Two 3-in, #10-24 flat-head screws make up the posts of the router base. The most expensive part of the build are the six brass knurled huts. The two holding the plexiglass base could be regular nuts, but you can never have enough knurled nuts on something!
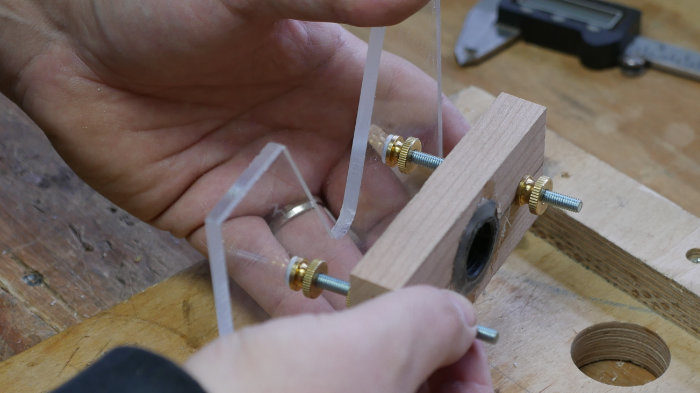
Two more knurled nuts attach the tool mount.
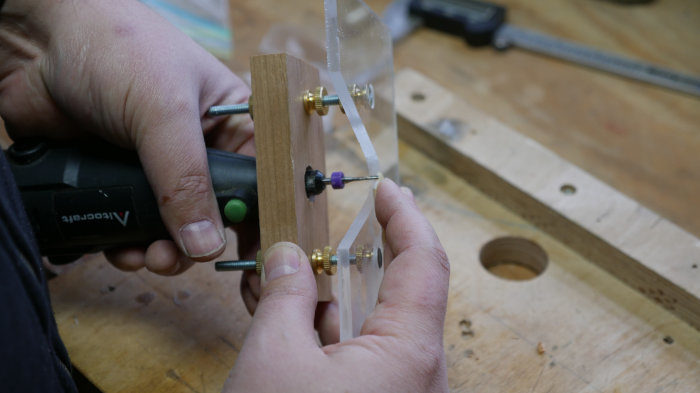
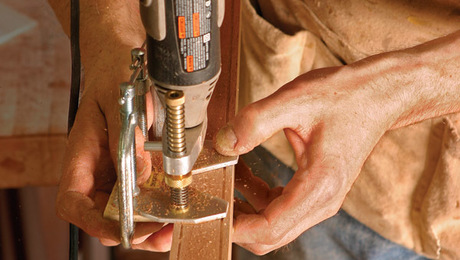
The depth is adjusted by loosening the top nuts, and one of the bottom nuts. Then loosen or tighten the last nut to lower or raise the tool mount on the base. Tighten up the nut above the nut you adjusted, and then tighten up the other nuts. It can certainly be finicky, but you’re saving at least $60!
 |
|
 |
|
 |
Fine Woodworking Recommended Products
Woodriver Circle Cutting Jig
MicroJig Matchfit dovetail clamps
Craftsman Random Orbit Sander





Log in or create an account to post a comment.
Sign up Log in