Make Your Own Banding
Router bits and hot sand create bandings with a striking 3D effect for decorating furniture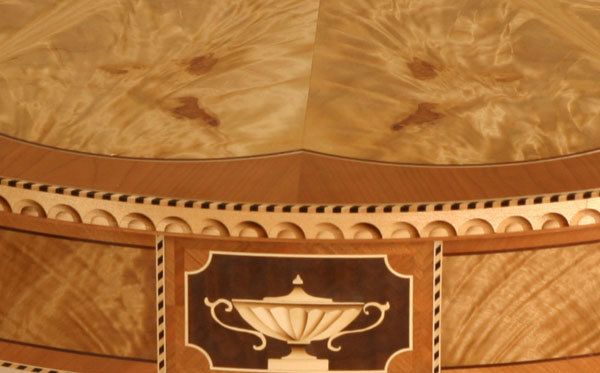
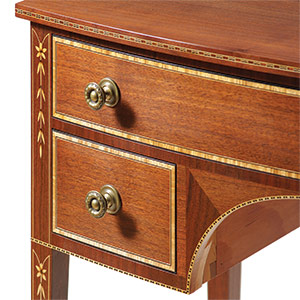
Most bandings rely on contrasting woods for their display, but this type of banding, known as a lunette, uses one species of wood and relies on shading caused by scorching the wood for its contrast. I used it to edge the top of this demilune table. You’ll need four router bits to make this banding (see source of supply at the bottom of the page), and 4/4 white-phase birch, clear maple, or holly.
Step One
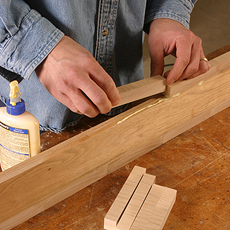
Begin by preparing about 6 board feet of stock to 7/8 in. thick. It needs to be 6 in. wide by 1-ft. to 2-ft. long. Keep one piece 40 in. long and set it aside. Cross-cut the shorter pieces into 13/16 in. lengths until you have about 50 pieces that measure 7/8 in. thick by 13/16 in. wide by 6 in. long with the grain running in the direction of the short width. Glue these pieces along several pieces of scrap keeping them butted, but not glued, together.
Step Two
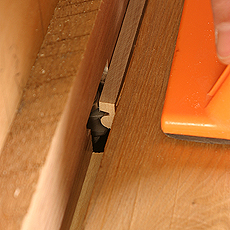
Install a 3/4 in. bullnose bit in the router table and use it to profile the edge of each piece.
Step Three
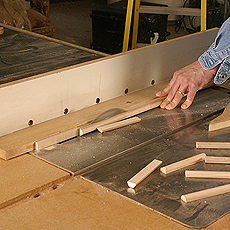
Rip the bullnose profile from the edge (slightly more than 3/8 in. wide), leaving about 3/8 in. of the birch still glued to the scrap.
Step Four
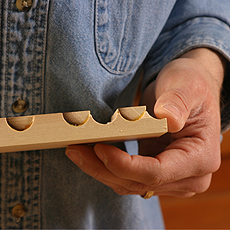
Switch router bits and use the 3/8 in. bullnose to profile the remaining 3/8 in. of birch material still glued to the scrap. This cut will produce the half-round section and leave a parallel tab of material as shown in the image below.
Cut the birch material from the scrap board by ripping it along the glue line. You’ll be left with a piece that is a proud 3/16 in. thick. Don’t remove the parallel tab of material until after you shade the pieces in the next step. Once shaded, you can rip the tab off on the bandsaw.
Step Five
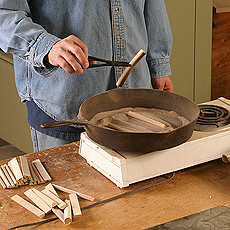
Using a hotplate and clean fine sand in a cast iron skillet, shade the entire width of each bull nose. For the best effect, shade the point that corresponds to two o’clock when viewing the bull nose with its flat down. Be careful not to char the wood. The pieces will become slightly deformed but are still useable.
Step Six
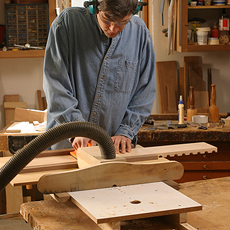
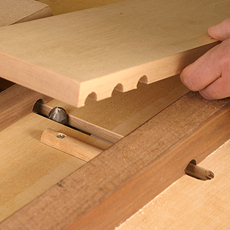
Mount the 3/4 in. core-box bit in the router table and use a sliding wooden sled set up with a half-dowel to index the cut. Then rout 3/8-in. deep grooves 3/4 in. apart.
Step Seven
Do not attempt to route every groove as the short-grain near the points of tangency is very brittle. By routing every other groove first, you will avoid frustration.
Step Eight
With their shaded portions oriented in the same direction, glue the bullnose pieces into the 3/4-in. wide grooves. When the glue has cured, plane the pieces flush to the work piece.
Step Nine
Place the workpiece back on the sled and align it so that the bit will cut a groove that just touches the first bullnose piece. Clamp the workpiece to the sled. After you rout the first two grooves, check that alignment is correct. If not, adjust the half-dowel indexer on the sled. Continue cutting the remaining grooves between the bullnose inserts.
Don’t worry about small amounts of tearout near the top of each cut. These won’t be visible one the second line of bullnose pieces is glued in.
Step Ten
Glue in the remaining 3/4 in. bullnose pieces, again paying attention to the orientation of the shading. Plane these flush when the glue has dried.
Step Eleven
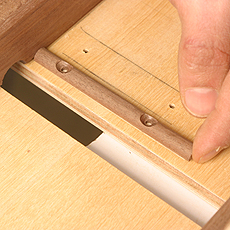
Attach a 3/8 in. piece of bullnose molding to the sled exactly halfway between where the 3/4 in. molding was and the slot for the router bit. Use double-sided tape initially, and then screw it down once the location is tested.
Step Twelve
Cut 3/16-in.-deep grooves using the 3/8 in. core-box bit through the center of each bullnose, but this time cut all of them at once as the material between the grooves is substantial.
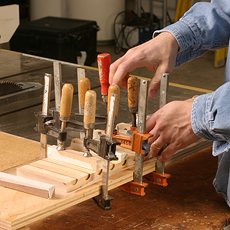
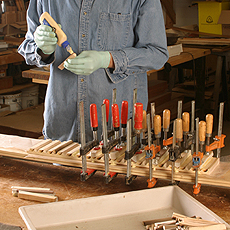
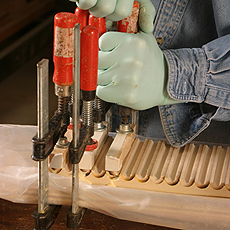
Then begin gluing the small half-round pieces into the grooves. You will only be able to glue in every other bullnose piece to leave room for clamping so this will take two rounds of glue up. Orient their shaded sides in the opposite direction of those of the 3/4 in. bullnose pieces.
When the glue is cured, plane the bullnose pieces flush. If desired, material may be removed from the opposite face to achieve the proper thickness.
Step Thirteen
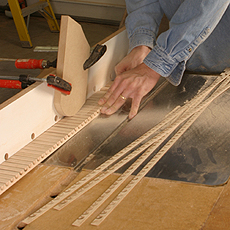
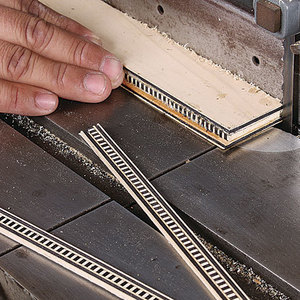
With a zero-clearance insert and a thin-kerf blade buried in a MDF hold down clamped to the fence, rip 3/64-in wide strips of banding.
Step Fourteen
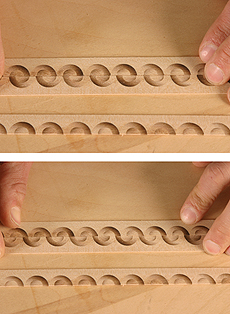
The banding can either be used as a single strip, or several interesting variations can be made by flipping the banding end-for-end and/or book matching.
| SOURCES OF SUPPLY: www.mlcswoodworking.com www.woodworker.com 3/4 in. bullnose MLCS #7764, Woodworker’s Supply #819-718 |
Photos by Mark Schofield
Fine Woodworking Recommended Products
Whiteside 9500 Solid Brass Router Inlay Router Bit Set

Bahco 6-Inch Card Scraper









Log in or create an account to post a comment.
Sign up Log in