
After marking his cut, he used a bench hook to make it.
Here are just a few moments from day three of Williamsburg’s great annual conference on woodworking in the 18th century. Go here for days one and two, and here to find out more about this great event and think about attending next year!
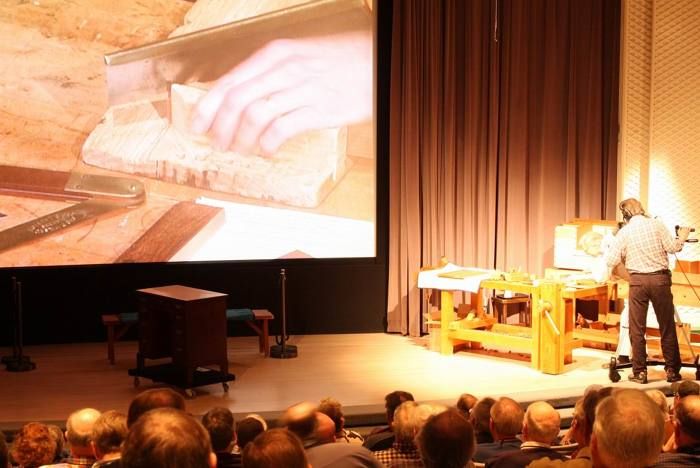
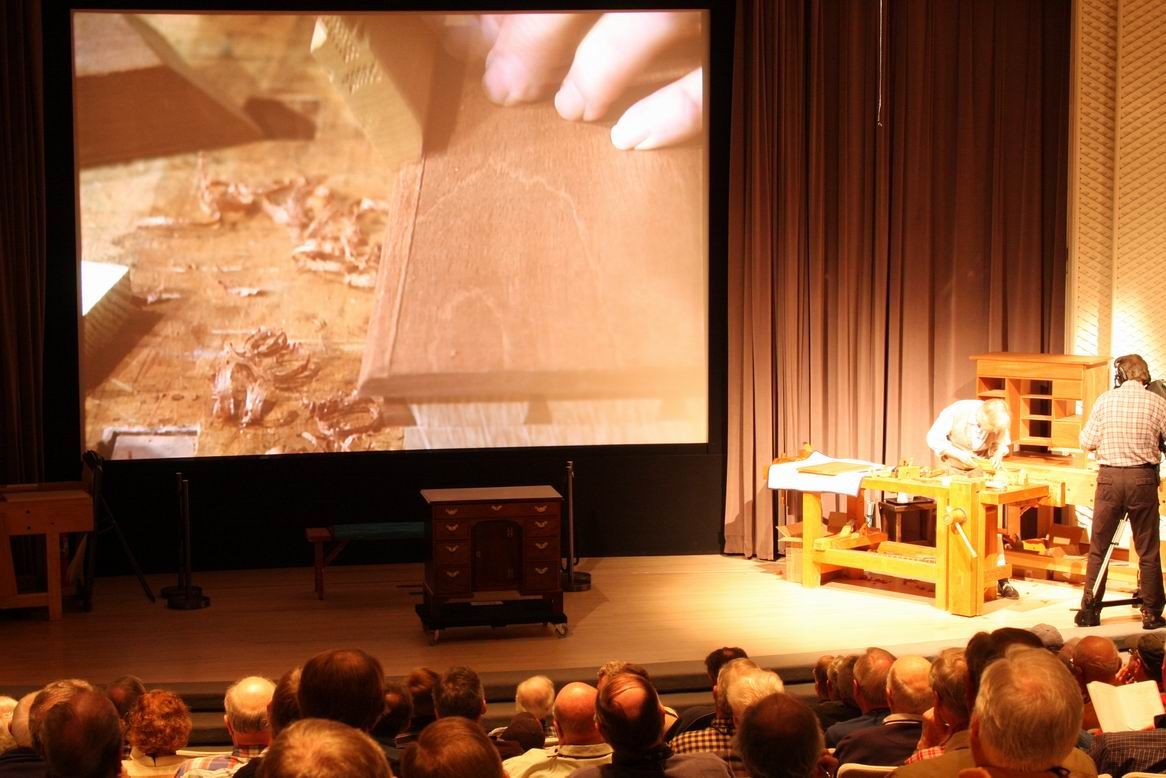
This morning, Williamsburg’s Kaare Loftheim continued fitting parts to the bureau table this morning–drawer dividers, moldings, feet–explaining that you fit to what is there, or “you go with what you got.” So true, and always worth repeating. He also mentioned the merits of hide glue: easier cleanup, and no problem with finishing if you miss some.
Nailing cleats on the bottom, to support the base moldings and feet, he explained that he often drills the top piece when using wrought or cut nails. It stops the wood from splitting (he was using yellow pine, which is pretty dense), and the holes also let you put the nails in place beforehand and tap them in when you get the piece positioned just right. Nails were the best way to fasten these cleats, which go cross-grain on the bottom of the case, and could split it if not for some flexibility in the fasteners.
For the overlay drawers, he showed how you fit the rabbet in the drawer front into the drawer pocket, as opposed to the edge as you would with a flush, inset drawer. And then when the rabbet fits nicely, you cut the half-blind pins along the edges. He cut the pins first, since they are very narrow in this reproduction, and it would be next to impossible to fit his knife between the tails to transfer their layout if you cut tails first.
He also cut the beautiful thumbnail molding on the fronts of the drawers, using hand planes, first using a rabbet plane (filister) to remove some stock and create a sharp fillet, and following with a hollow plane to mold the edge. He pulled the hollow plane backward at the far edge, to prevent the grain from chipping out, especially when working on the ends (end grain) of the drawers.
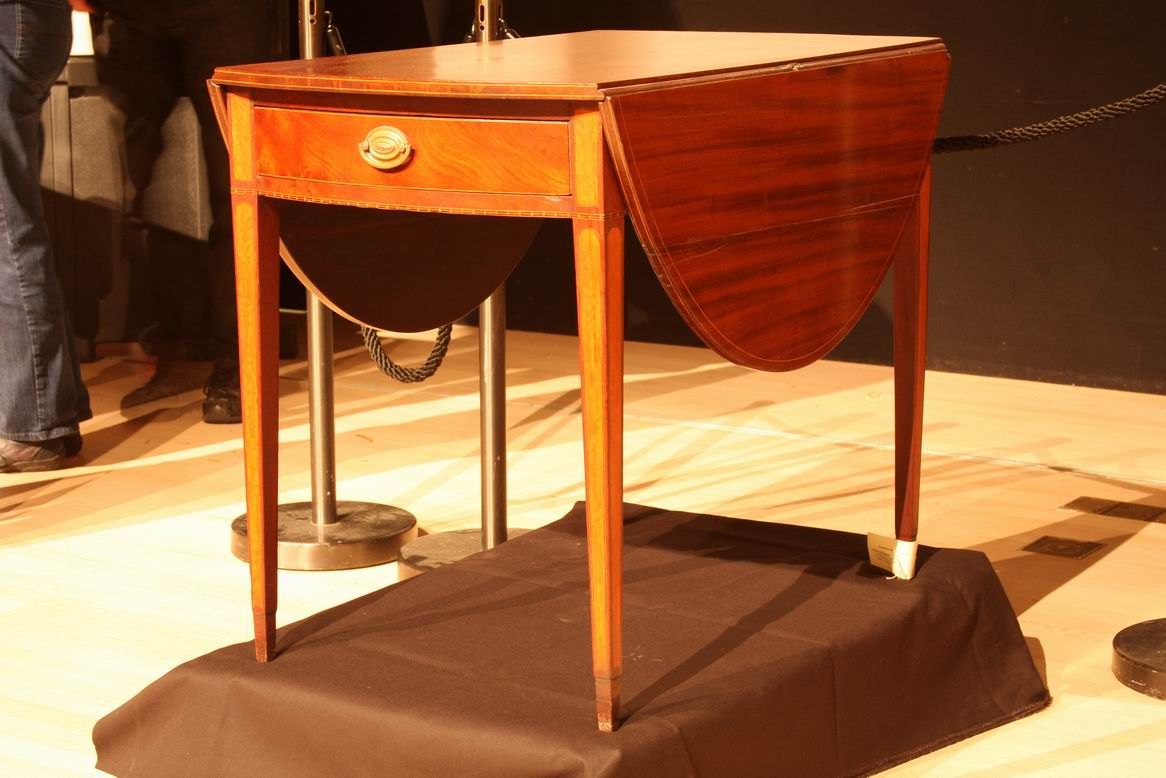
Pembroke continued: Rule joint
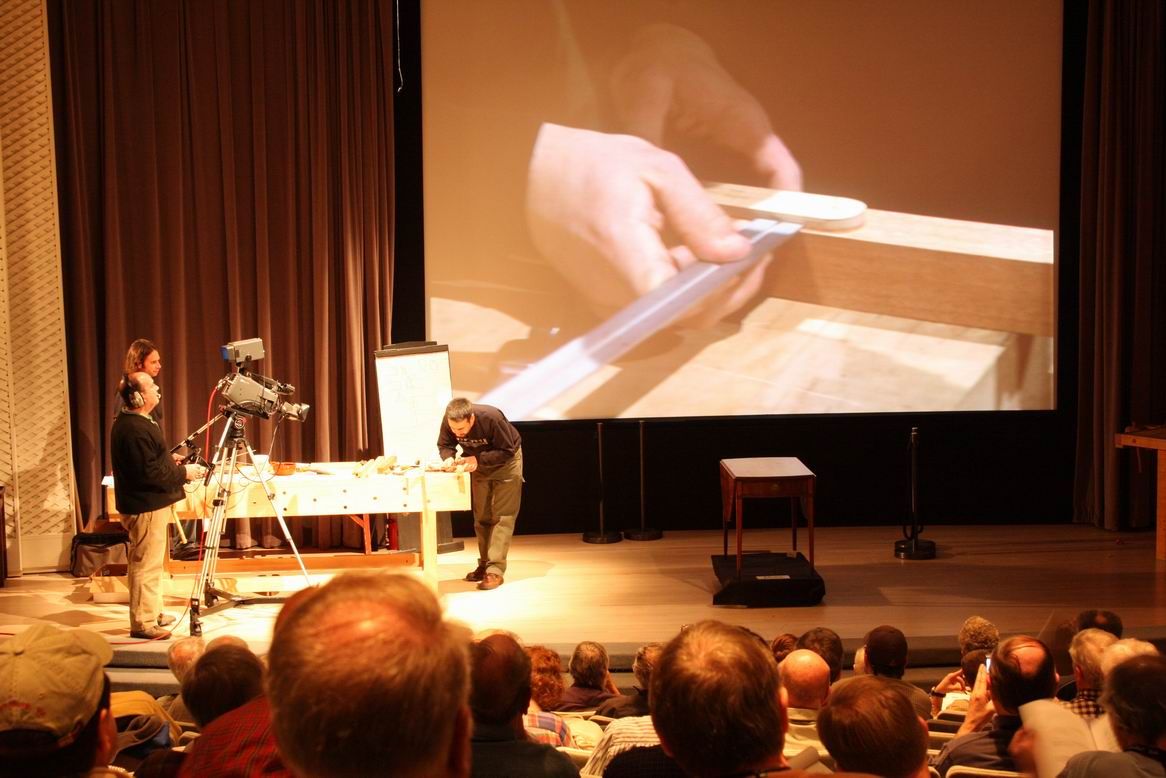
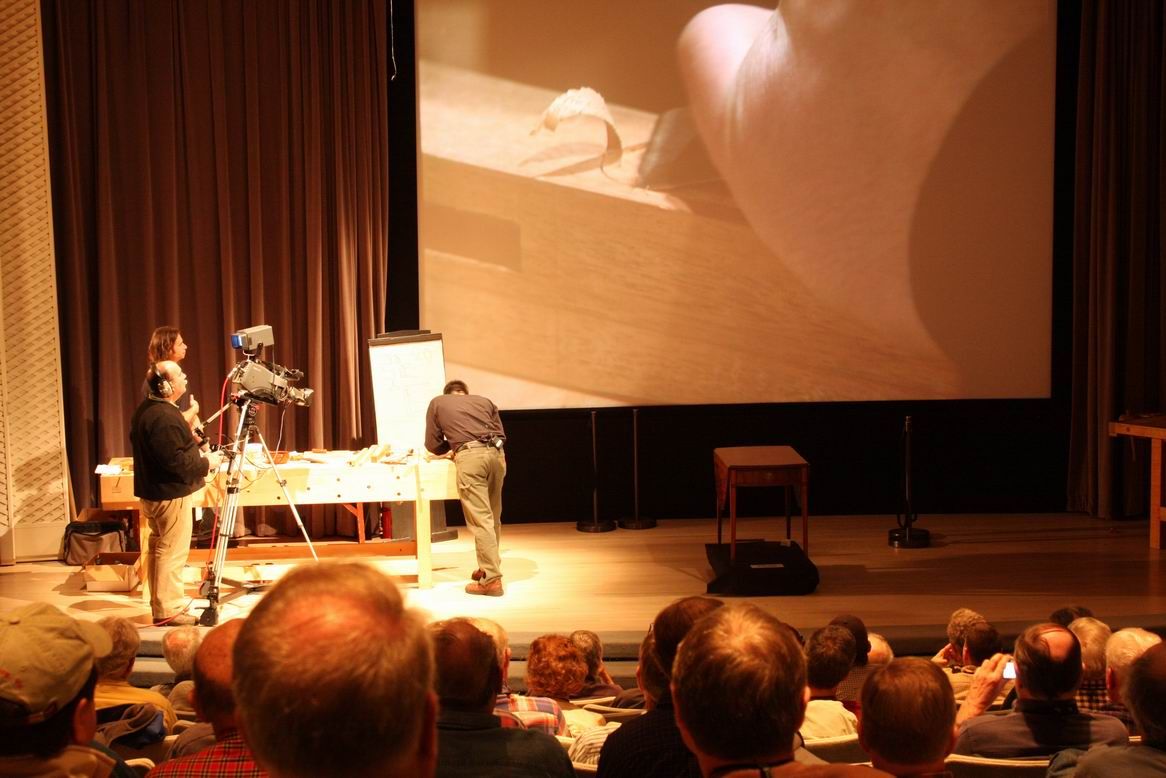
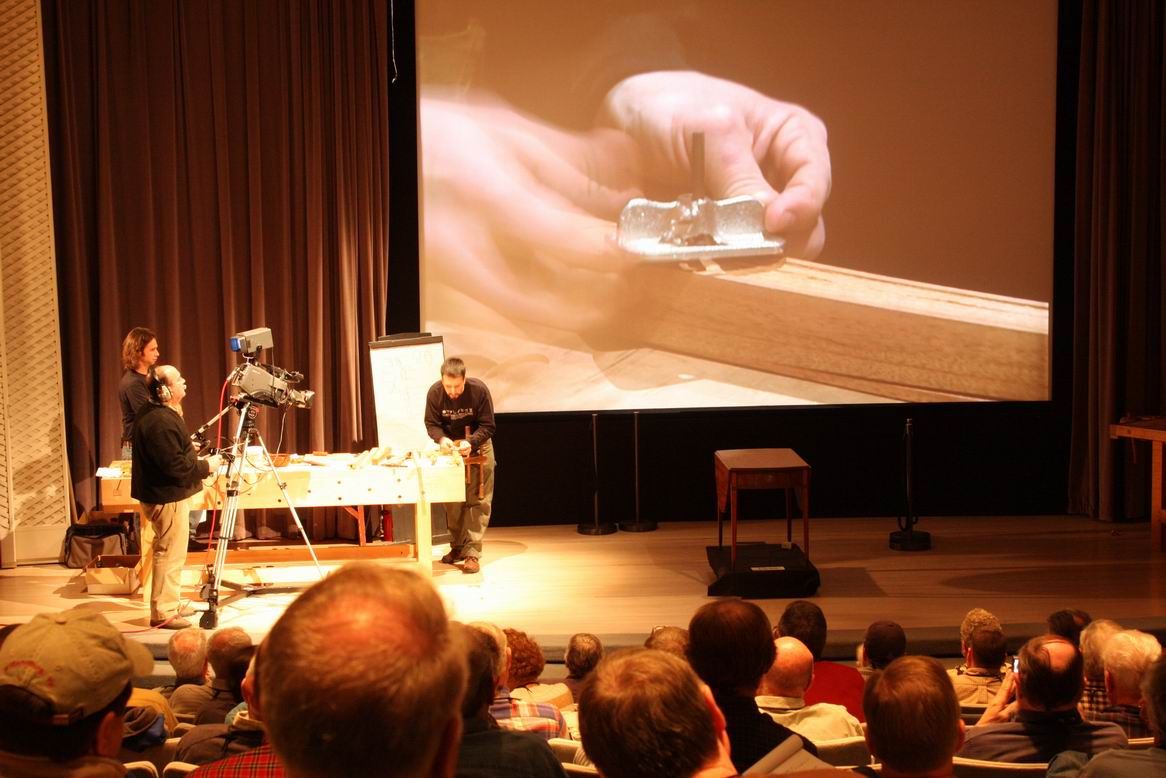
Then Dan Faia and Matt Wajda from North Bennet returned to the stage to continue work on the Pembroke table, moving on to the rule joint, called a table joint at the time. One of the best things about this Williamsburg event is how the presenters are also students of history, able to connect their skill and technique demos with the context of the time.
Dan wondered why the specialized planes used for this joint were so rare, and speculated that many cabinetmakers formed the joint using a filister and hollows and rounds–the same way Kaare formed the thumbnail molding on the bureau drawers–or even just a scratch stock and carving tools. Interestingly, on the original table from Mount Vernon, the curved part inlay profile and the radius of the rule joint match each other and can be done with the same gouge! Perhaps they were, if that shop lacked the pair of specialized table-joint planes needed for the job.
In a departure for this conference, Matt (a pro woodworker in northern New Hampshire) described how he does this joint at home, with a shaper and a power feeder, using a climb cut. This eliminates any tearout, as well as the usual bobbles that come from hand-feeding. The climb cut would also be impossible hand-held, where the board would become a projectile! But even though he uses the shaper, he still uses a shoulder plane and card scrapers to fine tune the fit of the two mating moldings in this joint.
Matt also explained why the layout is so critical, since you must get the axis of the hinges in just the right position for the joint to work well.
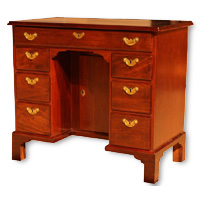
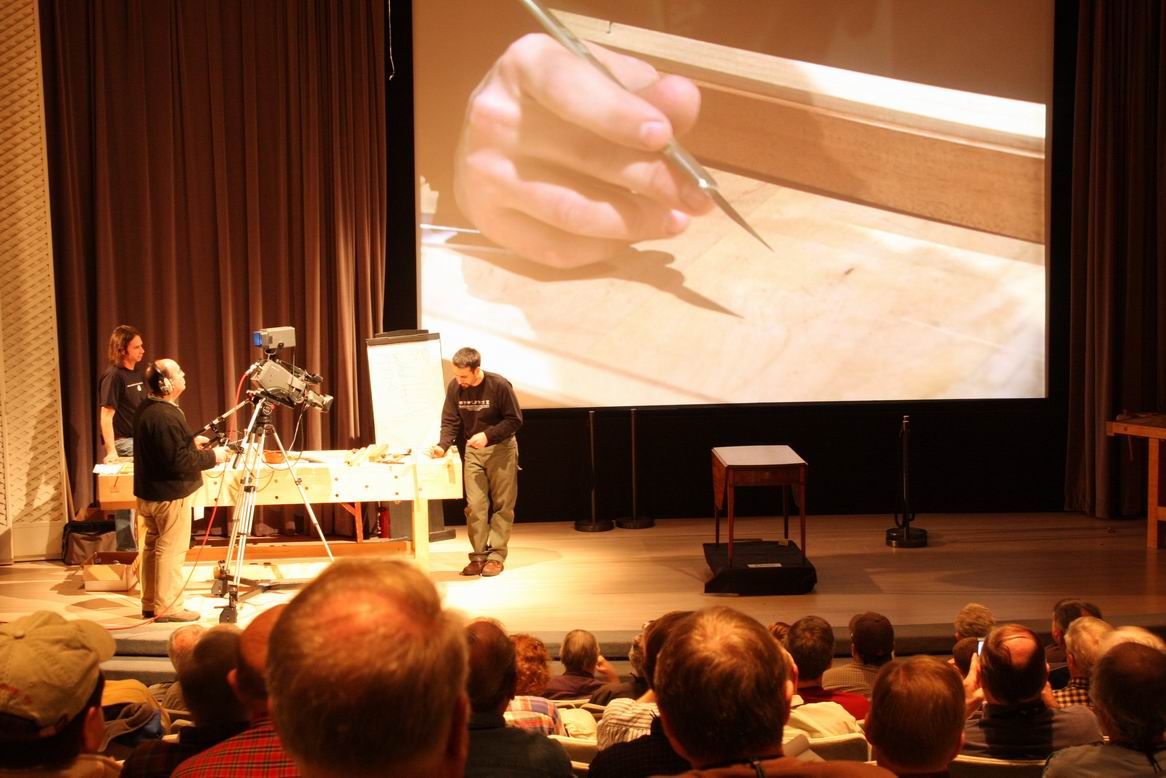
Then Dan turned to the inlay, first putting in the satinwood panels, and then the stringing that surrounds them. He had a lot of these panels to make, so said he started by making a template for the panel, which he tacked onto his thick shopsawn veneers. Then he flush cut the veneer pieces on the tablesaw, using an L-fence setup, though one could also use a router table and a flush-trimming bit. Then he just laid out the curved ends, and chopped them by hand with a flat chisel, nibbling up to the line. It doesn’t have to be a perfect fit, since the stringing will fill any gaps.
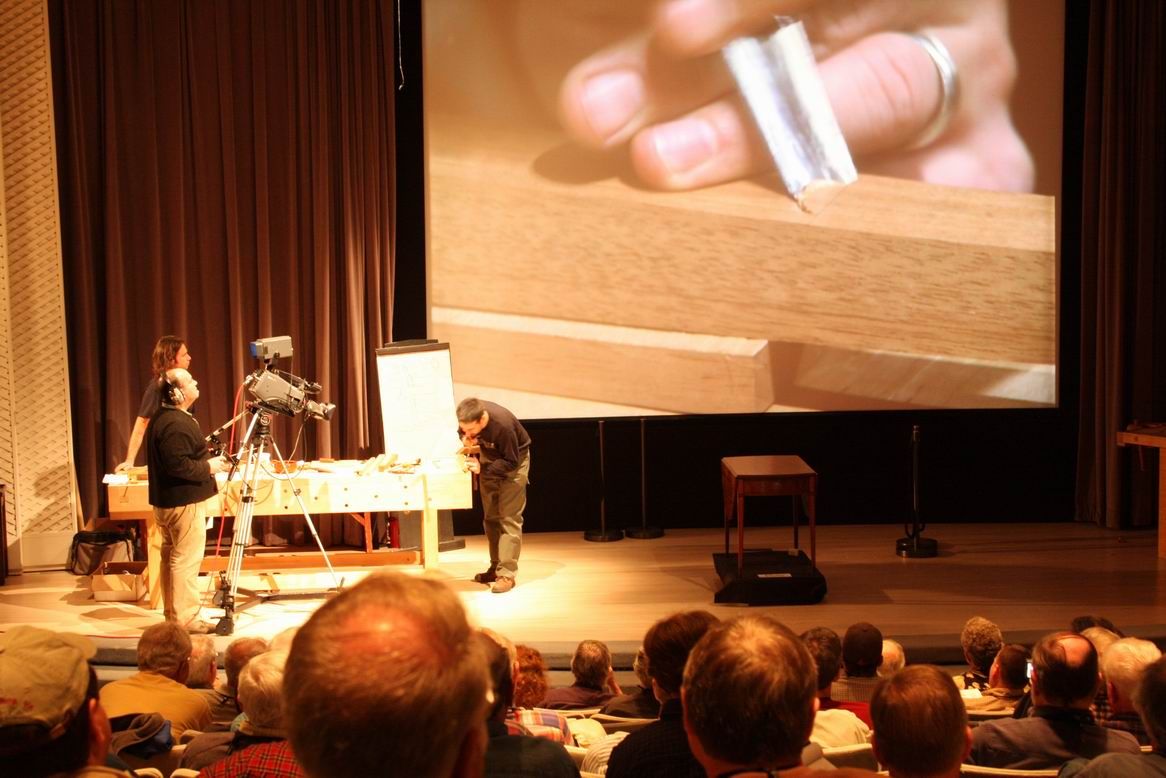
Afterward, he used the same pattern to lay out the leg, tracing around it with a knife, and then using gouges to work from the inside toward his scribe lines, excavating the broad, flat cavity needed to hold the veneer. He roughed out the center with a shallow gouge, and finished off the bottom of the cavity with a router plane. It was amazing how quick and sure the process was using just a few chisels and gouges, and working toward clean scribe lines on the outside edge.
He made a point to show the post-mortem knife he favors for inlay work (and the occasional autopsy?). It has a longer, stiffer blade then an Xacto knife, and is available from Whitechapel. Great find.
Faia made a veneer sandwich to get stock for the black-white stringing, and told a funny story about how he got these two-ply pieces to bend for the curved ends of the inlay: he rubbed them against the hot-water pipes in his basement! That was enough heat to get them to bend without splitting.
As always, there are just too many wonderful tips and tricks to list in one blog, but that’s a sense of what happened this morning at Woodworking in the 18th Century, at lovely Colonial Williamsburg. For just one more morsel, check out Tim Killen’s blog on creating a SketchUp drawing of the elliptical window that was also reproduced at this conference.
-
After marking his cut, he used a bench hook to make it.
-
Loftheim used another clever bench jig--an -L-shaped block to protect the molding from his holddown, with a ramp on the end to guide a wide chisel when fine-tuning the miter. He could even cheat the angle a bit to match the mating piece.
-
Presenters often show a few slides from their research and investigation. Kaare Loftheim showed the cleats on the bottom of the bureau table, where the base moldings and feet are attached.
-
Lofthiem molded the edges of the drawer front by first cutting a clean rabbet, and then breaking out this hollow plane to form the thumbnail profile.
-
The presenters also set up in the foyer areas after their demos, to field questions and chat. Loftheim took a moment to show me how he fit the base moldings one at a time.
-
Dan Faia and Matt Wajda continued work on their handsome Pembroke reproduction.
-
With lots of leg inlay to do, Faia suggested making a template, instead of fitting each piece individually. He attached it with nails, driving them in only halfway so he could tap their heads sideways to fine-tune the alignment. Good trick.
-
Faia finds the stiff blade on a post-mortem knife to be perfect for scribing around inlay. Cool tool find, available now from Whitechapel.
-
After knifing the perimeter, Faia began back-cutting toward the incised lines, creating a clean edge all around.
-
He continued up the straight sides of the cavity.
-
He made a slick move at the curved top, using a flat chisel, pivoting the corner of the tool from outside toward the apex to work down-grain, and doing the same in the other direction.
-
After cleaning out most of the waste in the center of the cavity with a shallow gouge, he finished the job with a router plane, leaving a perfectly flat bottom for a good glue bond with the veneer. His thick satinwood veneer panel dropped in perfectly, to applause from the crowd.


Comments
Enjoying your comments very much. I grew up just a few miles from Williamsburg; been there many times. Never been to this event however; will definitely put it on my "wish" list for next year.
Thanks
Thanks, Keith. Sorry for the so-so photos. It was tough to get good ones without getting in the way, but I'm glad you got the overall flavor of this fine event. Hope to see you there next year!
Log in or create an account to post a comment.
Sign up Log in