
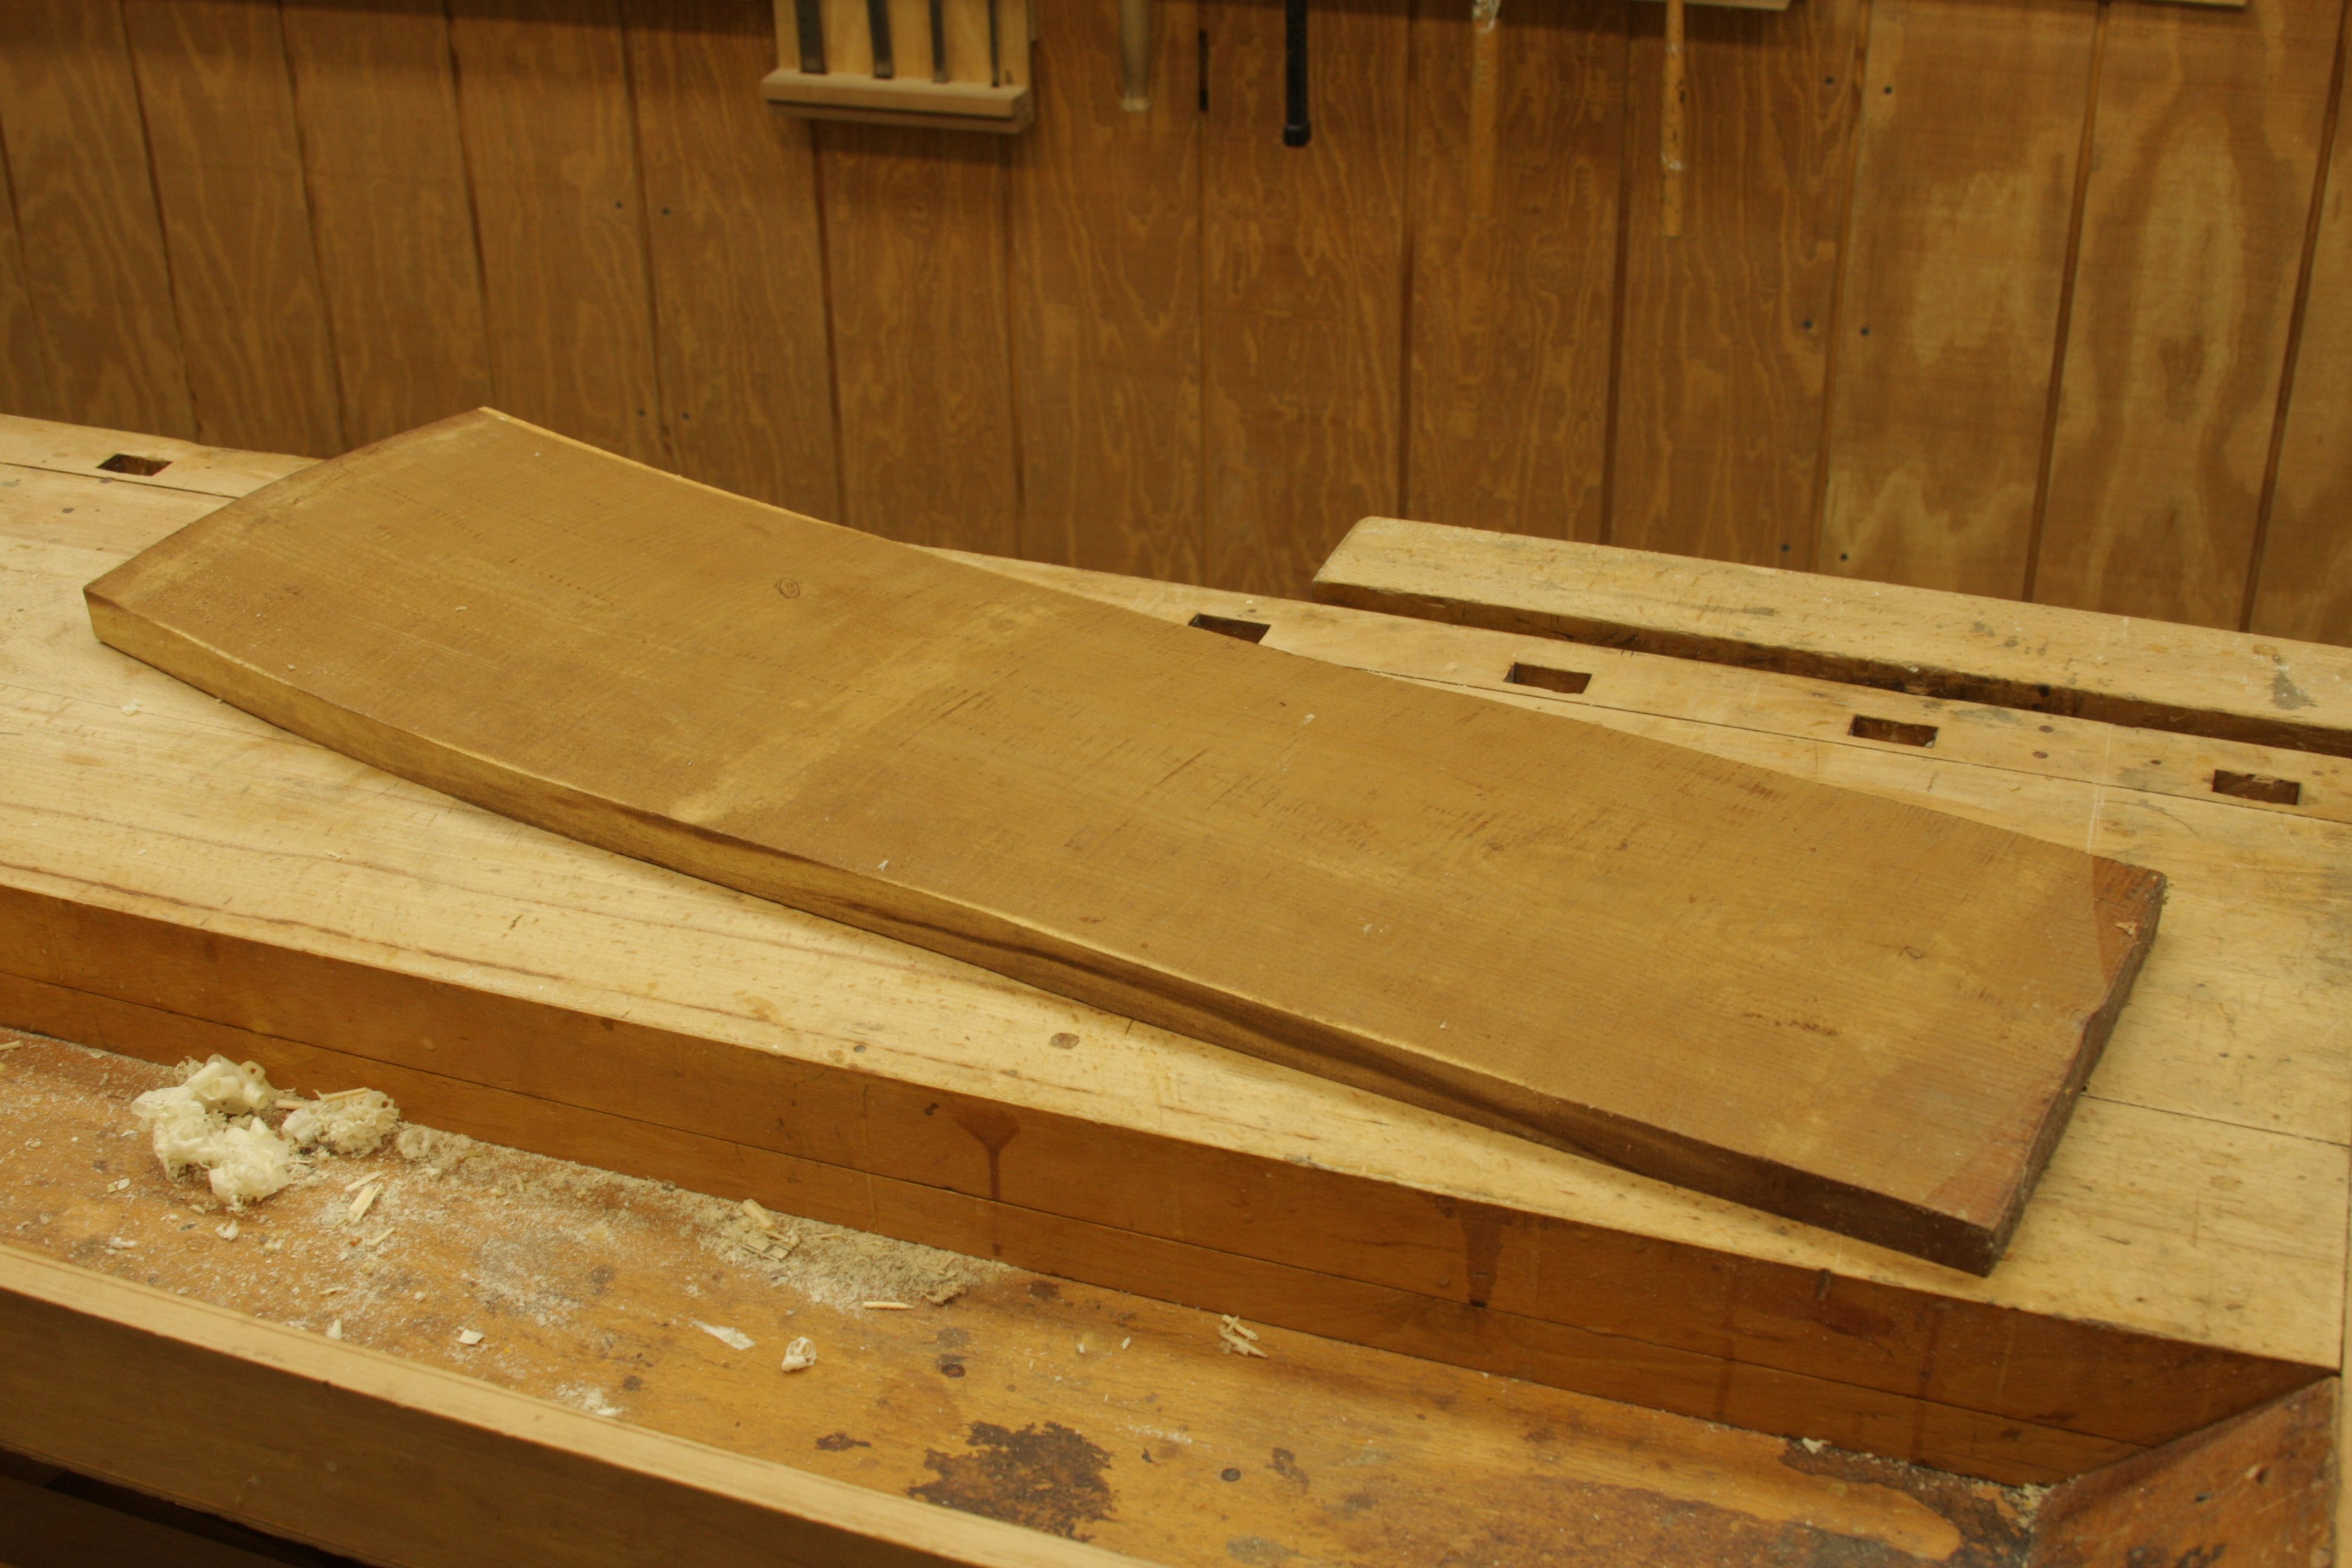
Start by choosing any hardwood board. This piece happen to be mulberry, 33" long by about 10" wide.
These cutting boards work well for fruits, vegetables, bread, or for simply carrying items to the dinner table.
-
Start by choosing any hardwood board. This piece happen to be mulberry, 33" long by about 10" wide.
-
Joint one side flat and then plane the opposite side smooth. I stopped as soon as the rough sawn marks were gone and it ended up being about 7/8" thick, but any thickness is fine.
-
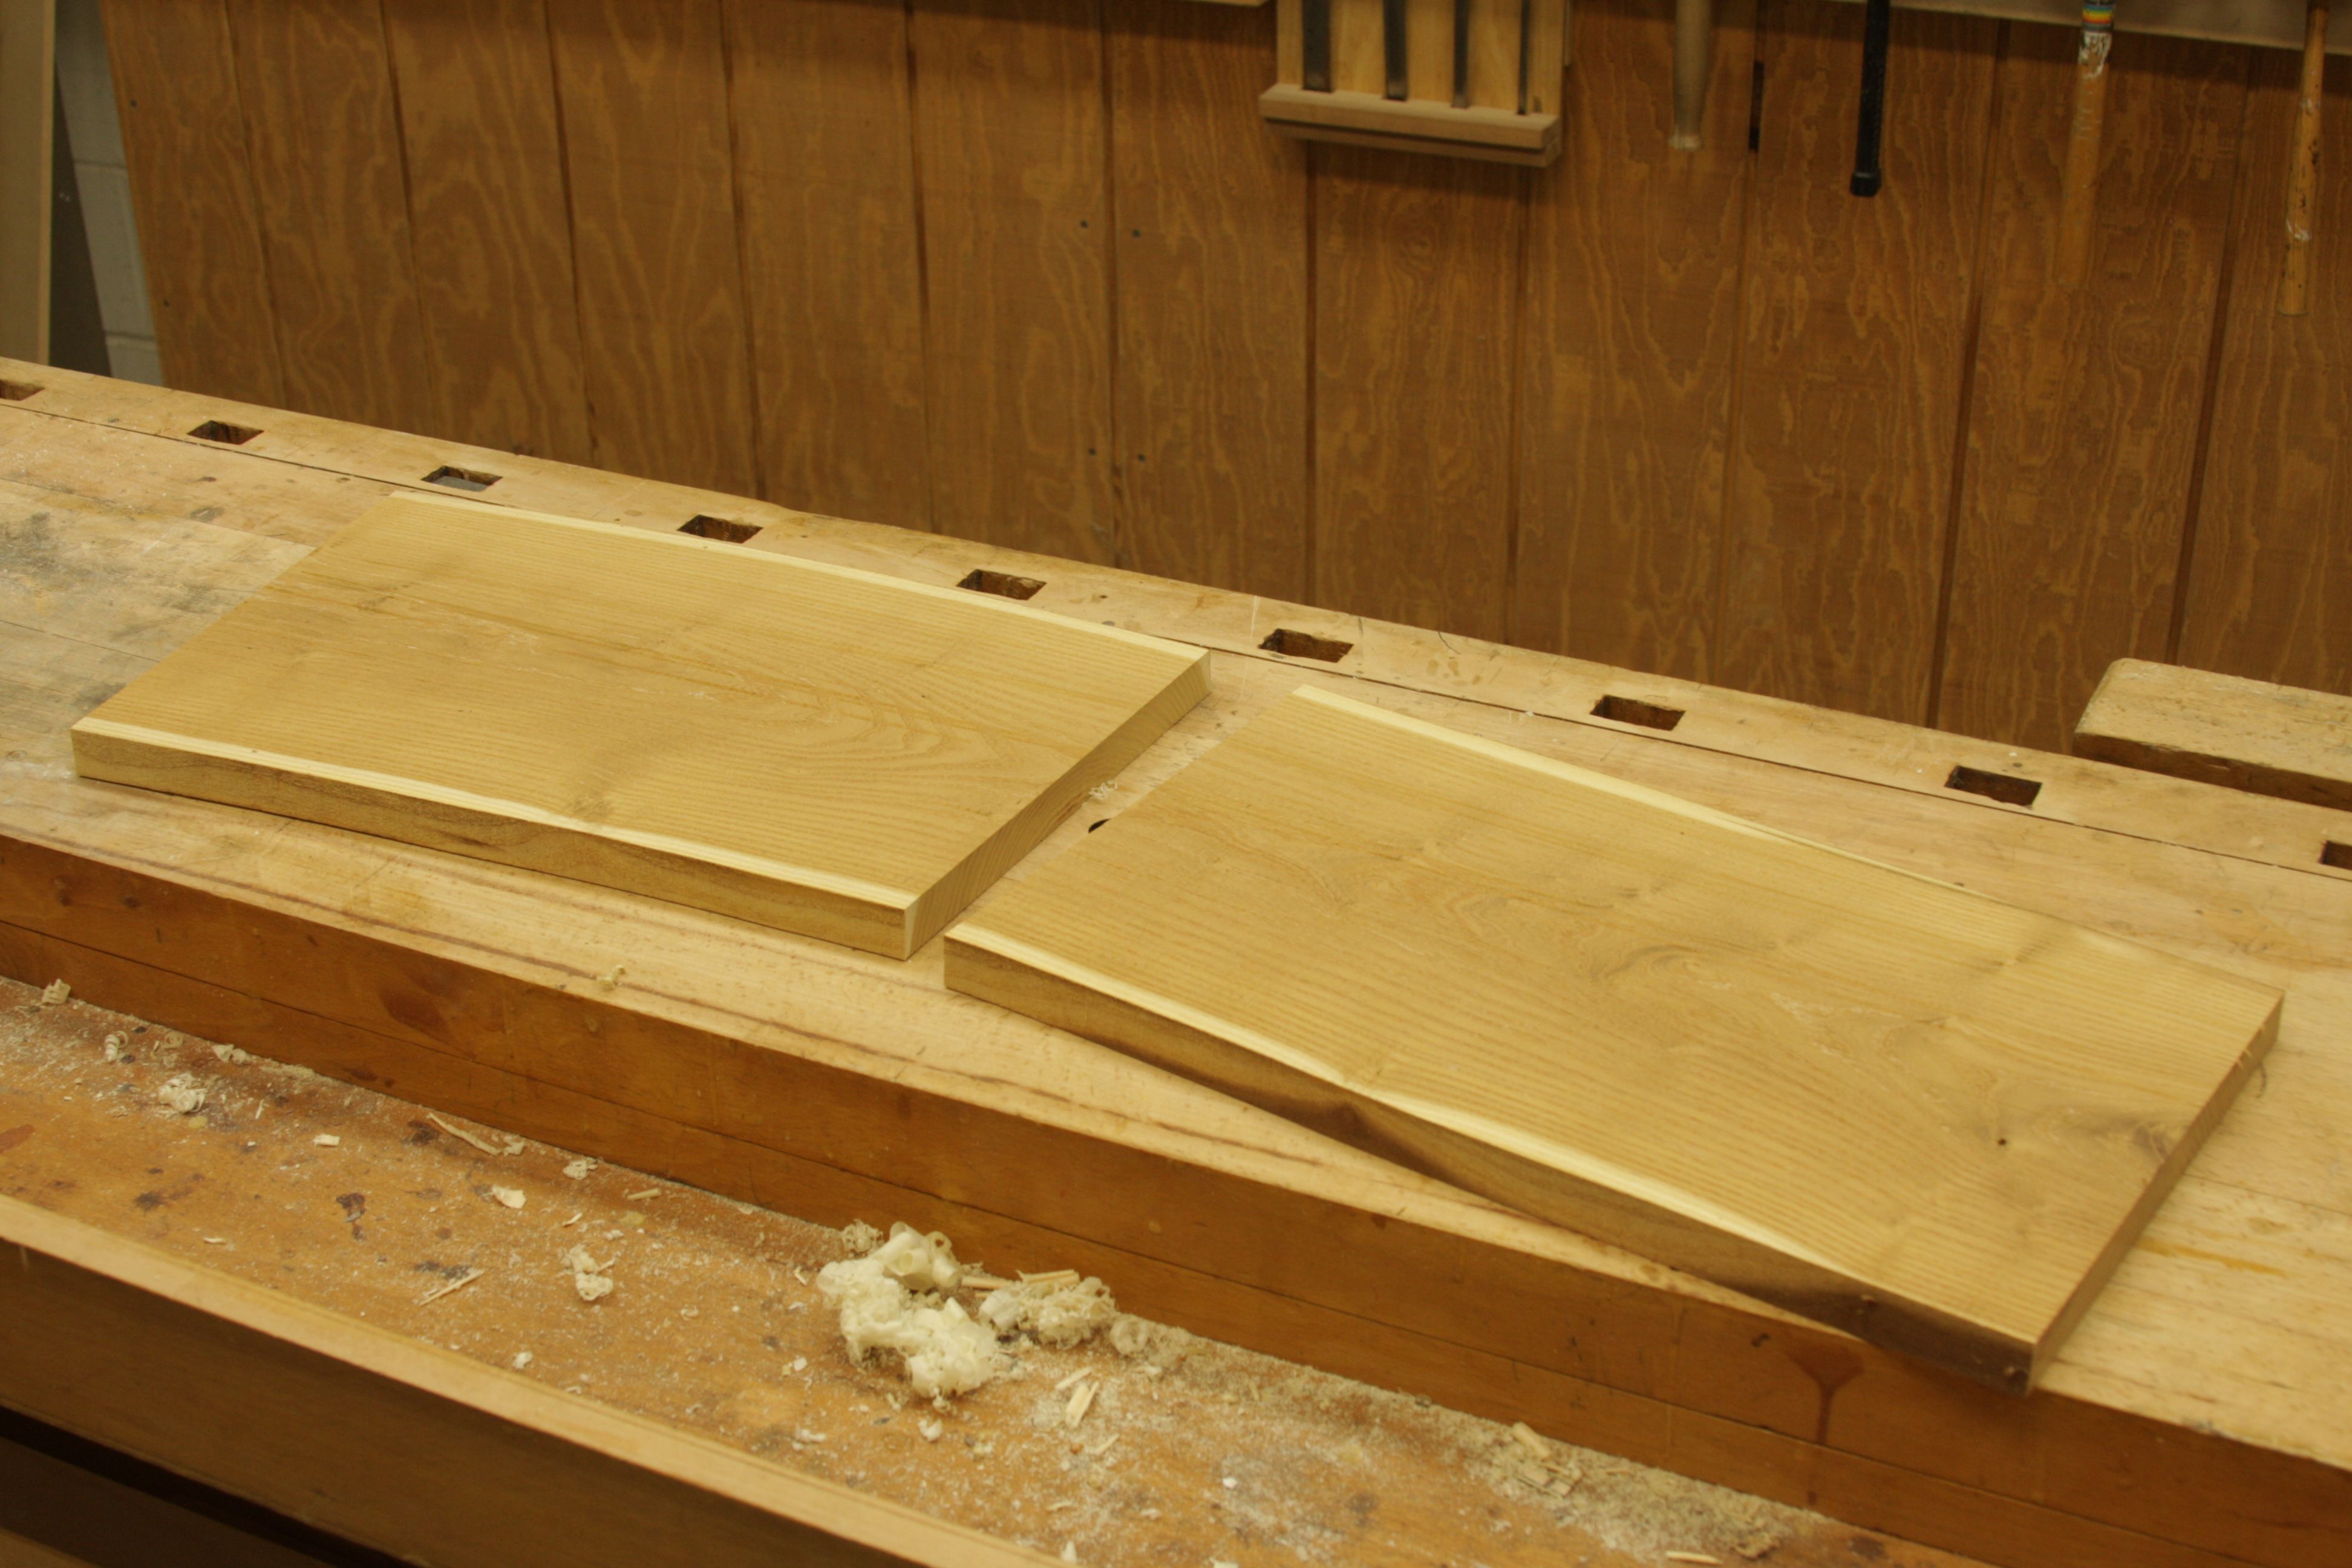
Cross-cut to the desired length. I cut two pieces 16" long on the table saw using a cross-cut sled. A handsaw would also work. There's no need to make the ends square to the long edge. Simply cut the ends at an angle that looks good to your eye.
-
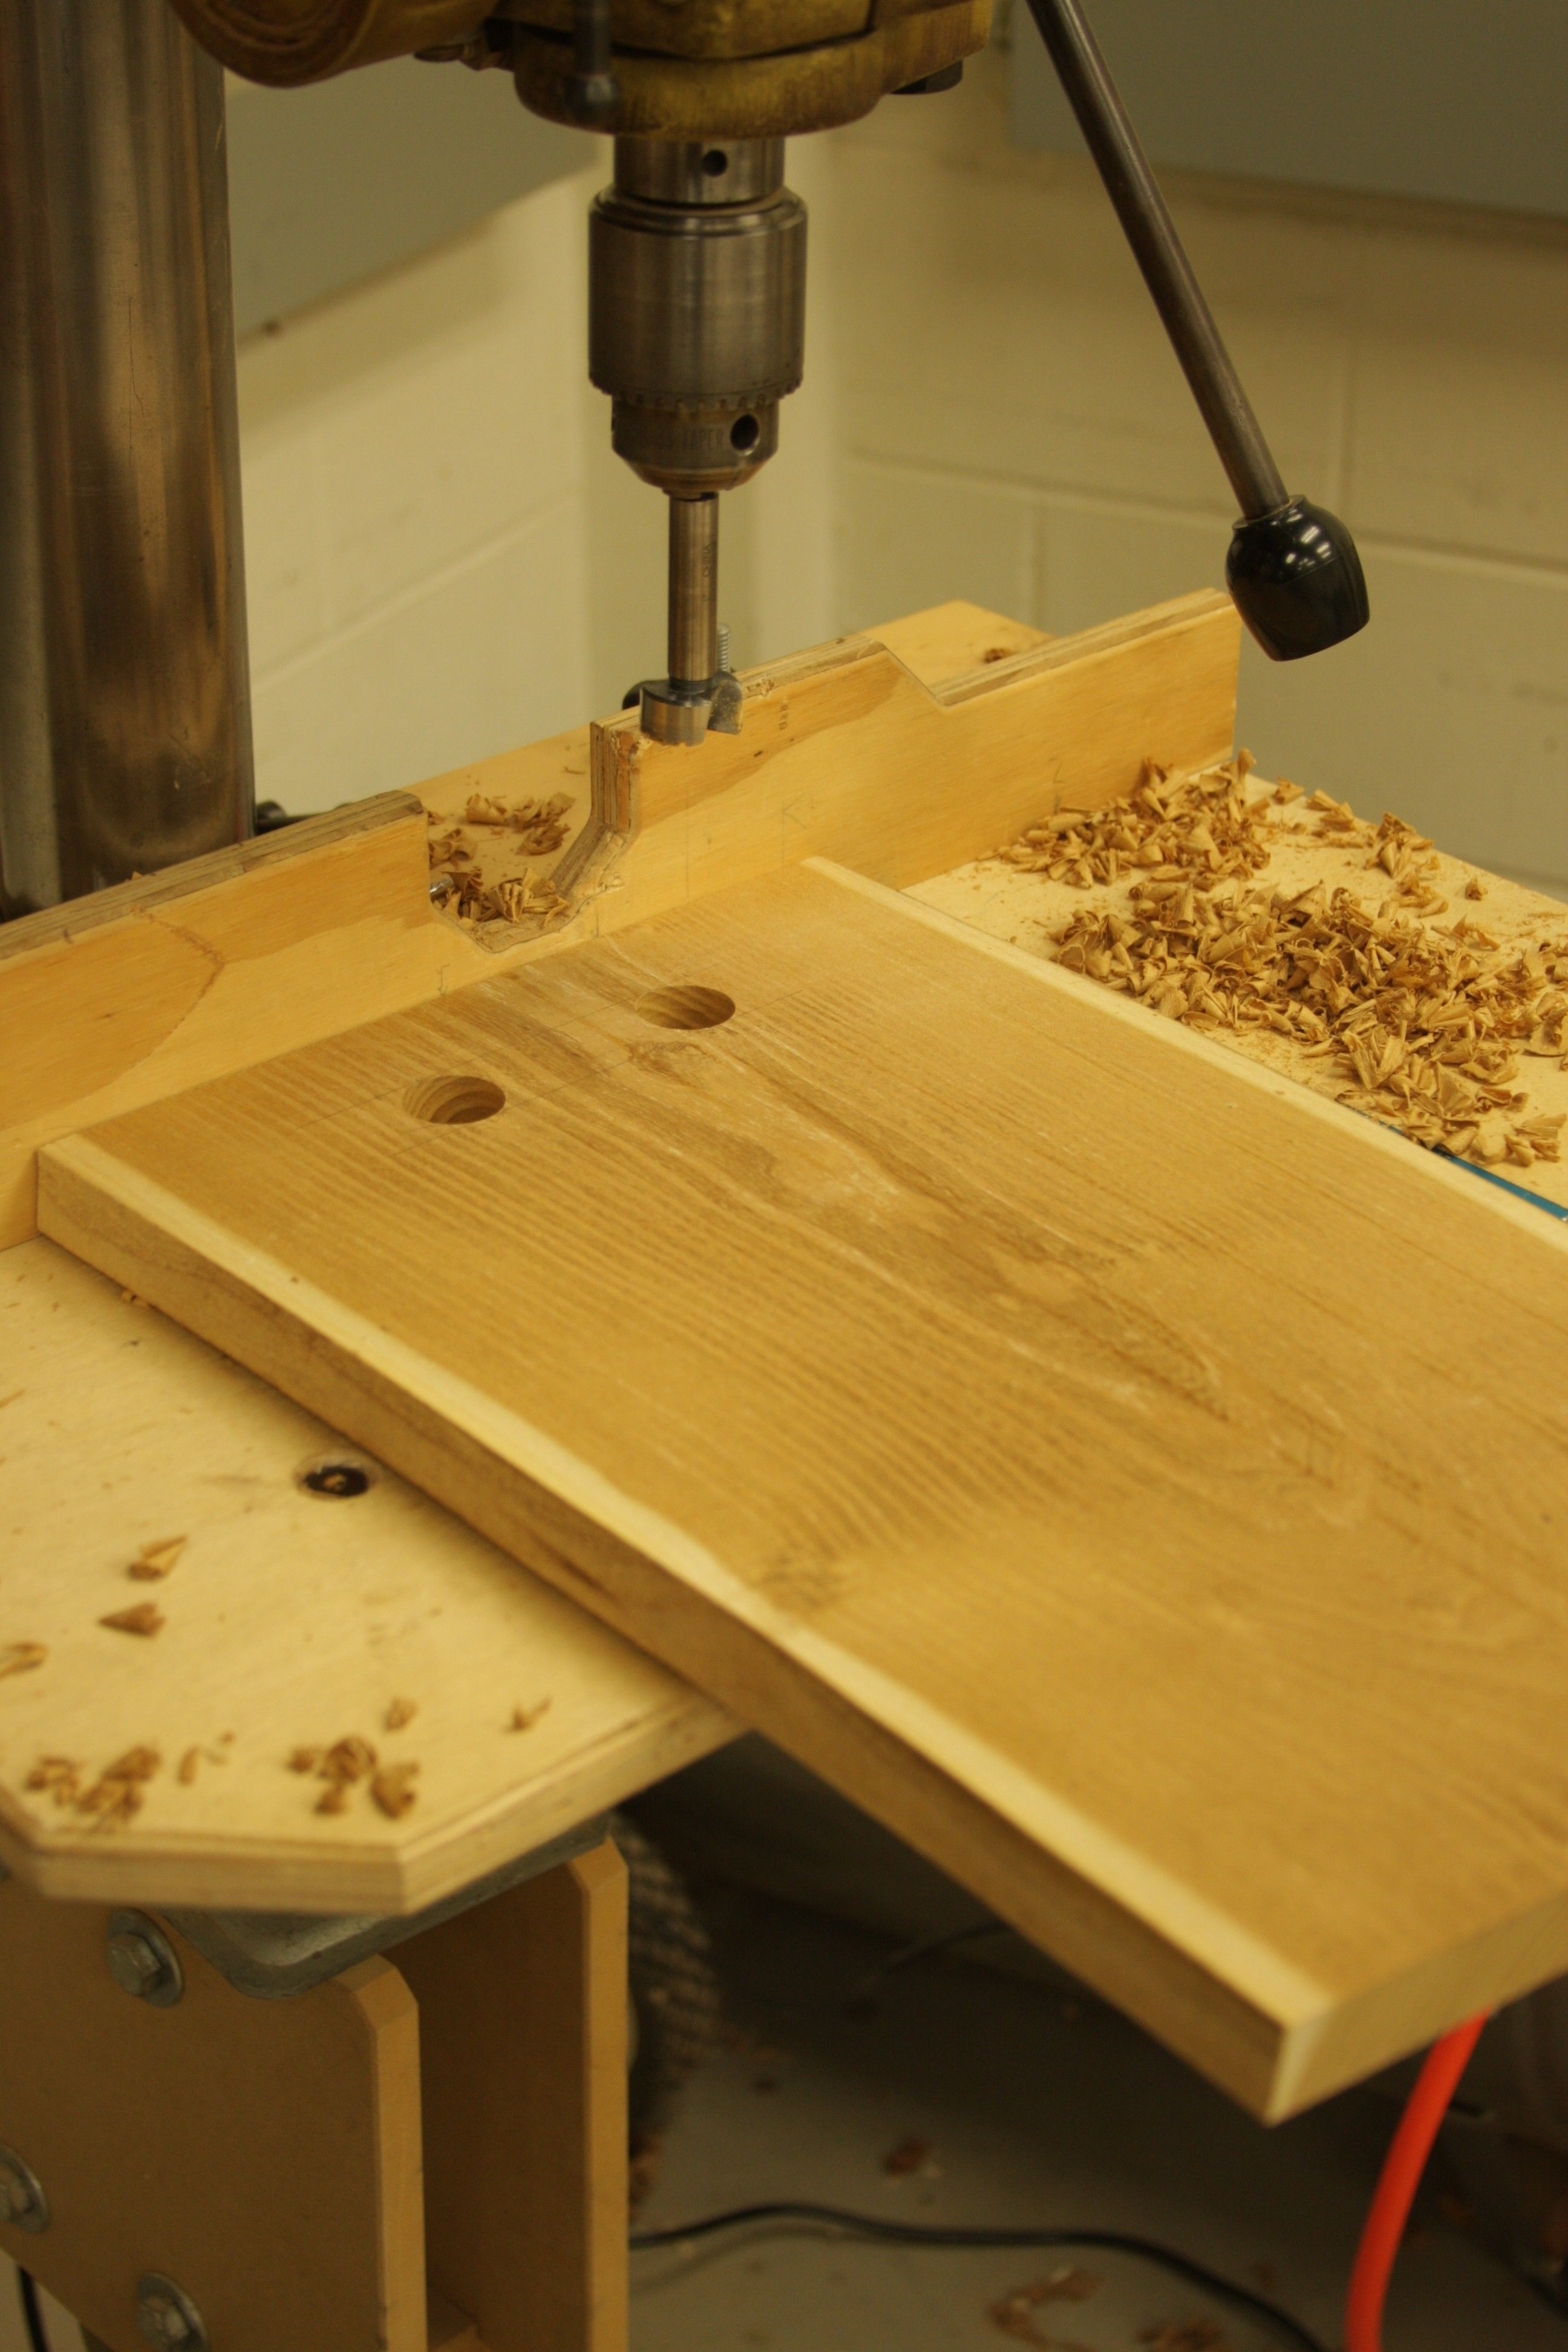
Mark two points 3" apart and 1 3/4" in from one edge. Drill two 1" diameter holes at these locations using a forstner bit.
-
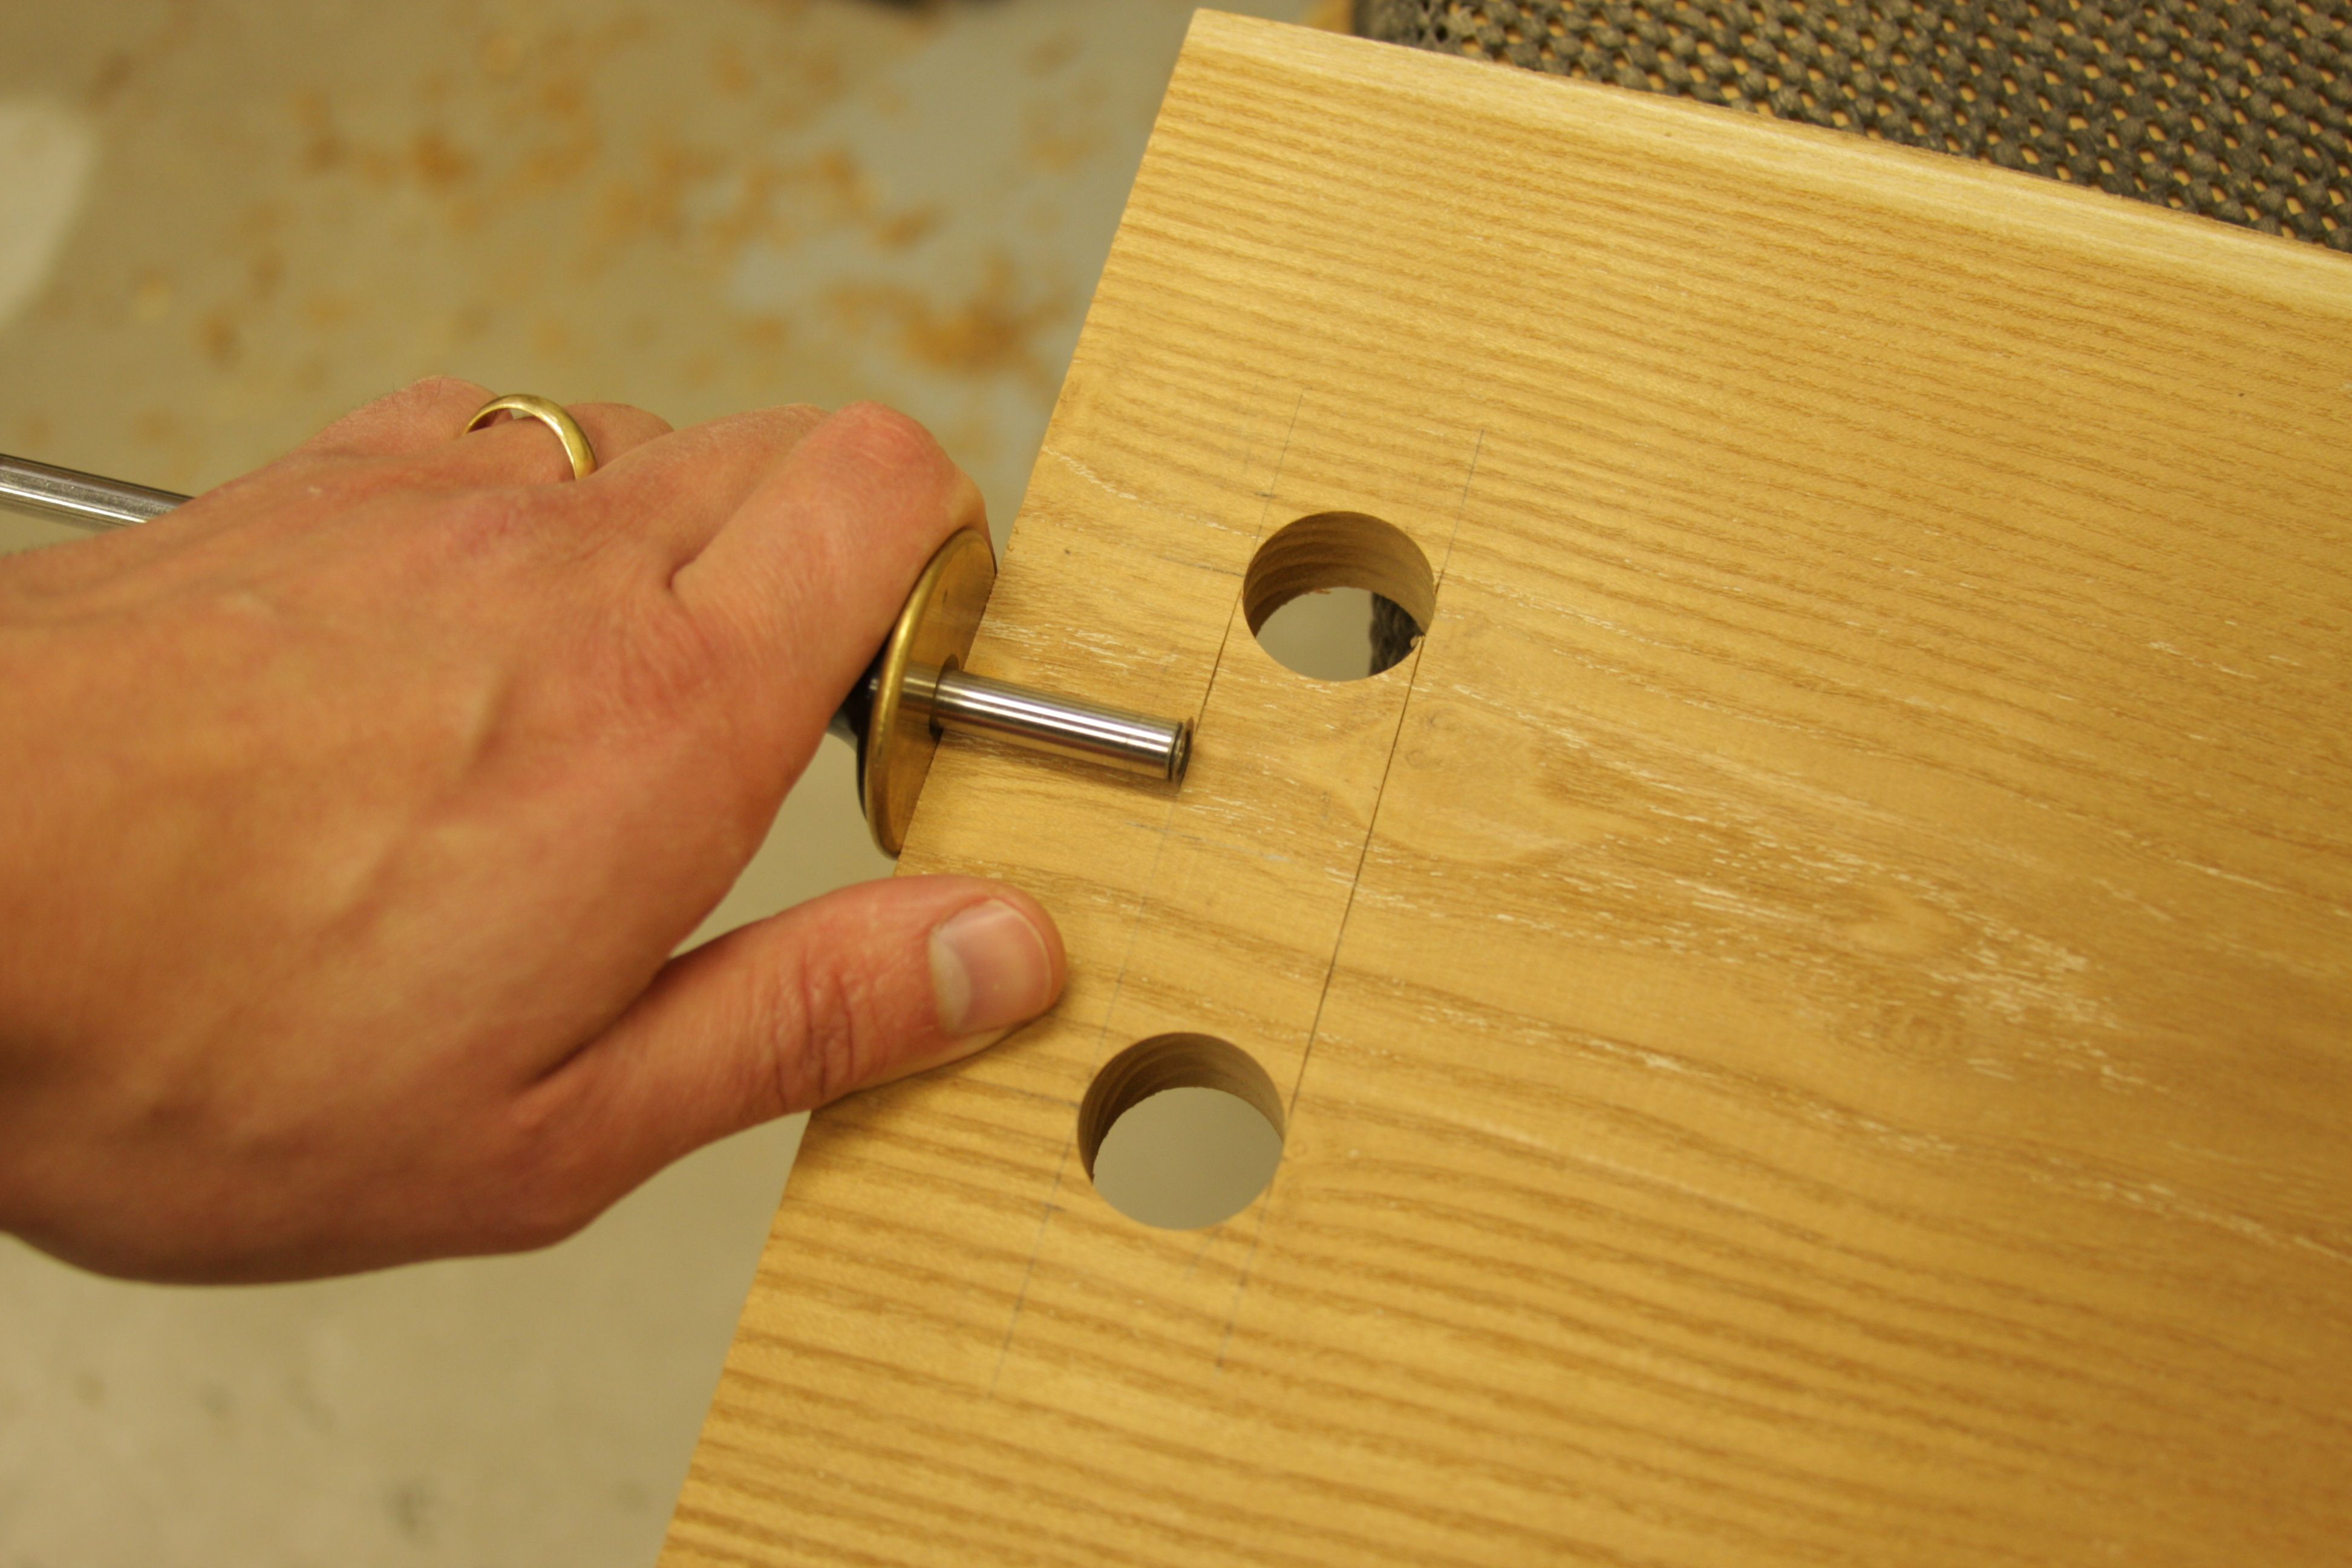
Use a marking gauge to scribe lines on both sides of the board to connect the edges of the drilled holes. This will help prevent tearout and provide a nice straight line to follow for the next step.
-
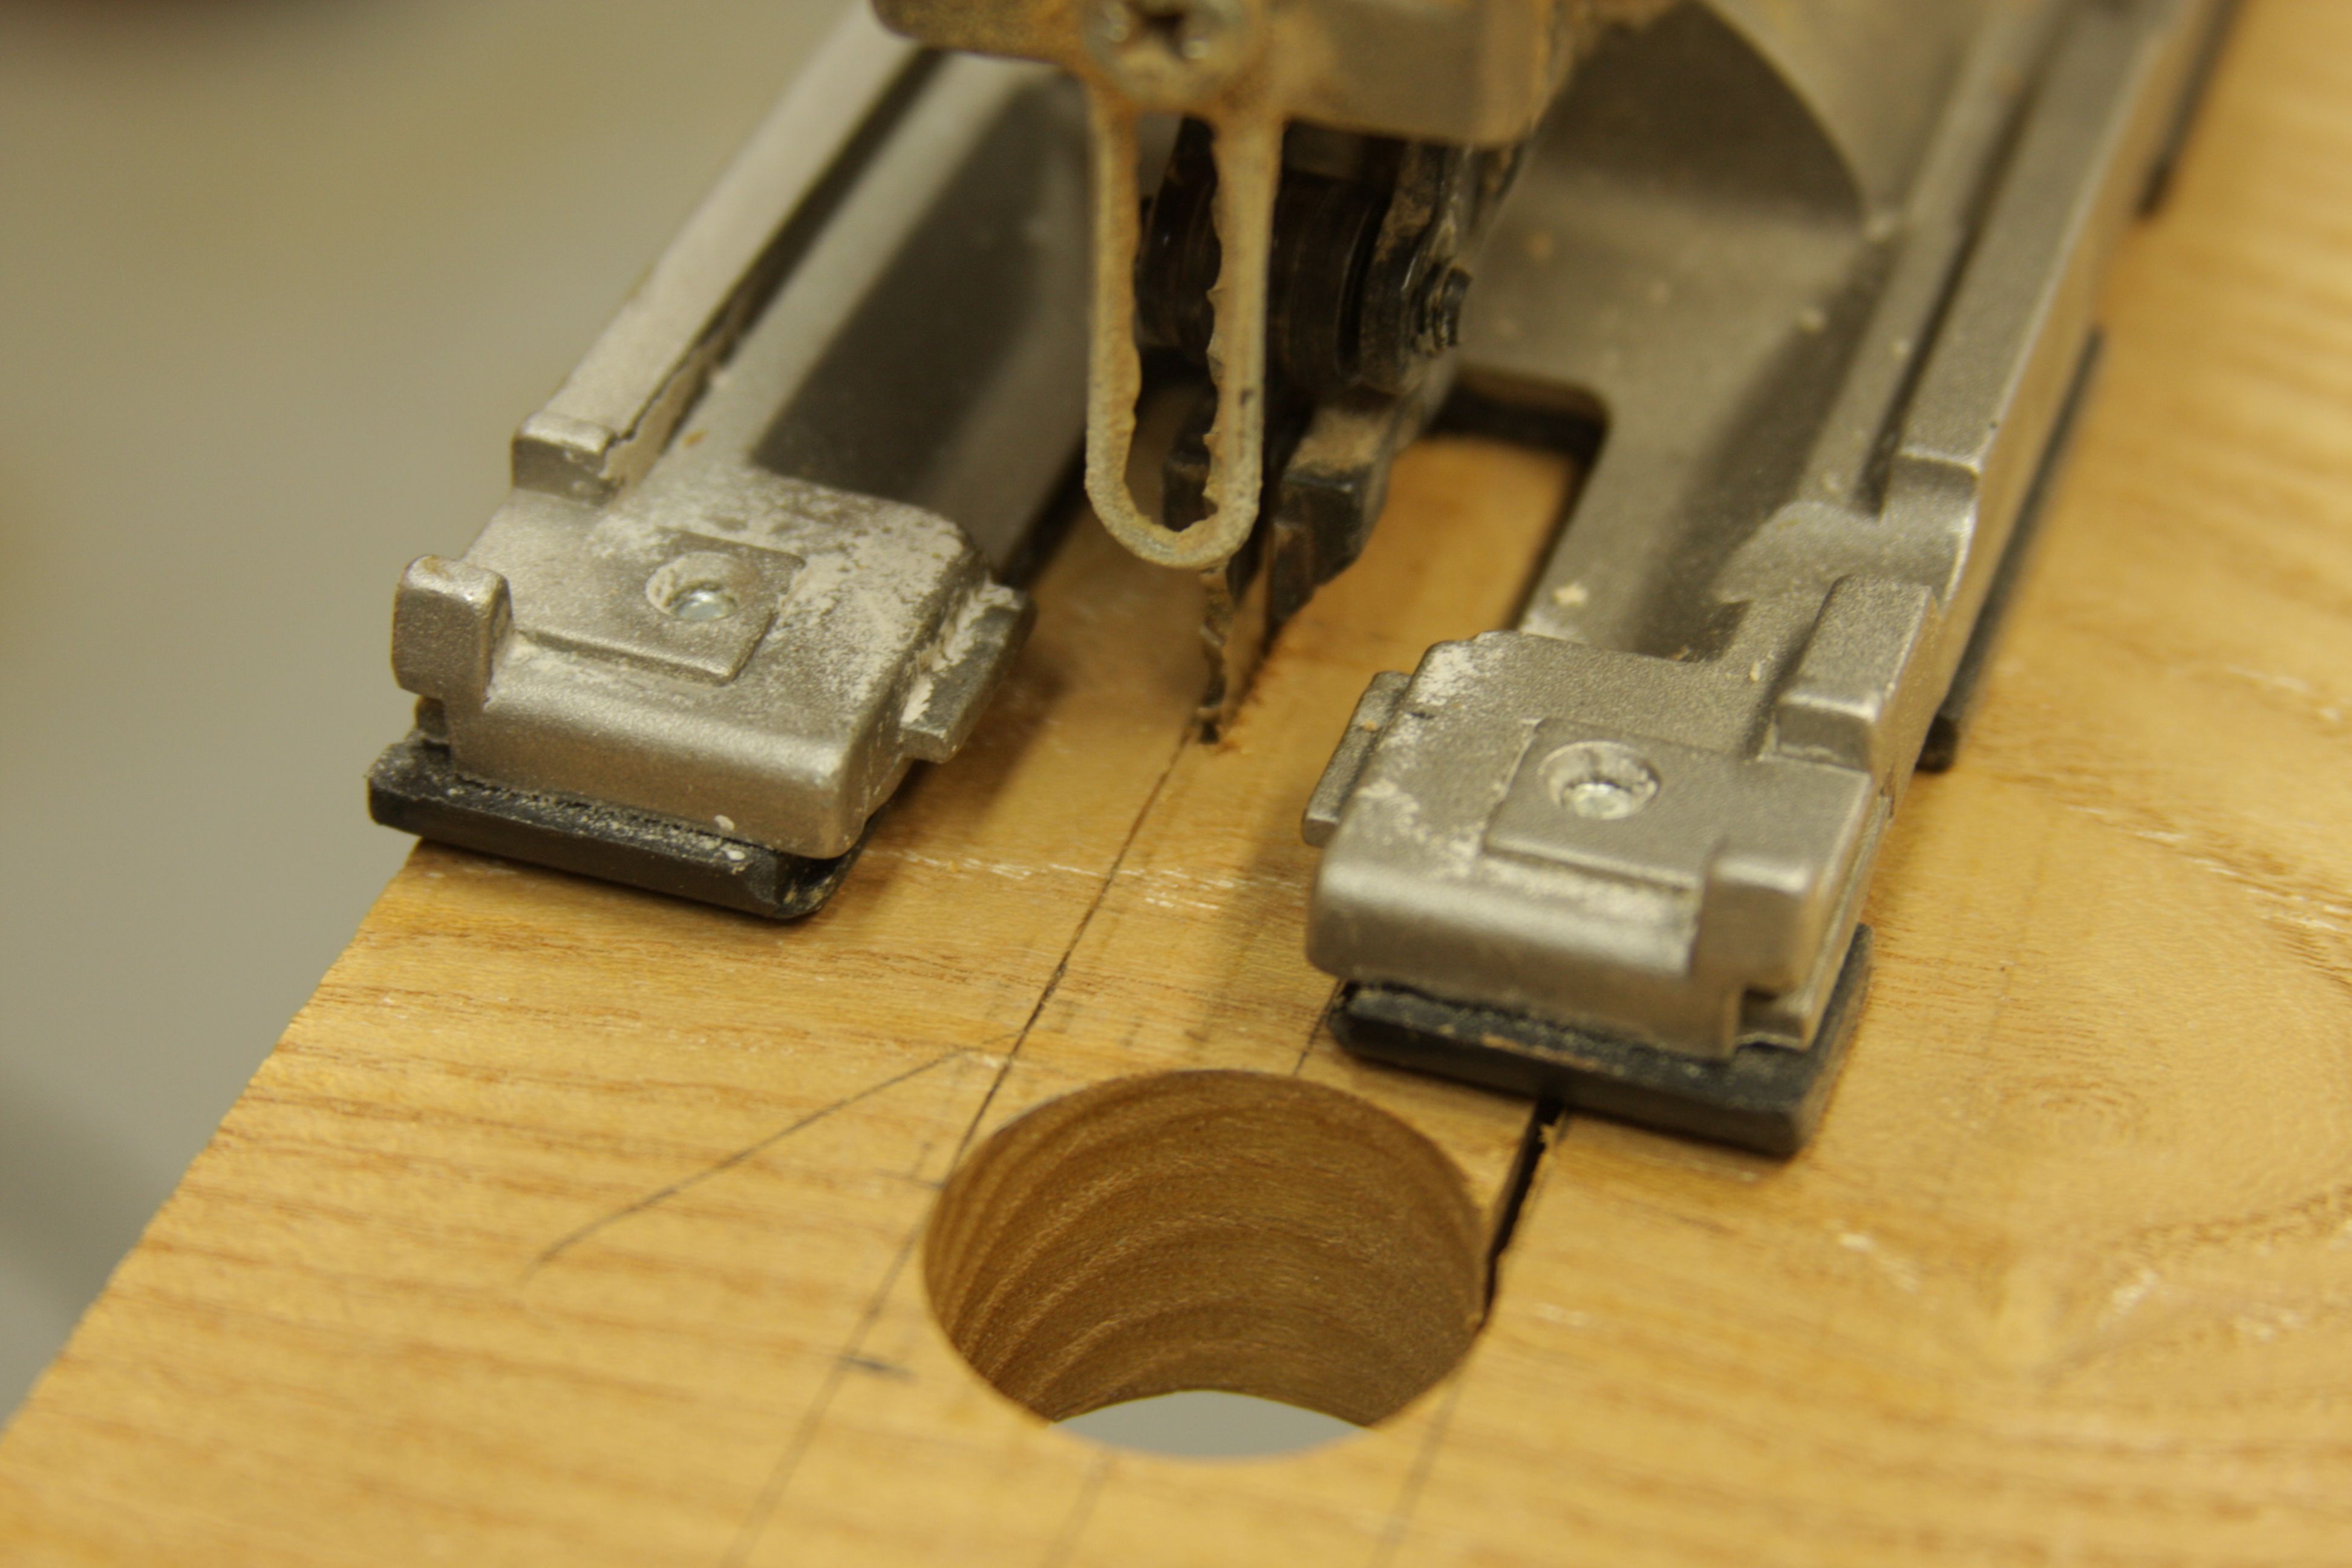
With the board clamped in place, overhanging the benchtop, a jigsaw makes quick work of removing the waste between the two drilled holes.
-
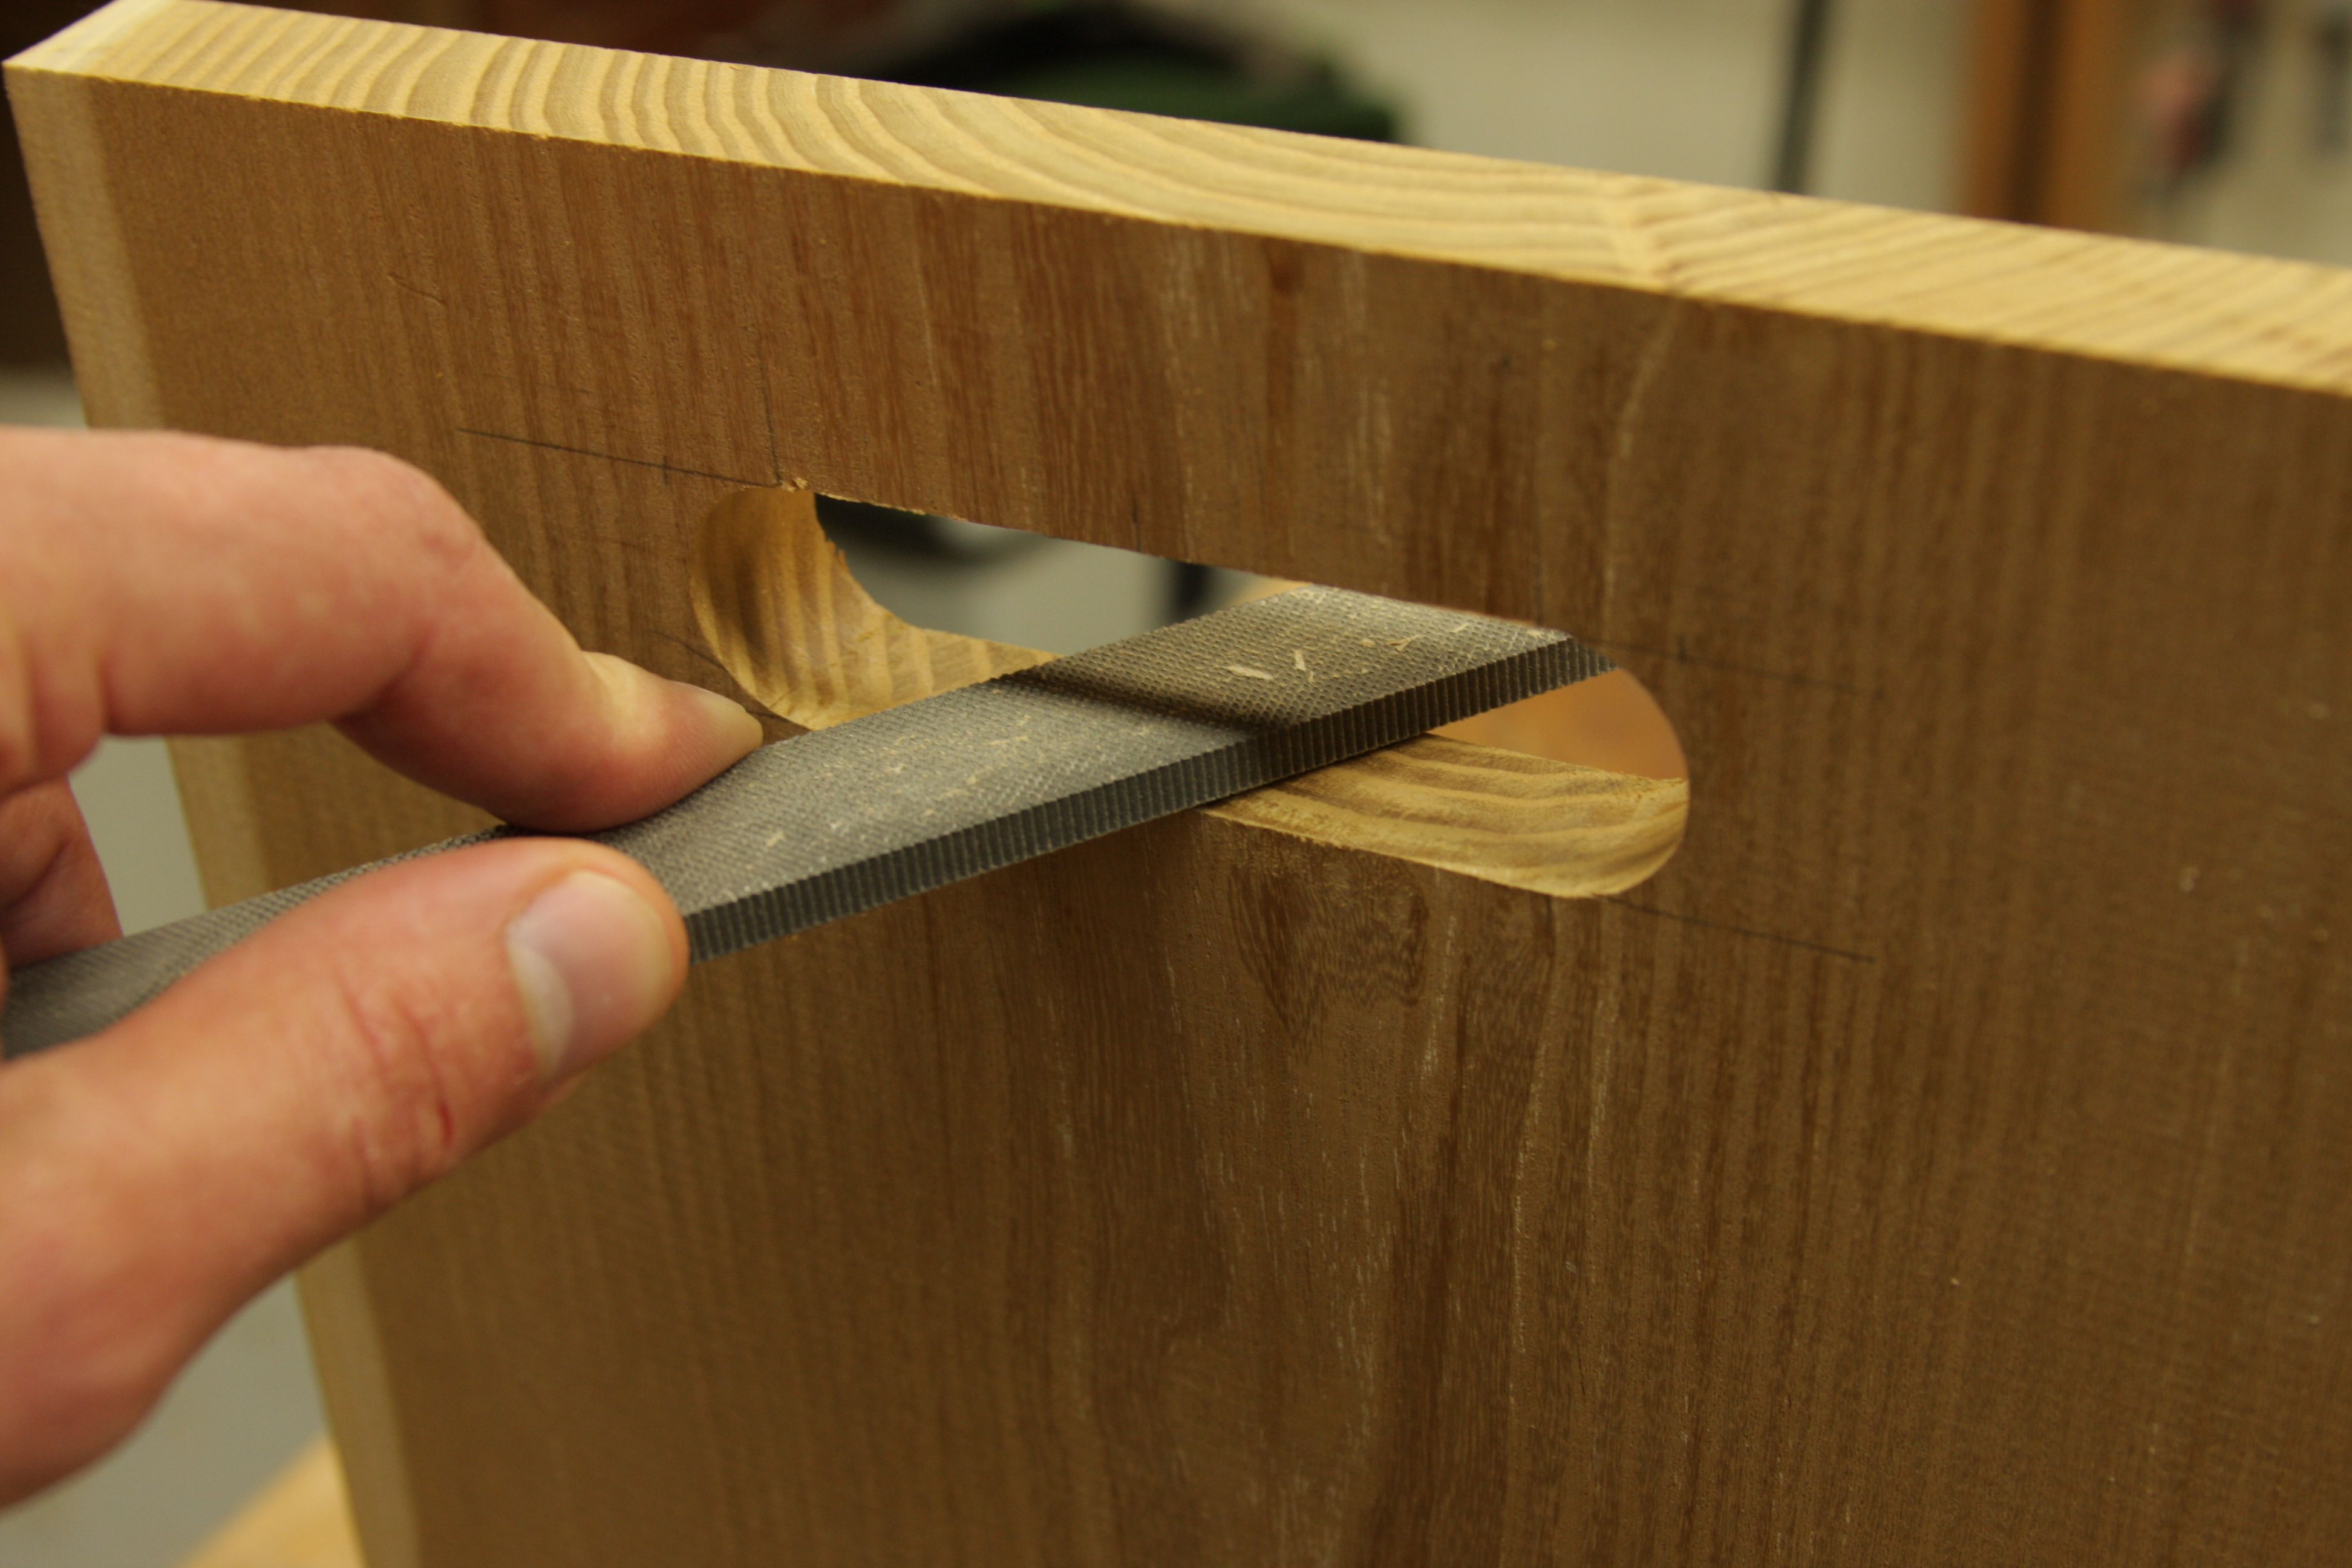
Use a file to smooth the cut right to your scribe lines.
-
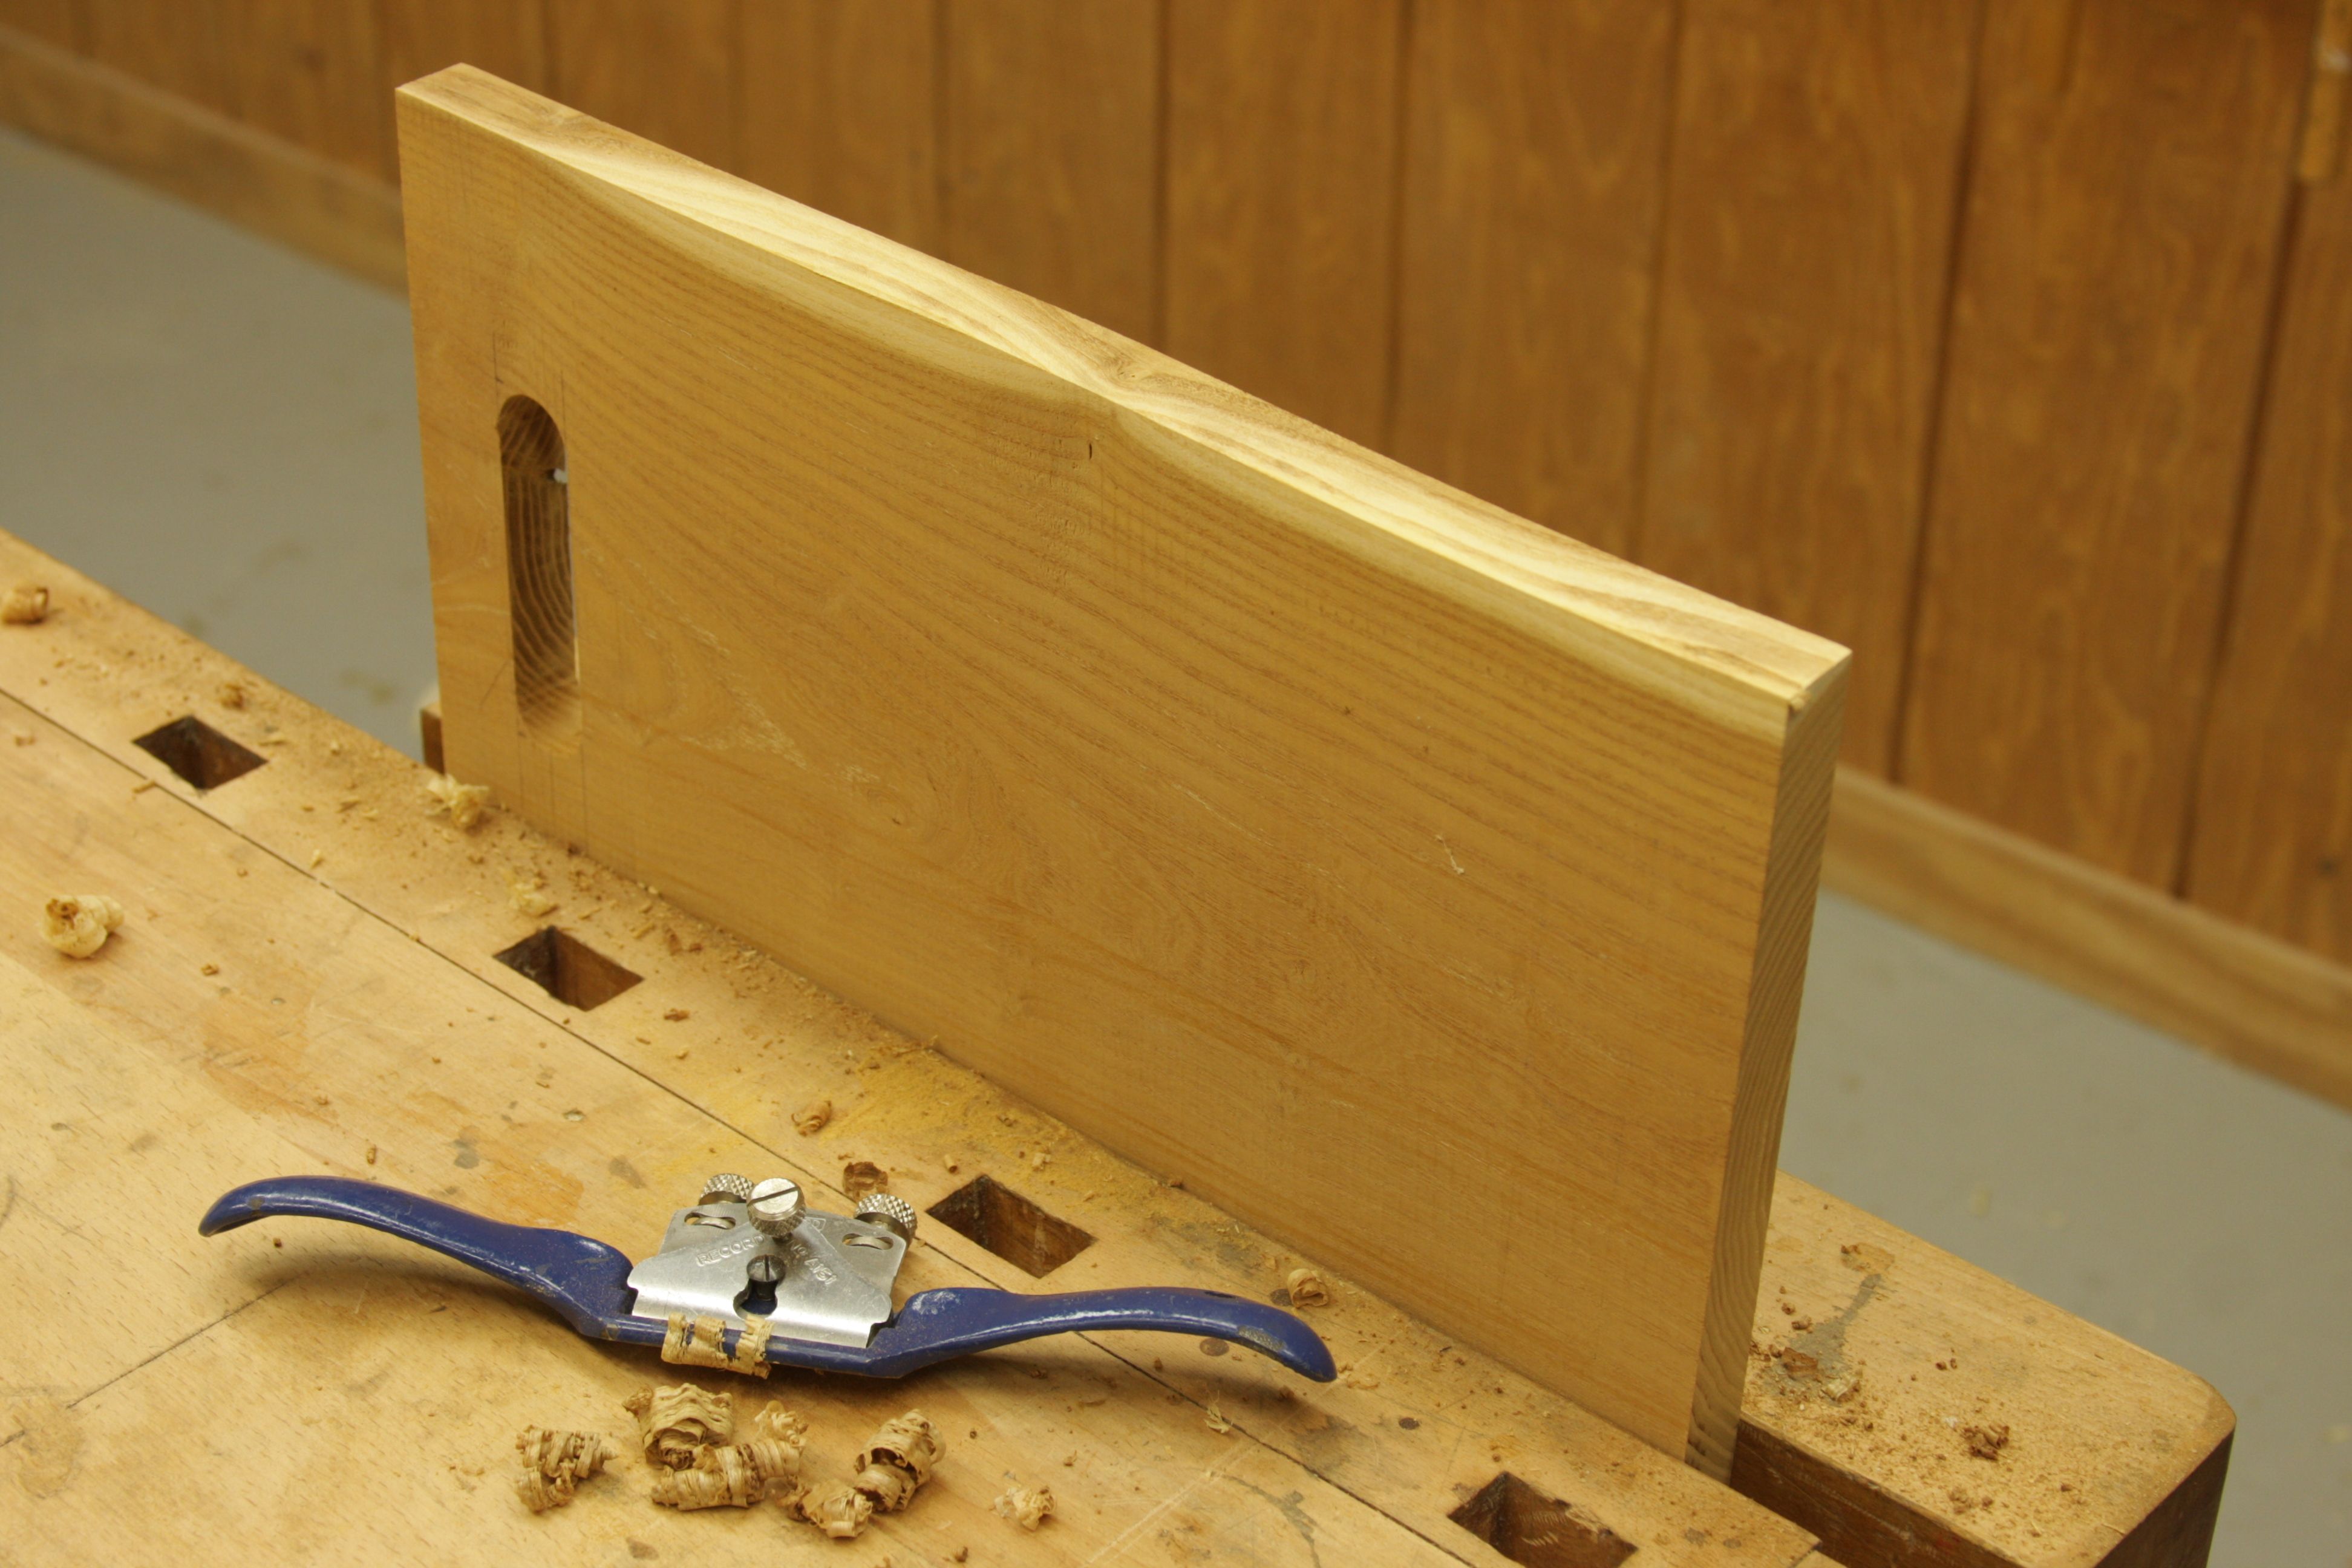
Use a spokeshave to smooth the natural edges.
-
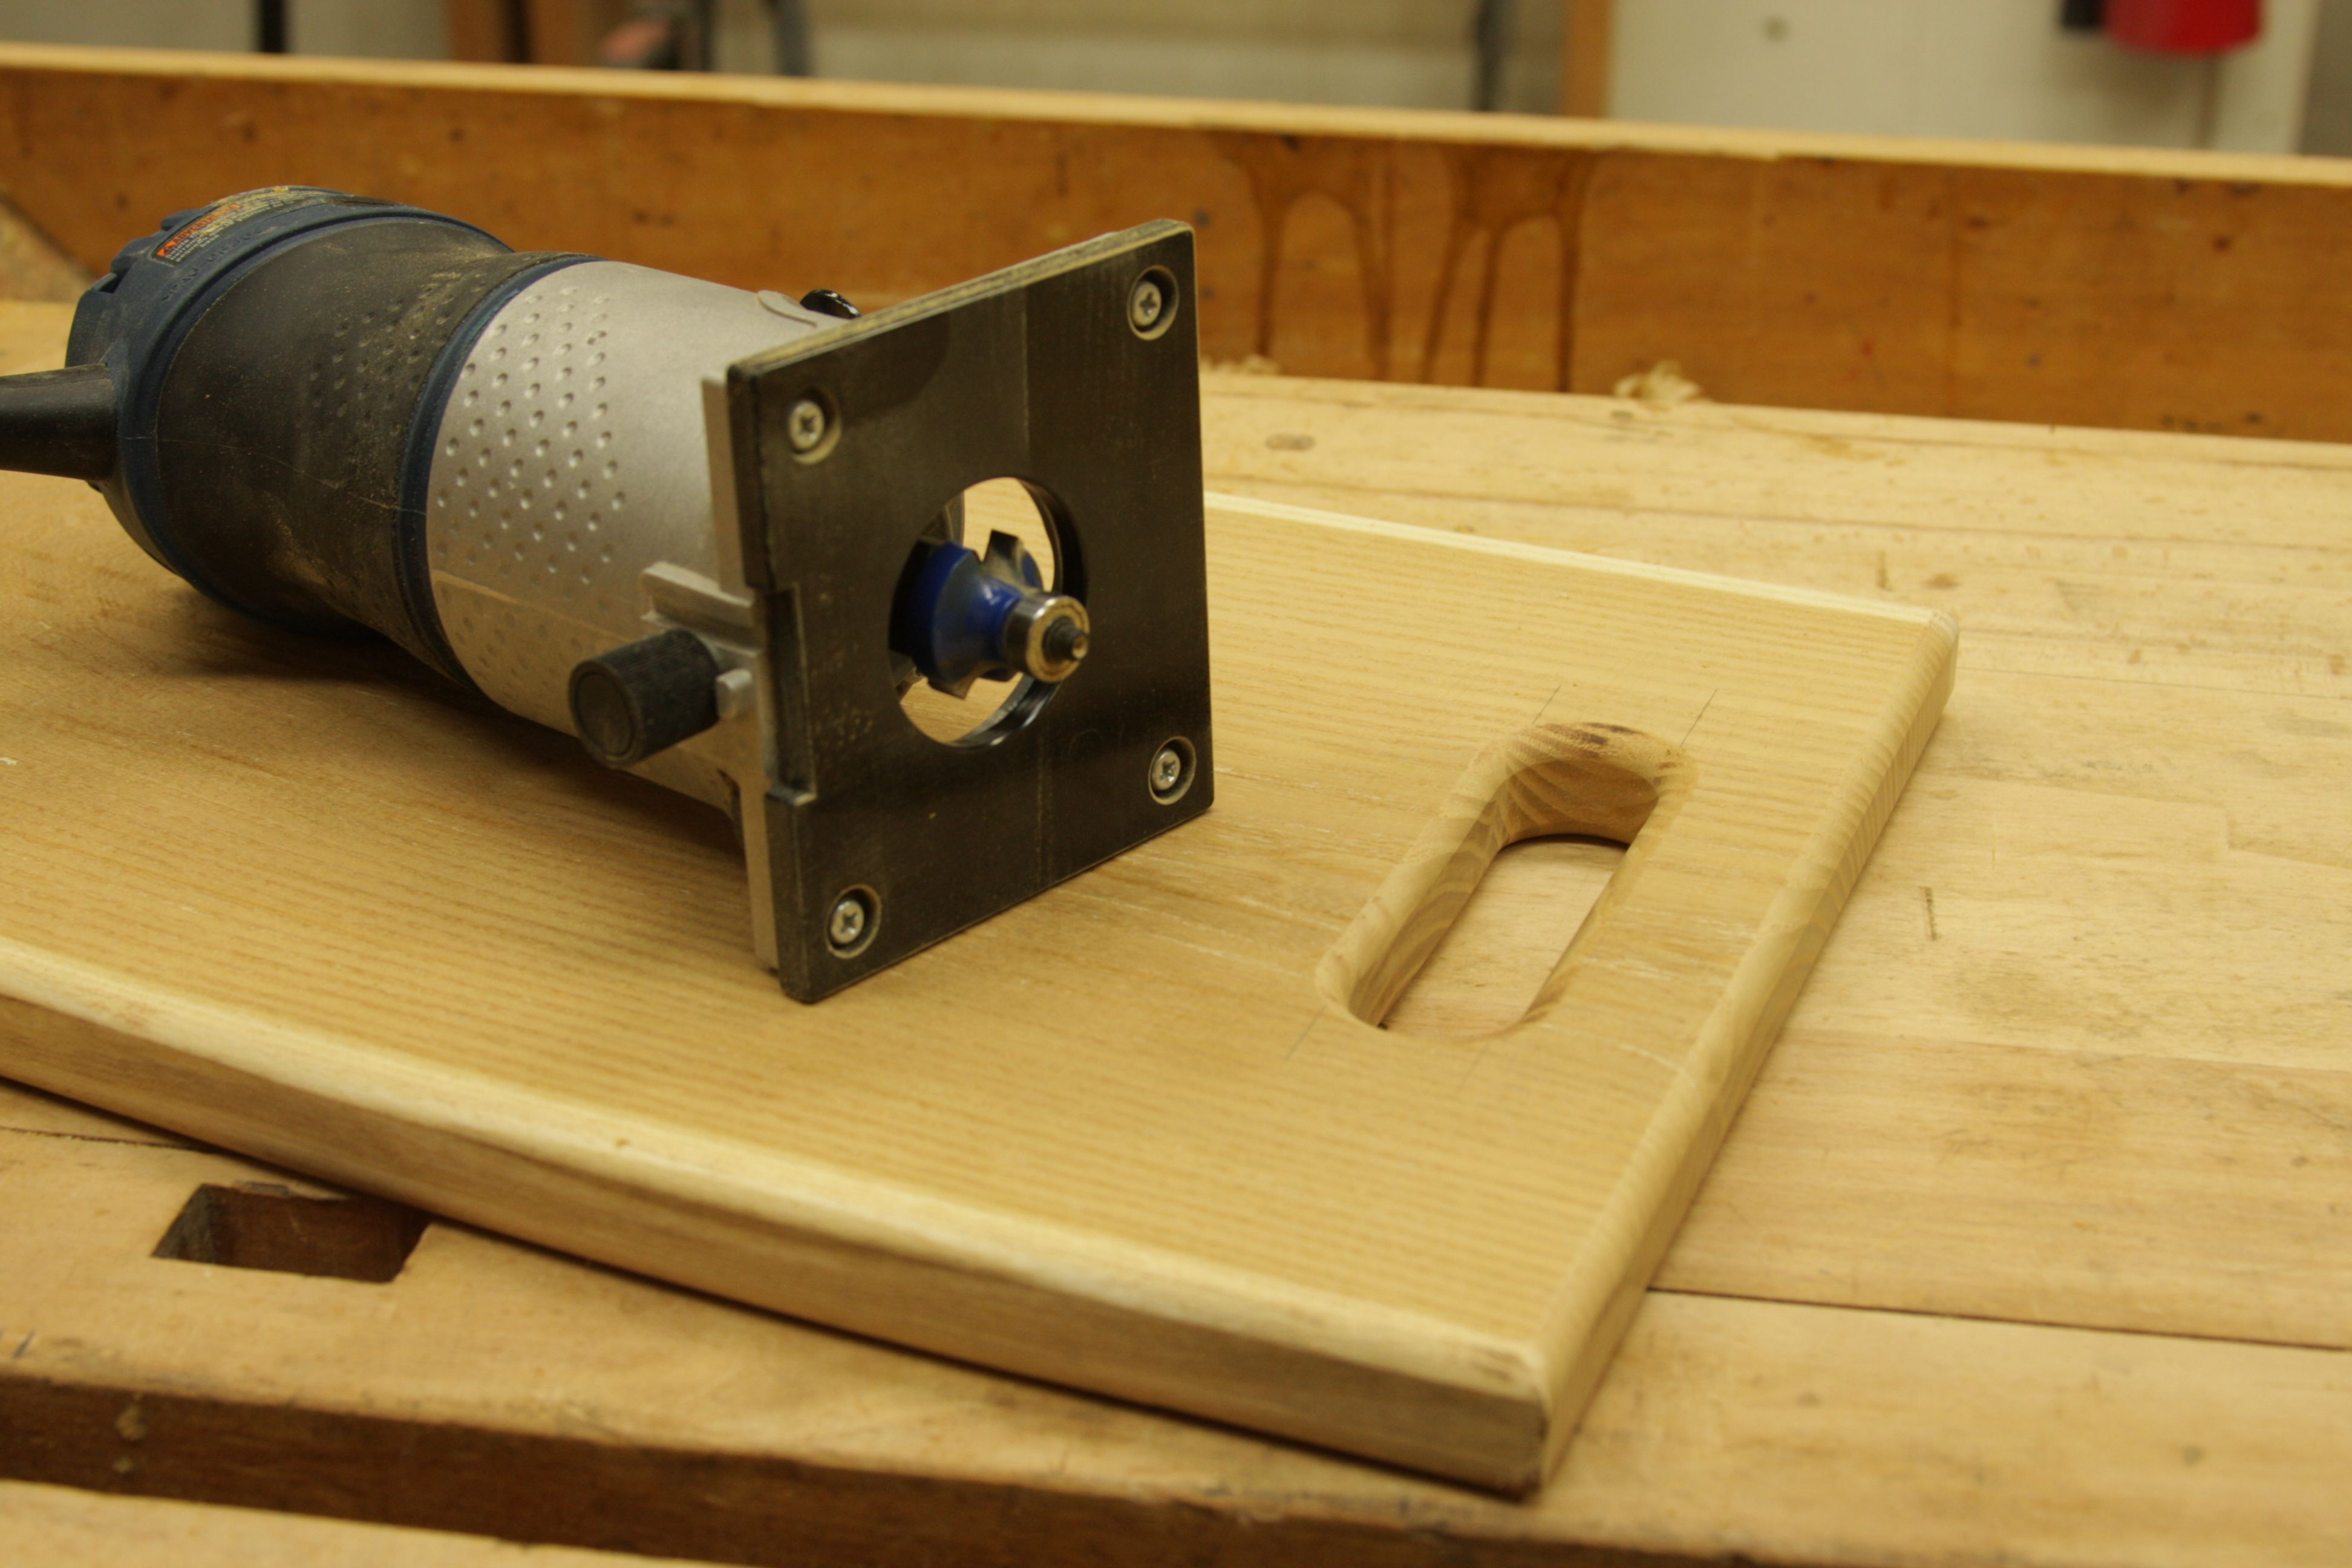
Next, use a roundover bit in a hand-held router to round all edges.
-
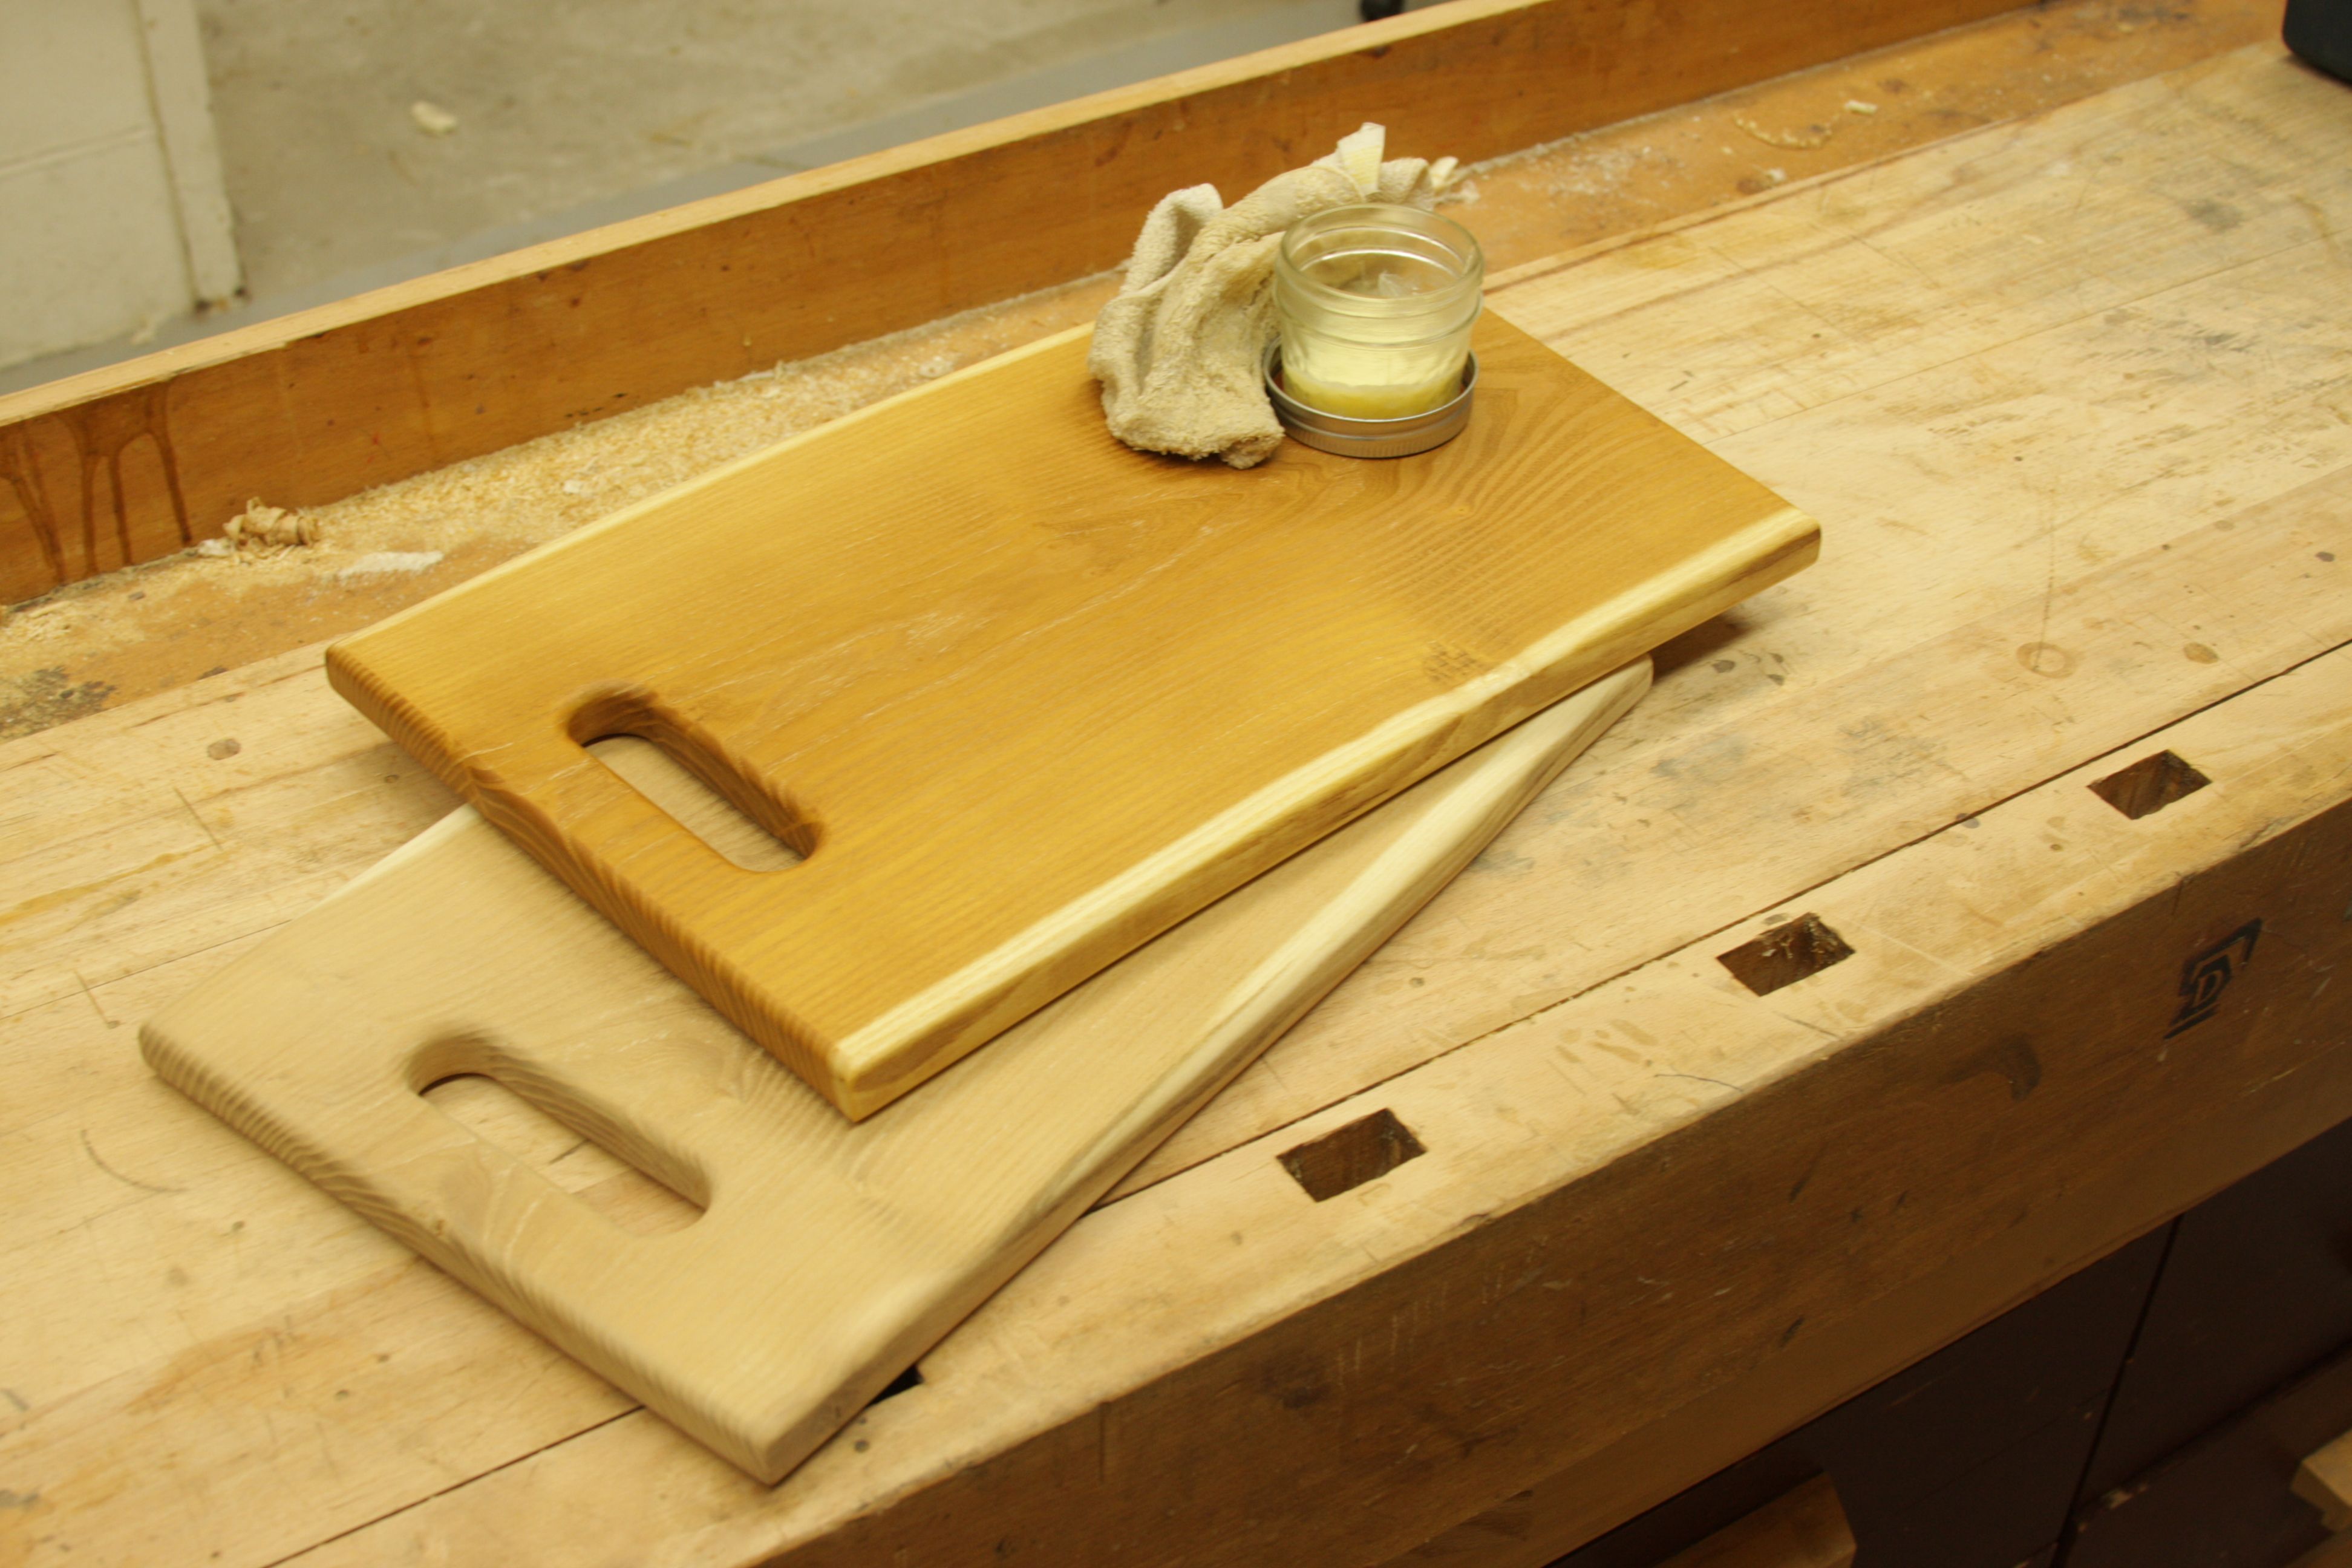
After sanding with 100 grit sandpaper to remove any burn marks, switch to 180 grit and sand all surfaces smooth. Apply a mixture of beeswax and mineral oil for protection. Straight mineral oil works just fine as well, and simply re-apply as needed.
-
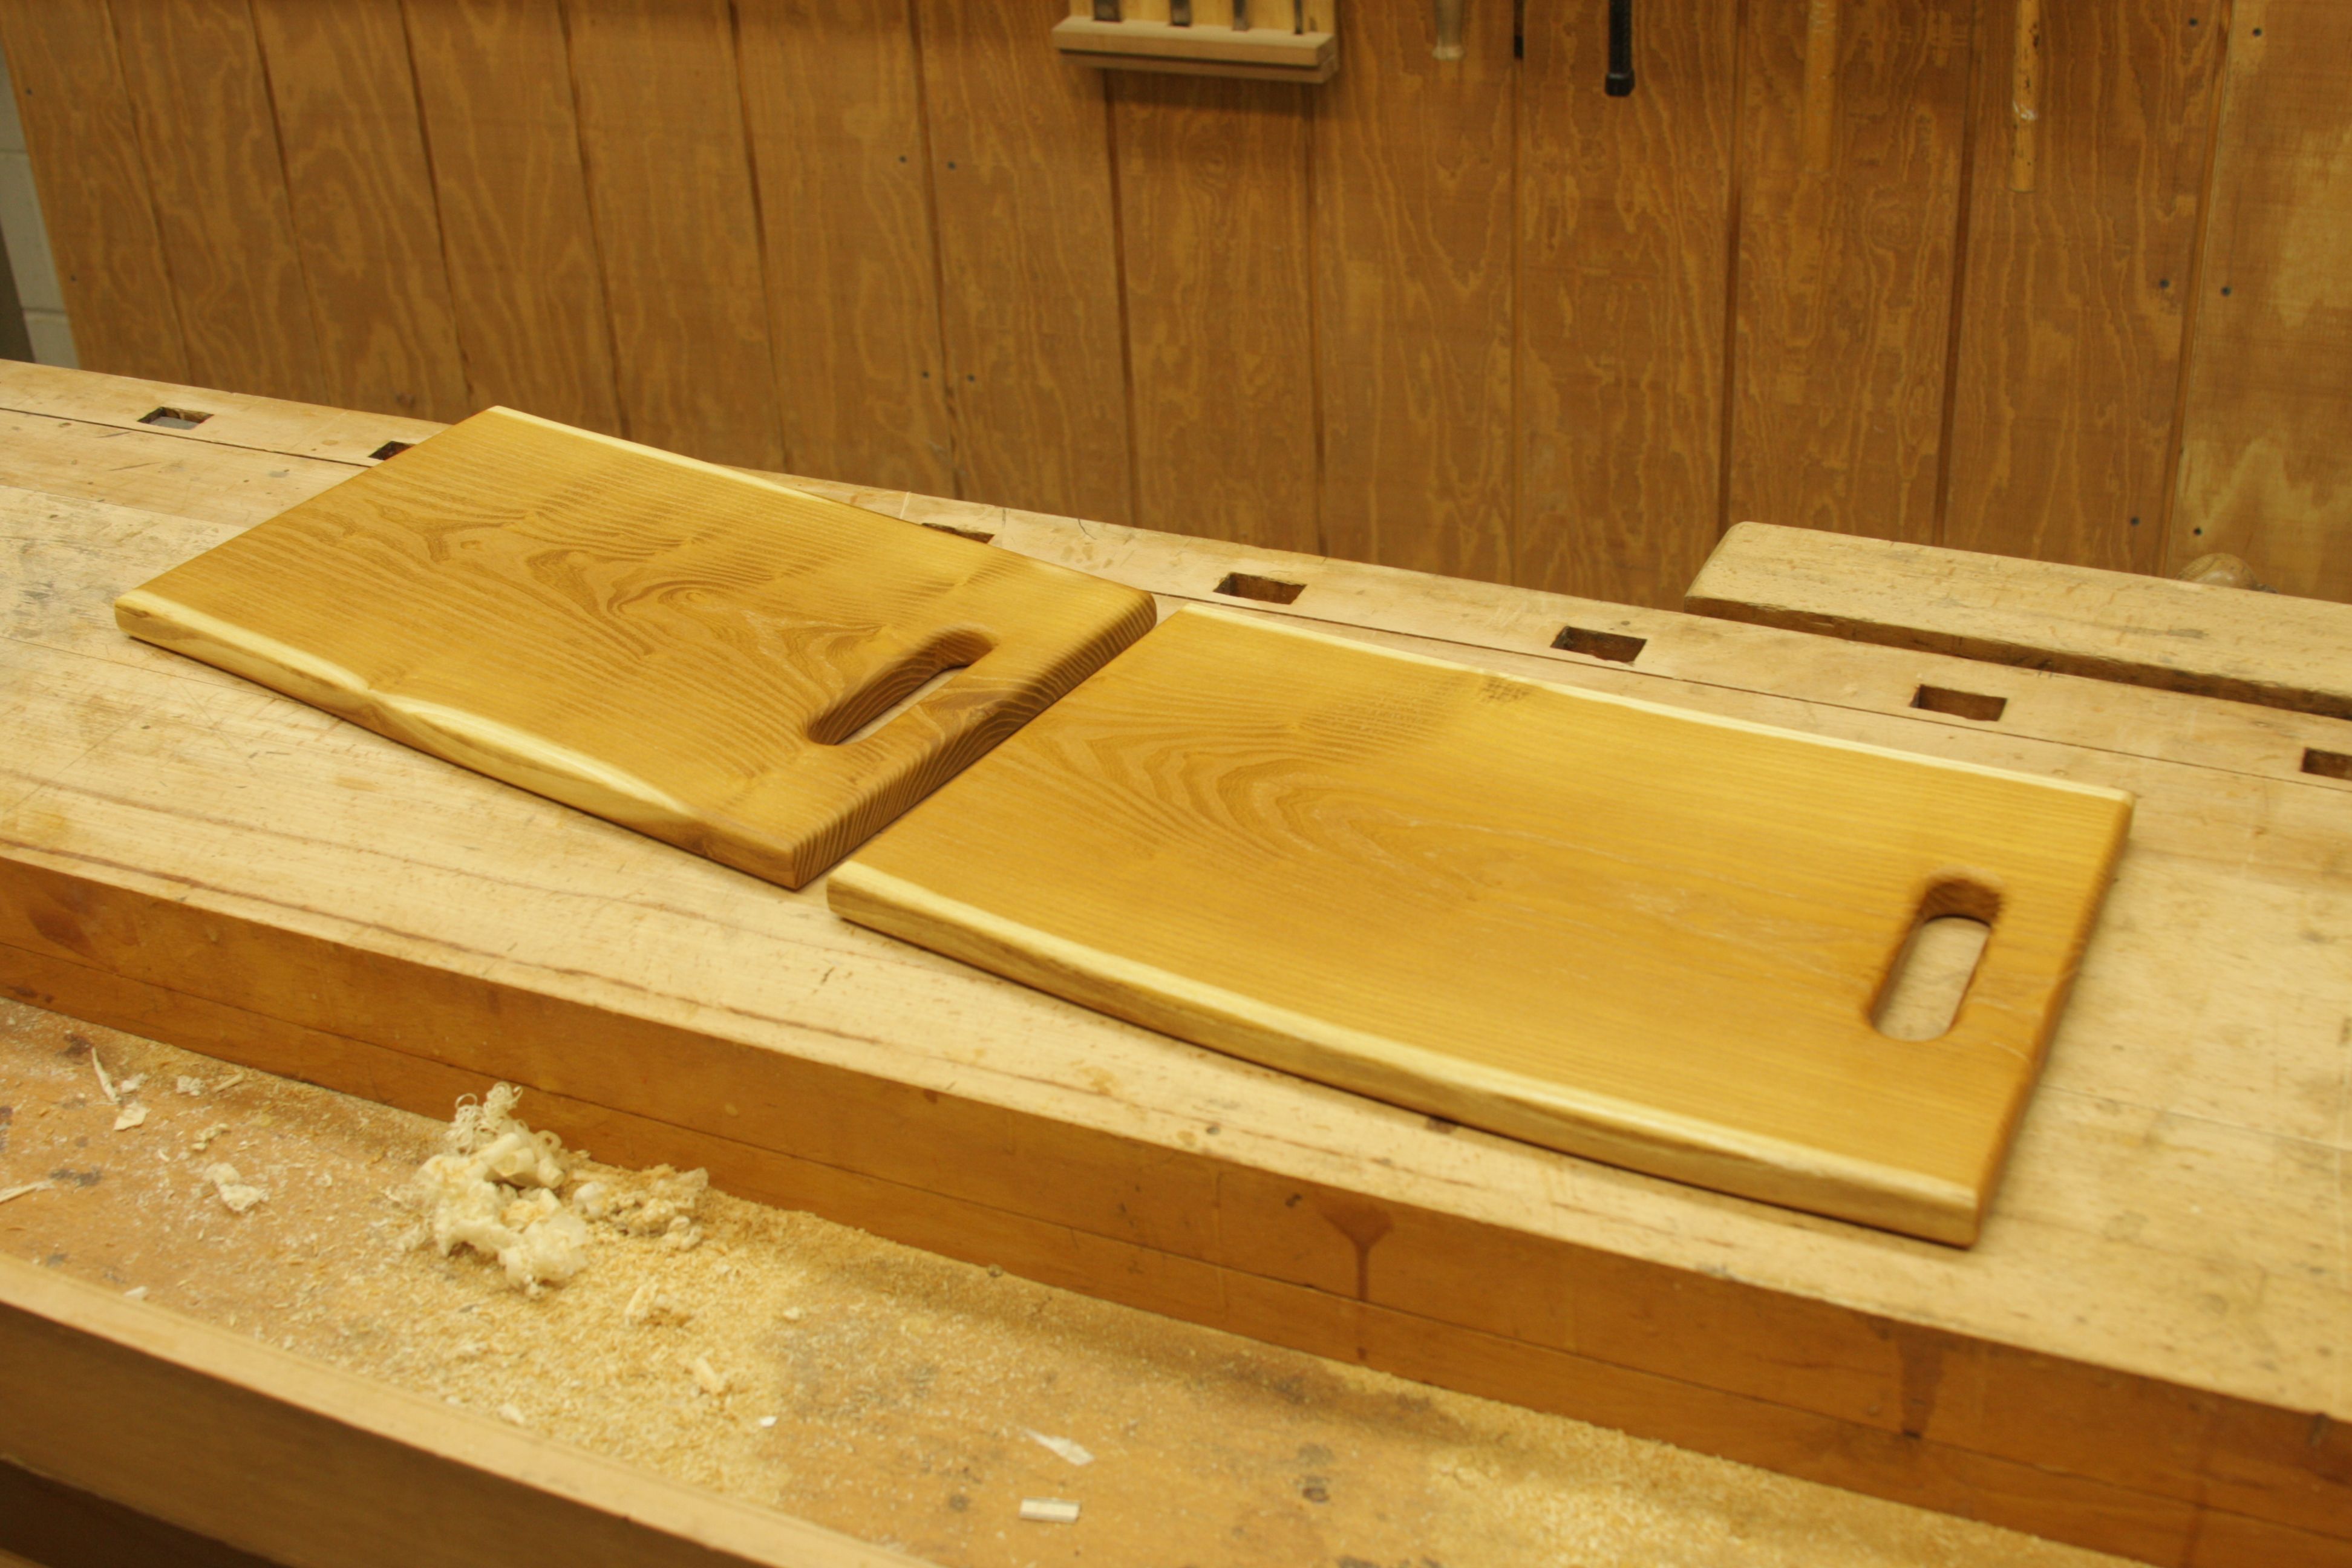
In this photo you can see the two cutting boards together still resemble the natural edges and form of the original rough-sawn board.
-
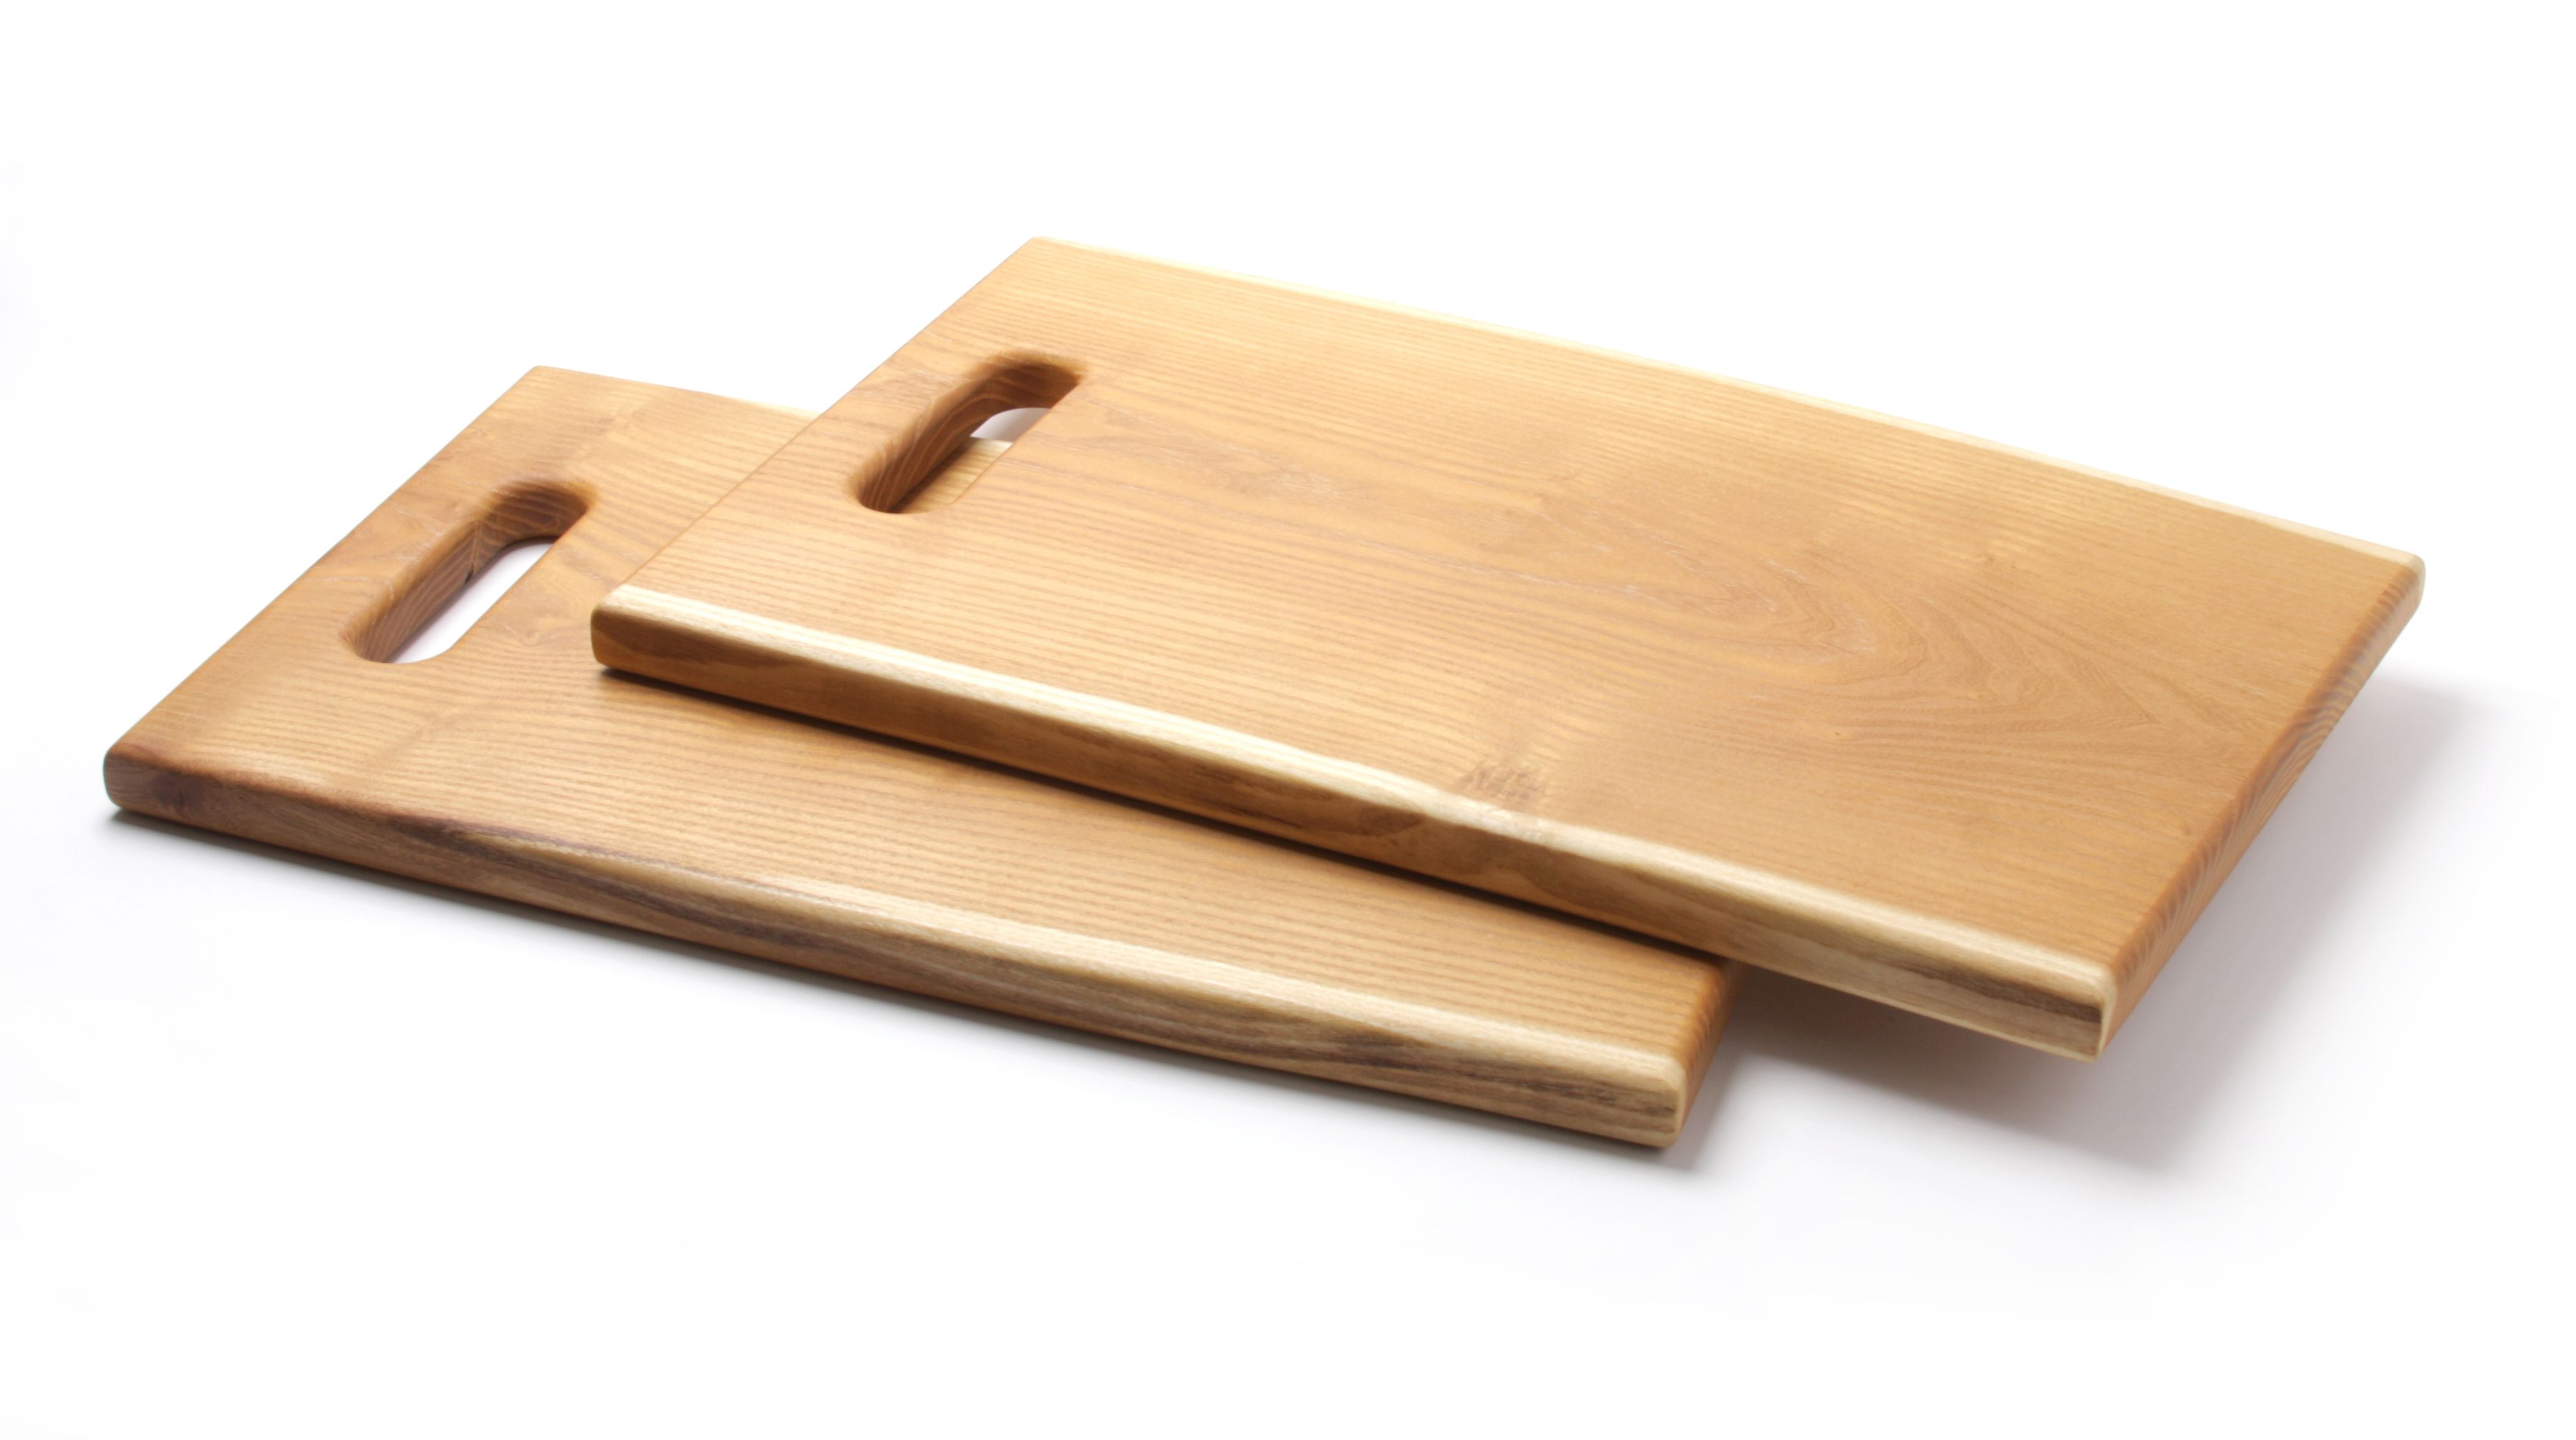
The finished cutting boards.


Log in or create an account to post a comment.
Sign up Log in