Distinctive Box Details
6 ways to take your next box to the next level.
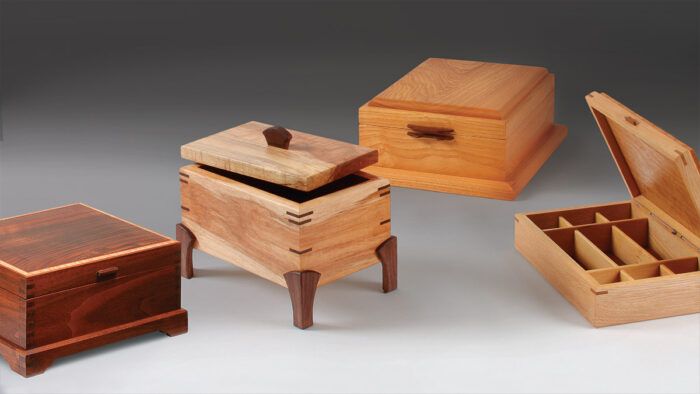
Synopsis: Box design is largely in the details: a finely shaped pull, some whimsical feet, and elegant set of dividers. Each box is an opportunity to use these details to make the piece stand out. Boxmaker Doug Stowe demonstrates how to choose and execute six critical details: bracket feet, stilt legs, small pulls, two-part lid lifts, fan-shaped pulls, and bridle-joint dividers. Mix and match these elements and you’ll have a repertoire of distinctive boxes to show for it.
As a professional box maker, I’ve thought a lot about what it takes to turn a humdrum wooden container into a unique and desirable piece of furniture. I’ve learned that the appeal of a box is due in large part to the details, like the shape and size of the pull. That’s why I approach every new box as a design opportunity, a chance to create new and distinctive details that allow my boxes to stand out. But there’s more to it than design. You also need to be able to make these parts, which can be a challenge because they tend to be very small. That’s forced me to develop accurate and safe techniques for machining them. I’ll share some of my designs for feet, pulls, and dividers and demonstrate the techniques I use to make them. Even if you don’t want to make the exact designs I do, you can use my techniques to make your own safely and accurately.
Bracket feet are elegant and stable
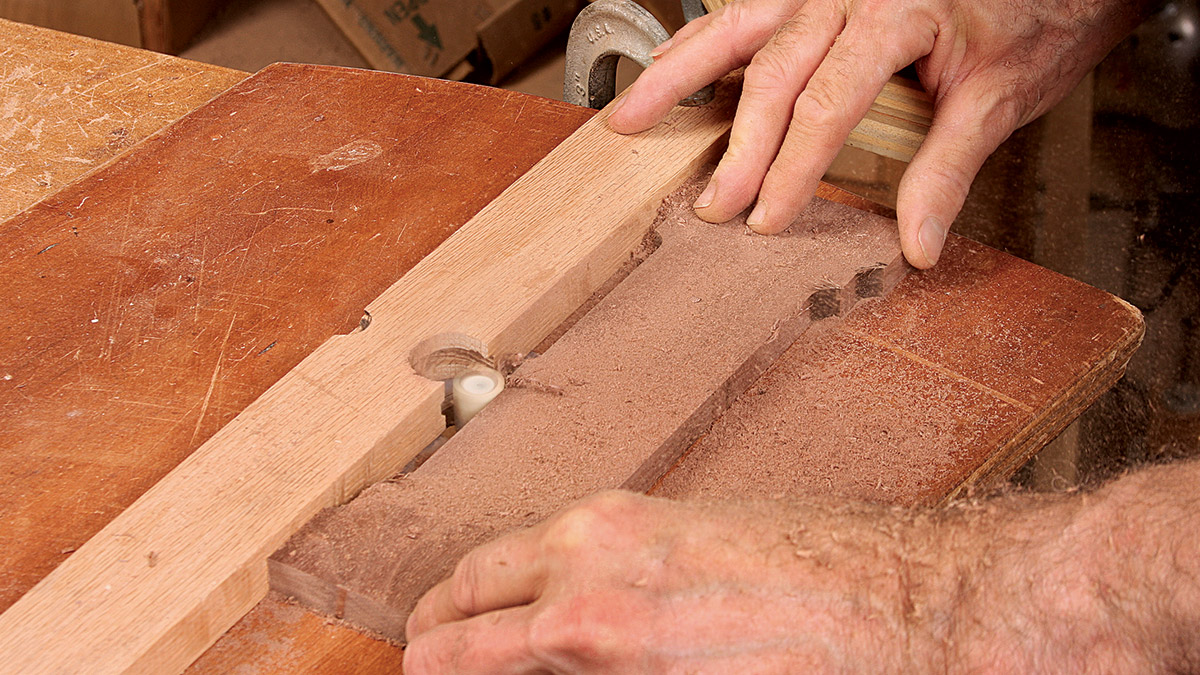
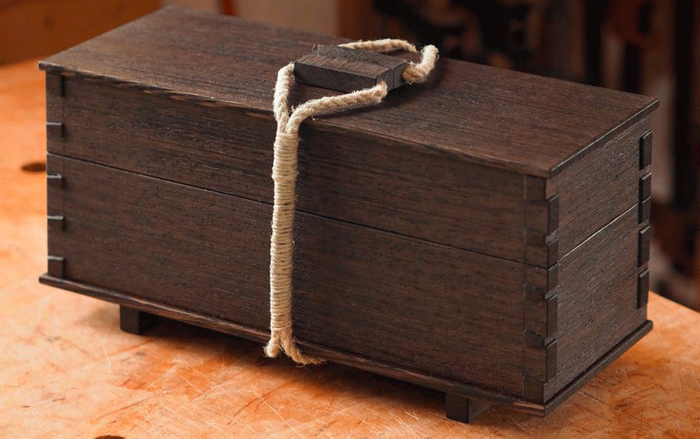
The curves and symmetry of a bracket foot add a graceful and formal base for a stately jewelry box like this one. The feet aren’t very tall, so I make two at a time on a single blank (making use of both long-grain edges) to keep my hands well away from the router bit. On feet this small, any lack of symmetry would immediately be seen, so I use a stop block on the infeed side of the router table to start the cut for each foot.
Stilt legs are playful
Because they are so akin to the body part they’re named for, legs present an opportunity for levity. The mitered legs on this box give it an almost animated quality, and I like that playfulness. I use a template to rout the shape, making it extra long so that it can be clamped to a long blank (and then to my bench). The fence on the template ensures that the shape is routed square to the miter joint, which is cut prior to shaping.
Little pull does big work
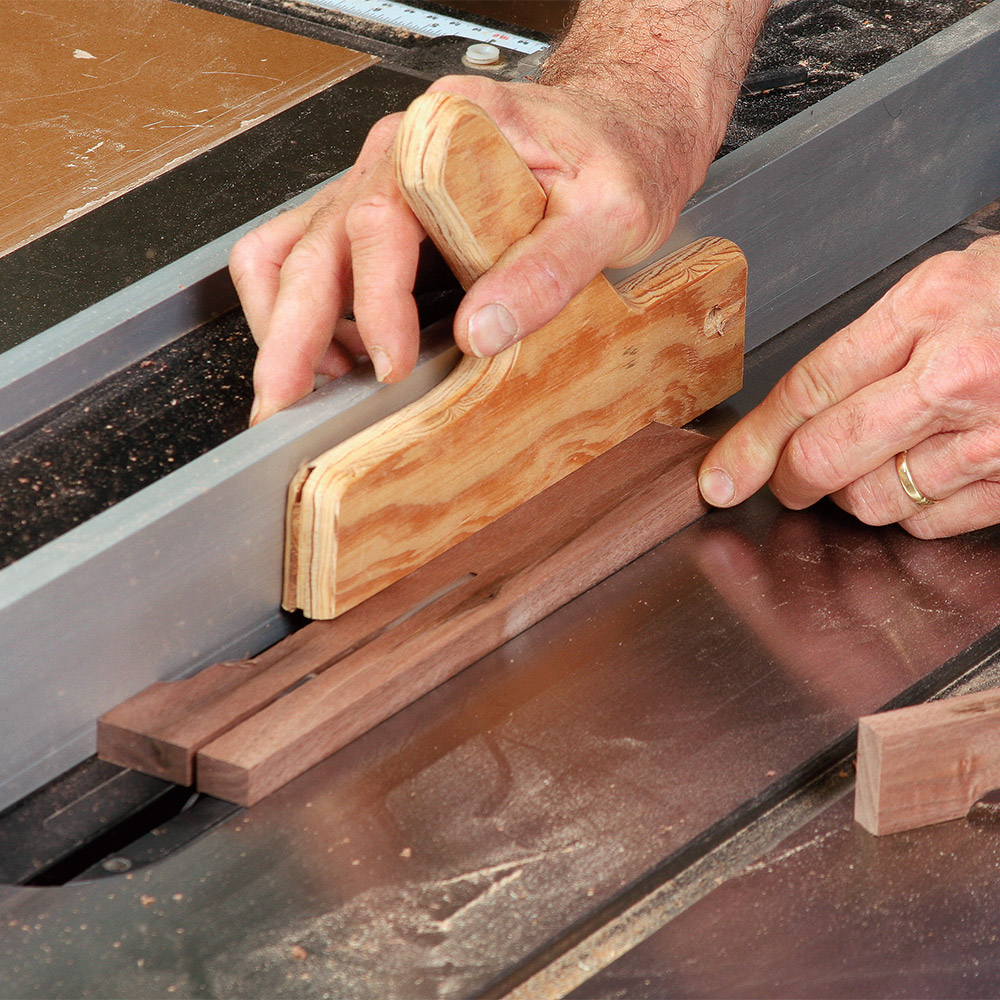
There are times when a pull shouldn’t call too much attention to itself, like on this understated jewelry box. This one is just big enough to get a finger under and lift. Its diminutive size might be a design plus, but it’s a woodworking challenge. I overcome that problem by making several at once. I start working on a large blank to improve safety, I use a crosscut sled at the tablesaw, and then I gang the parts after they’ve been cut from the blank.
Two-part lift does double duty
I use a pair of these lifts on opposite sides of boxes that need to be mobile, such as those for stationery. One part of each lift is mortised into the box and the other into the lid. When you pinch the two parts between your fingers, the lid is held in place and the box can be picked up. But the cutout in the lower part lets you get a finger under the upper part and take off the lid. Making the lift isn’t particularly difficult, but it won’t work if the shape isn’t just right. So take your time with the design, tracing it onto the blanks and then refining the shape.
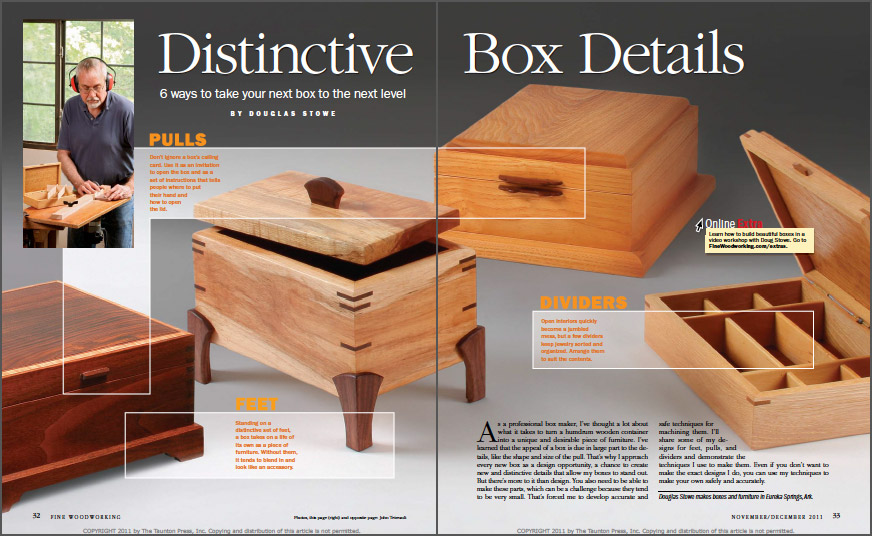
From Fine Woodworking #222
To view the entire article, please click the View PDF button below.
Fine Woodworking Recommended Products

Starrett 12-in. combination square
Bessey EKH Trigger Clamps

Jorgensen 6 inch Bar Clamp Set, 4 Pack


Log in or create an account to post a comment.
Sign up Log in