Tips for creating custom clamping blocks
Extra effort ensures glue-up success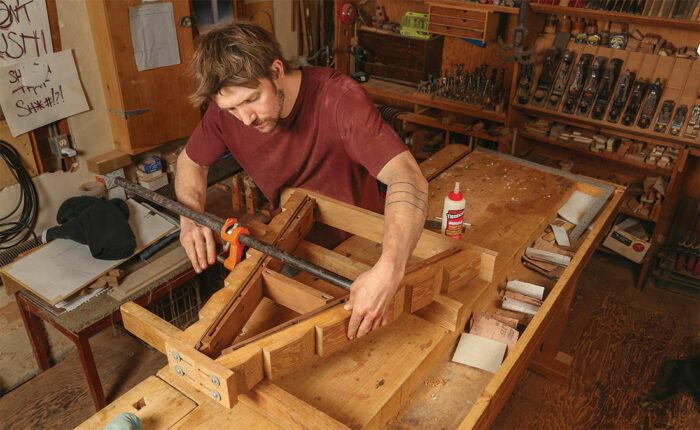
Synopsis: If you’ve spent weeks making a piece of furniture, it makes sense to spend half a day making custom clamping blocks that will distribute pressure evenly and ensure a successful glue-up. Glue-up, final assembly, whatever you want to call it, is the make-or-break moment of any piece. These three professional woodworkers are here to tell you that the right clamping blocks are the keys to success during this crucial phase.
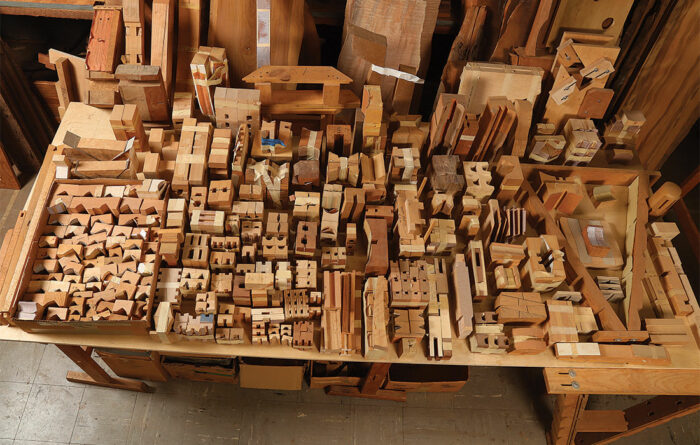
Aristotle said, “The whole is greater than the sum of its parts.” Alright, Aristotle, but how do we get the parts together? Clamping blocks! The woodworking world deserves to know, or be reminded, that it’s OK to spend half a day making clamping blocks that will protect a piece of furniture that’s taken you weeks to create, blocks that will evenly distribute clamping pressure right where you need it.
Proper clamping blocks provide insurance that the piece will go together smoothly, eliminating added stress around a glue-up. The glue-up is the make-or-break moment in any shop, and you can’t afford to risk a clumsy one. You could end up with open joinery, dented or broken parts, or a pile of expensive firewood. All these issues obviously diminish profit, value, and joy. Making the blocks can be as demanding as making the parts being assembled, so it’s easy to feel like you need to rush to completion. But it’s professional to understand that the way a piece of furniture is assembled is just as important as how its parts were made.
Maximize a joint’s potential
Proper clamping blocks enable you to apply as much pressure as you need exactly where you need it. Glue is activated by pressure, and with a proper clamping system you can choose to target the clamping pressure over a tenon, say, or perhaps spread the pressure across a wider surface. Either way, you can ensure that you are getting the full potential out of the clamp. We often make blocks that not only allow us to seat a mortise onto a tenon, but also give us the flexibility to position the clamp how and where we want so that we can apply an additional cross clamp over the joint. Two-way pressure is the result: tight shoulder pressure, and additional surface pressure, urging the glue deeper into the grain and helping it set stronger.
It’s all about making clamping blocks that fit the specific shapes being assembled so that they work to your advantage. Most commonly, in our shop, these forces are directed to seat mortise-and-tenon joints. But this focus on clamping applies to anything being assembled.
There is never a situation during assembly when we wouldn’t use some sort of block, even if it’s just a strip of plywood to protect a simple box assembly. A clamp placed directly on a finished piece can easily mar the surface and we all hate that.
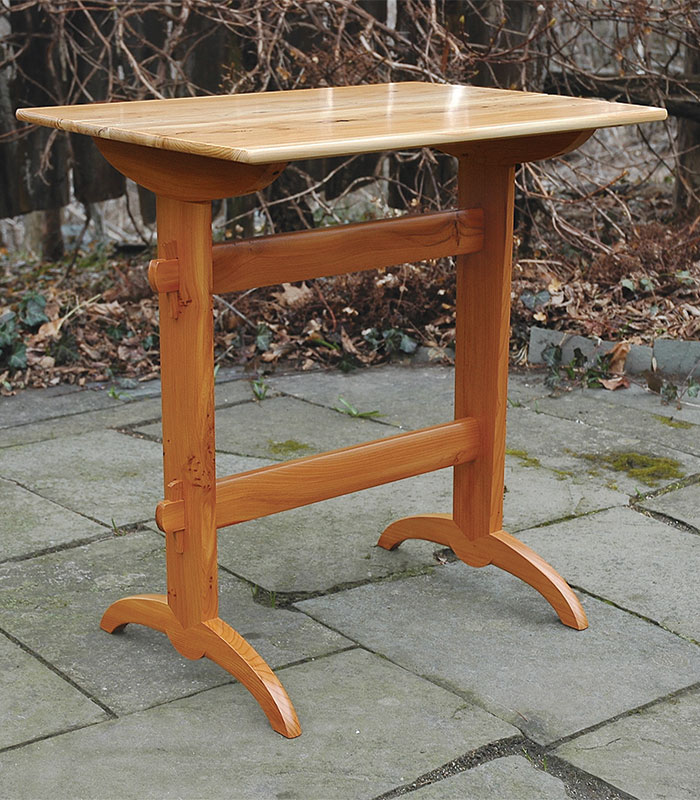
For us, the bandsaw is the go-to tool for shaping clamping blocks, though we also use the table saw and some hand tools for compound curves.
Each piece of furniture we make is unique, and therefore we can’t say do this one thing all the time. But we can show you a few examples of what we’ve done on specific pieces and you can adapt our methods to your work.
—Ron Kuhn, Matt Giossi, and Hank Gilpin work together to make furniture in Rhode Island.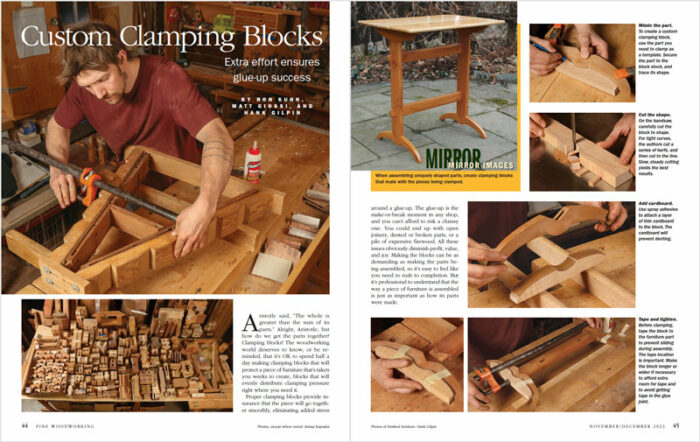
Photos, except where noted: Anissa Kapsales.
Photos of finished furniture: Hank Gilpin.
For more photos and details, click on the “View PDF” button below:
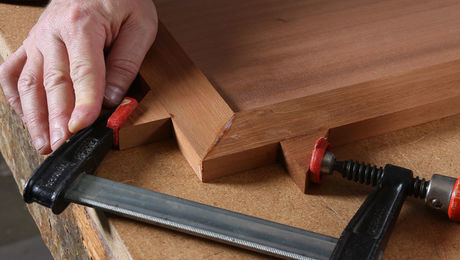 |
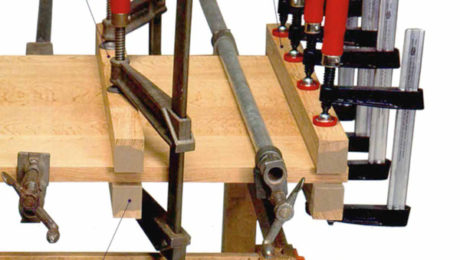
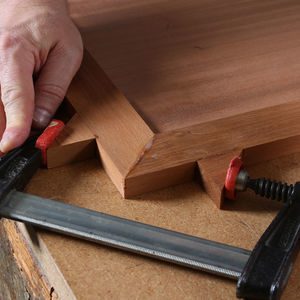
Clamping tricks for mitered framesTo help clamp miters, Craig Thibodeau uses small triangular offcuts from the mitering process as clamping cauls. |
 |
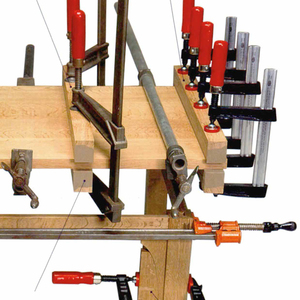
All about clamping jigsWhen standard doesn’t cut it, make your own. |
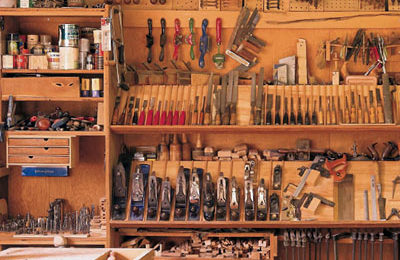 |
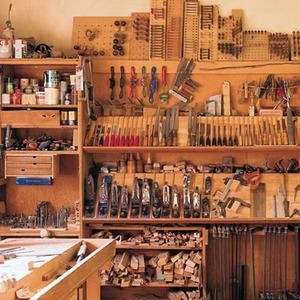
From the archive: Not your father’s pegboardAn organized wall of tools gives you instant access. |
Fine Woodworking Recommended Products

Jorgensen 6 inch Bar Clamp Set, 4 Pack
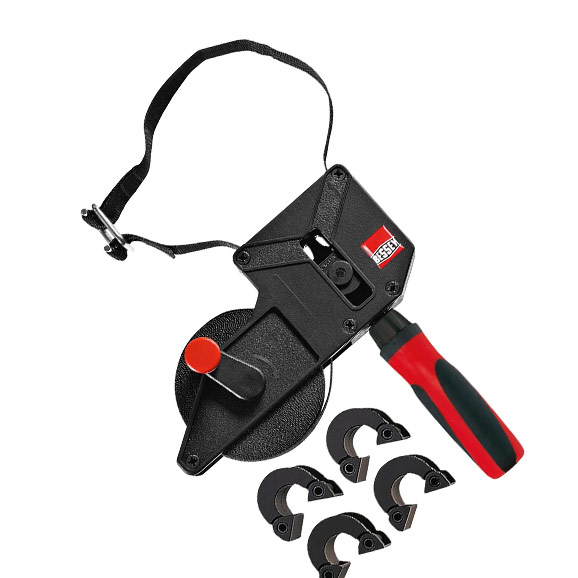
Bessey Band Clamp
Bessey EKH Trigger Clamps





Log in or create an account to post a comment.
Sign up Log in