Learn a fast, reliable way to sharpen a card scraper
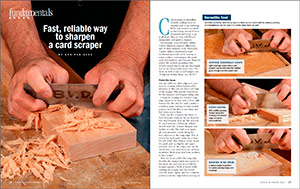
Bob Van Dyke demonstrates his process for sharpening a card scraper, including how to create smooth and square edges and faces, and how to draw out and form a burr to create the cutting edge.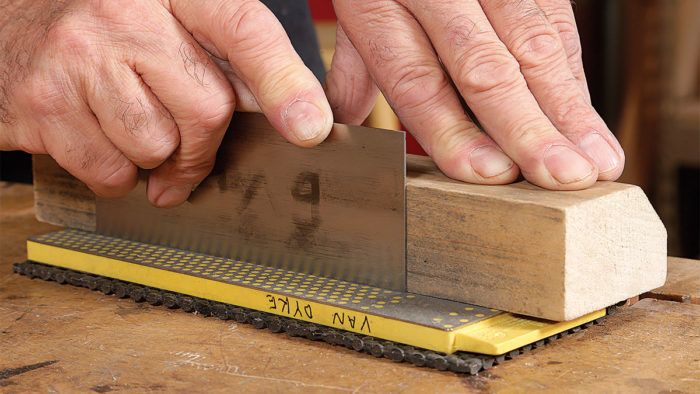
Synopsis: Card scrapers are an essential part of Bob Van Dyke’s surfacing kit. They’re inexpensive, effective, and easy to sharpen. Here he takes you through his process for sharpening a card scraper, including how to create smooth and square edges and faces, and how to draw out and form a burr to create the cutting edge.
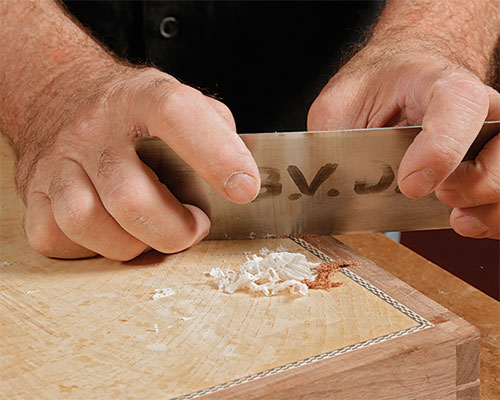
Card scrapers are incredibly versatile, making them an essential part of my surfacing kit for any project—so much so that I keep several of them sharpened and ready to go at all times. After all, why not? They’re inexpensive and quick to sharpen.
Interestingly, every furniture maker I know sharpens scrapers differently, and all their methods work. Personally, I prefer what’s considered a more traditional approach, while tossing in some modern conveniences like push pads and medium- and fine-grit diamond plates. My method guarantees fast, reliable results that let me use this simple tool to its full potential every time. (For more on how to use a card scraper, see Foolproof Surface Prep)
Versatile tool
Prep edges and faces
Just like with any other edge tool, you start by creating polished planes that intersect, in this case the long edges and faces of the scraper. This sets the foundation for the sharpest and longest-lasting burr.
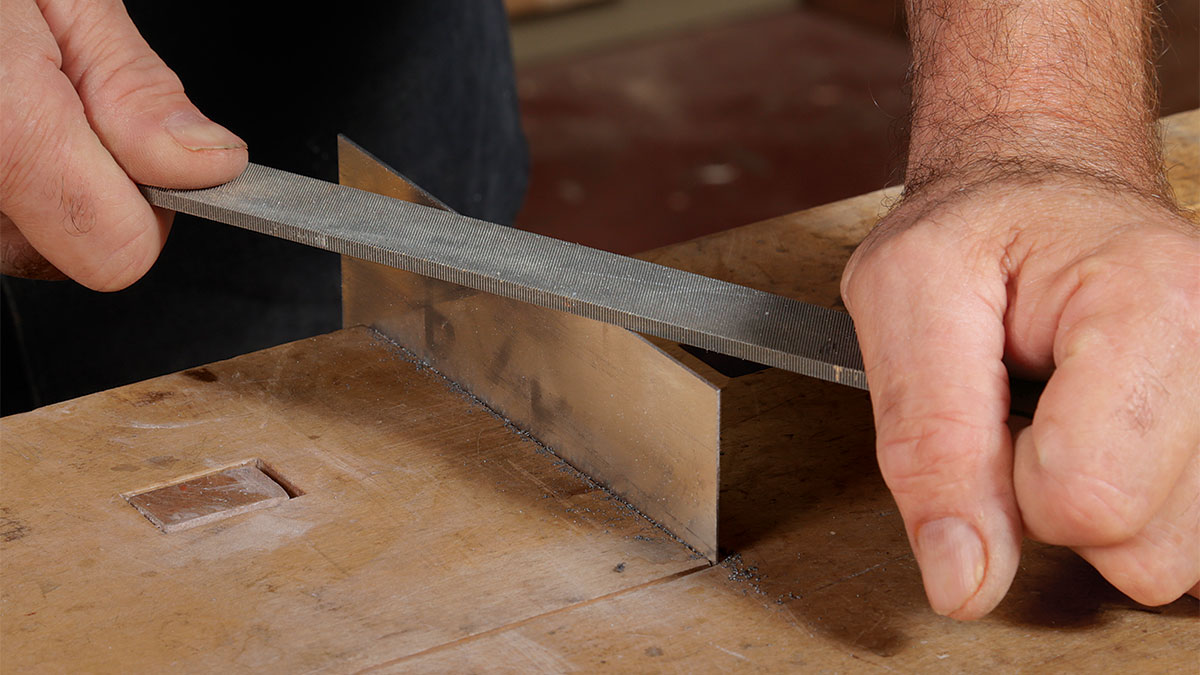
I begin by jointing the scraper’s long edge square to its face with a 10-in. mill bastard file. Run the file until it makes a consistent pass, leaving an even scratch pattern. You’ll be able to see, hear, and feel when you’re there.
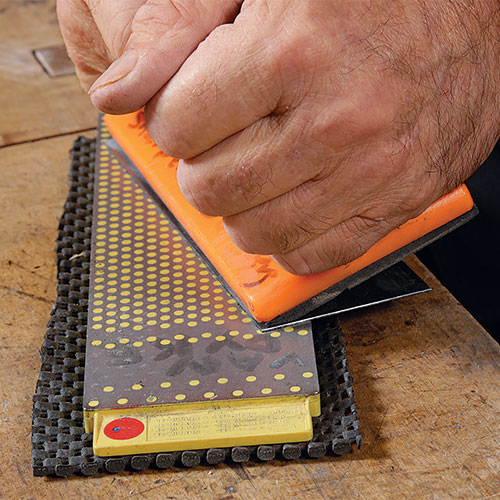
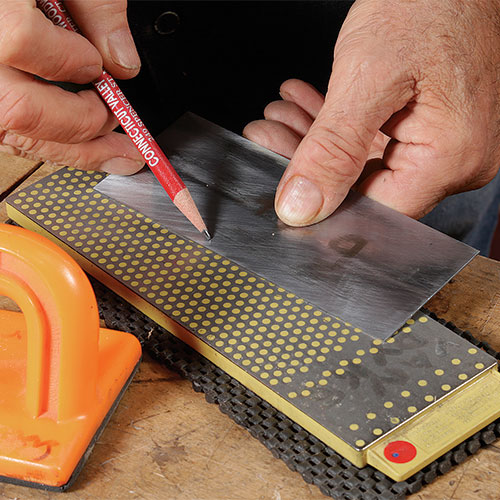
Next, lap the scraper’s two faces. I find diamond stones to be the best for this step because they are flat and can be used without a lubricant, which would make the scraper slippery and harder to hold. The trick is to apply all your pressure evenly along the face adjacent to the long edge. This is where the push pad comes in; it does the job better than fingers alone. Angle the push pad up slightly and apply pressure next to the edge—not on the whole face. Lap until there are uniform scratches. Work your way from medium to fine stones.
 |
 |
After the faces, polish the long edge. For this, the scraper must stay square to the stone. An easy trick is to hold the scraper against a block of wood while rubbing the scraper (not the wood) over the stone. Again, aim for a uniform polish across the edge before moving on to finer stones. I prefer diamond stones for this job, too. If you use another kind, you’ll need to continually move the scraper across its surface to avoid quickly wearing a groove.
Form the burr
At this point you can begin burnishing the edge to create the cutting burr. This involves three steps: drawing out the steel, mushrooming it over, and turning the burr.
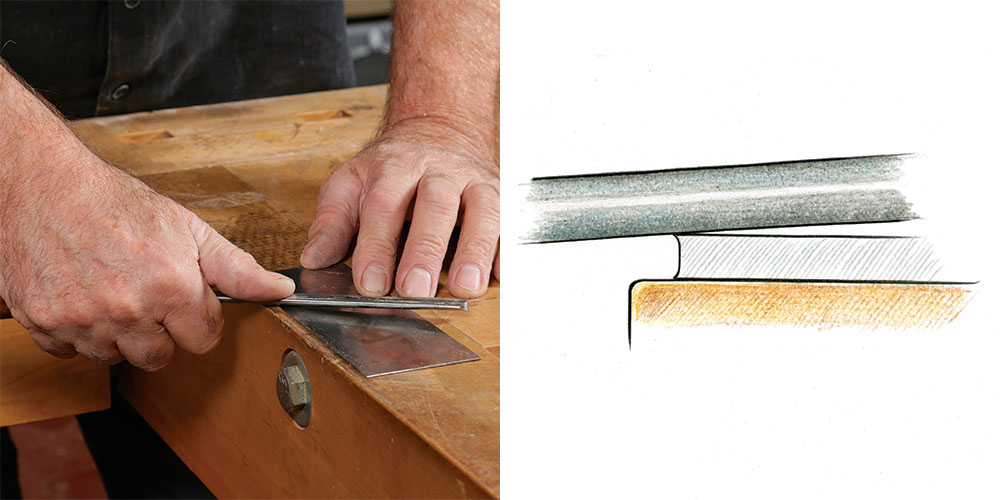
To draw out the steel, position the scraper near the edge of the bench and run the burnisher on the face adjacent to the edge at a very slight angle while exerting firm downward pressure.
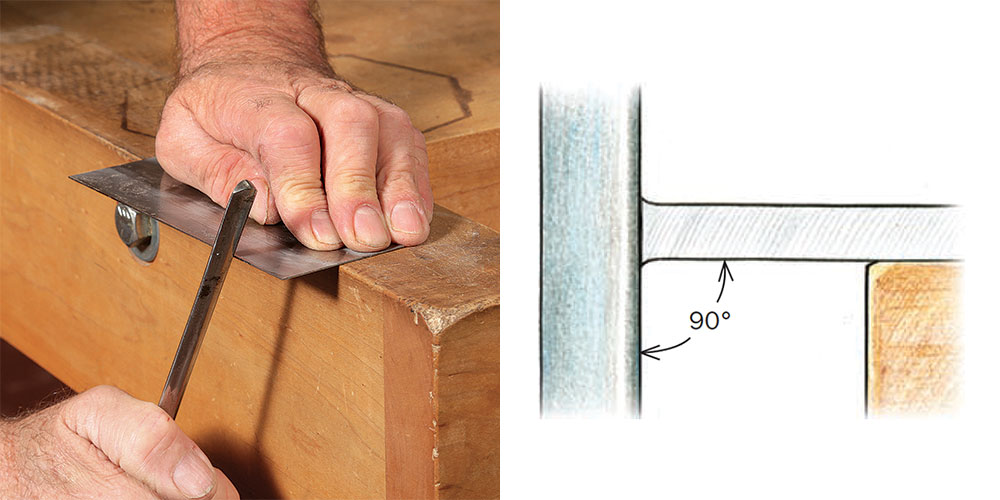
The next step is to mushroom over the burr. Hang the scraper about 1 in. over the edge of the bench and, holding the burnisher square to the face, draw it across the edge four or five times.
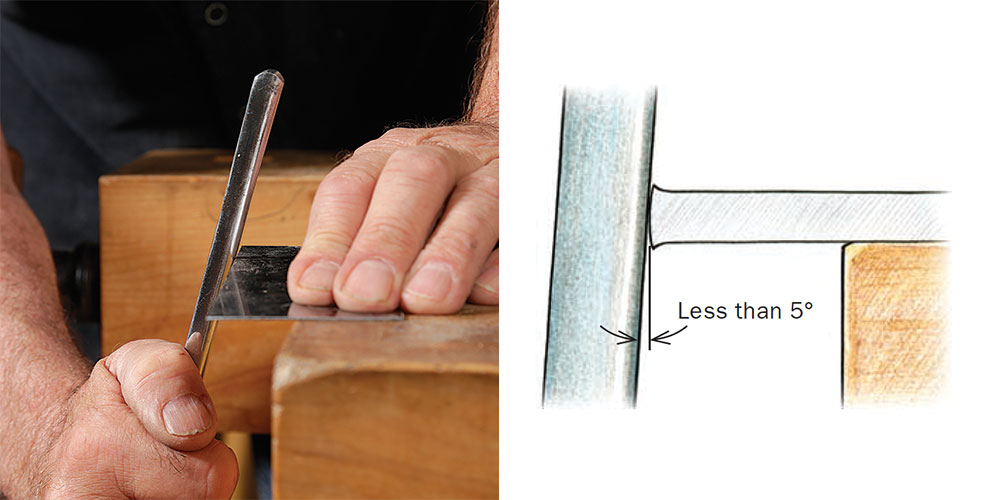
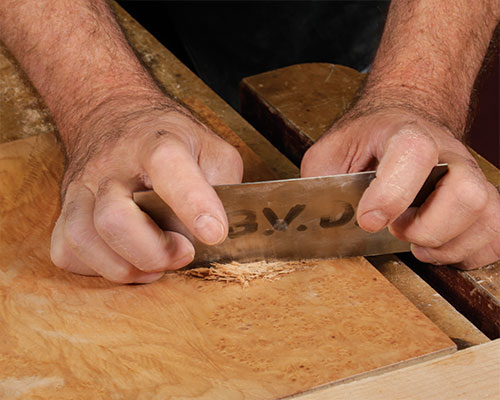
Now, turn the burr by angling the burnisher slightly (3° to 4°) and draw the burnisher up and across the edge two or three times. Avoid pressing too hard, since a big burr is harder to use and more fragile than a small one. The pressure here is surprisingly light—only about 4 oz., according to an early article by Tage Frid (“The Scraper,” FWW #6).
Turning a slightly angled burr allows the scraper to be used almost vertically, which is easier to control. And because the body of the scraper is supporting it, the fragile steel burr lasts longer.
When to resharpen
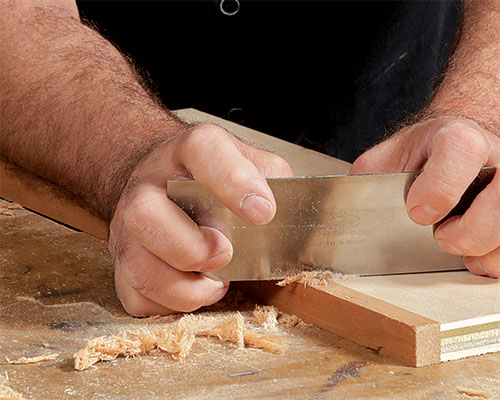
Don’t expect the scraper to cut effectively for more than 5 or 10 minutes of continuous use. When the shavings degrade, stop cutting and reburnish the scraper. If you’re just making dust, you’ve waited too long. Trying to scrape with a dull tool will round over the jointed edge, which means you won’t be able to pull a new burr from it. You should be able to reburnish five or six times before the edge becomes too work-hardened and brittle. At that point, go back to the file and start the sharpening process from the beginning.
From Fine Woodworking #279
To view the entire article, please click the View PDF button below.
Fine Woodworking Recommended Products

Honing Compound

Wen Diamond Grinding Wheel
Rockler Silicone Sharpening Stone Tray





Comments
Filing in unnecessary. Just use the coarse side of a coarse/fine oilstone in lieu of a bastard file. If you don't let it go too far off, you could also use the fine side. Again, you don't need a file.
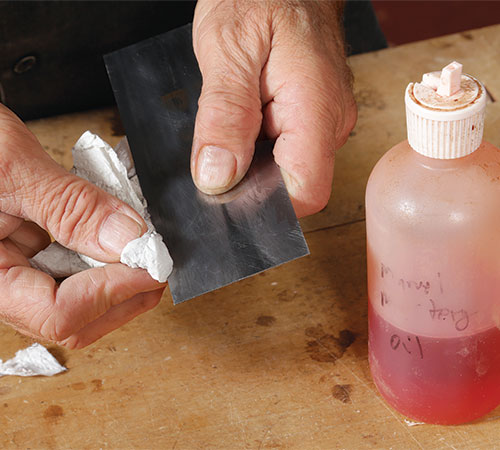
If you use oilstones, you won't need to oil the scraper. If you don't use oilstones, don't oil the scraper - oil the burnisher before turning the burr. One, tiny drop of 3-in-1 rubbed over the whole burnisher is all you need for several turnings of the burr.
The scraper's body right behind the burr works the same as a plane's chipbreaker. This, plus the angle of attack and the light shavings all combine to make the scraper do what it does.
Log in or create an account to post a comment.
Sign up Log in