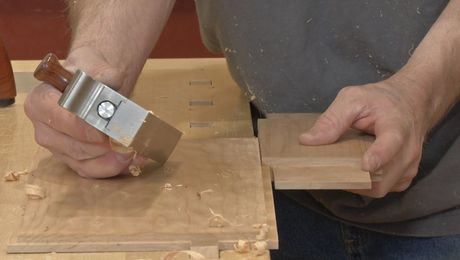
Ep 10b: Door Layout – Through-Tenons
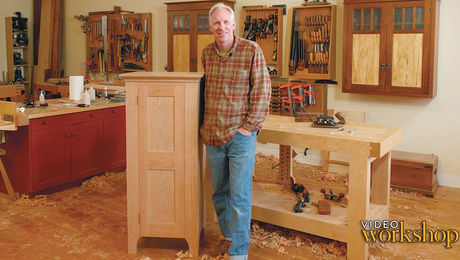
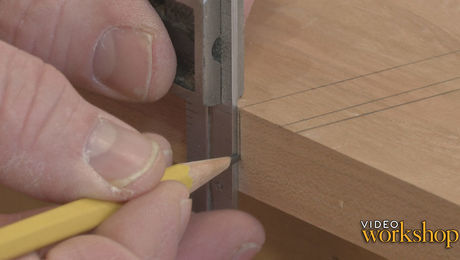
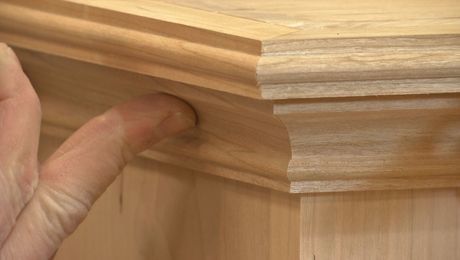
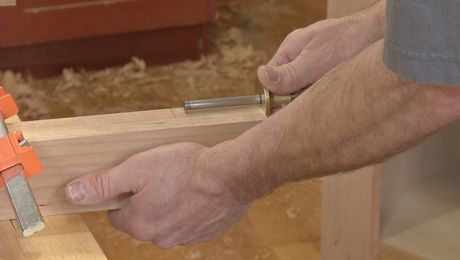
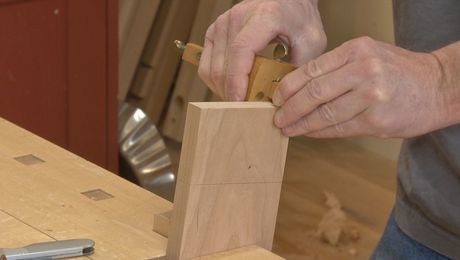
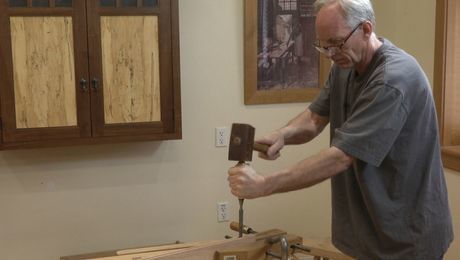
Chris continues the layout process, which is essential to creating a door for the cupboard that is both flat and strongPlus, access more than 500 video workshop episodes when you become a member
Videos in the Series
-
Ep 1: Enfield Cupboard with Hand Tools – IntroOctober 30, 2018
-
Ep 2: Case LayoutOctober 30, 2018
-
Ep 3a: Hand-cut Tapered Dovetails – SocketsOctober 30, 2018
-
Ep 3b: Hand-cut Tapered Dovetails – KeysOctober 30, 2018
-
Ep 4a: Case Dovetails – TailsNovember 6, 2018
-
Ep 4b: Case Dovetails – PinsNovember 6, 2018
-
Ep 4c: Handcut Rabbets and Dovetail FittingNovember 6, 2018
-
Ep 5a: Cutting the FeetNovember 13, 2018
-
Ep 5b: Gluing up the CaseNovember 13, 2018
-
Ep 6: BackboardsNovember 20, 2018
-
Ep 7a: Hand-cut MortisesNovember 27, 2018
-
Ep 7b: Hand-cut TenonsNovember 27, 2018
-
Ep 8: Drawboring and Gluing Up the Face FrameDecember 4, 2018
-
Ep 9a: Sticking the Crown MoldingDecember 11, 2018
-
Ep 9b: Attaching the Crown MoldingDecember 11, 2018
-
Ep 10a: Door Layout – Through-MortisesDecember 18, 2018
-
Ep 10b: Door Layout – Through-TenonsDecember 18, 2018
-
Ep 11a: Chopping the Through-MortisesJanuary 2, 2019
-
Ep 11b: Sawing the Through-TenonsJanuary 2, 2019
-
Ep 12a: Rabbeting the Panels and Door AssemblyJanuary 8, 2019
-
Ep 12b: Mounting and Fitting the Door–ConclusionJanuary 8, 2019
-
 Free Plan: Shaker Enfield CupboardJanuary 14, 2019








Comments
What I wanted to see was the actual cutting of the tenon and the mortises.
See episodes 7a and 7b.
I was also looking forward to viewing cutting of mortises and tenons.! do I have to wait to February?
how was the piece finished, tung oil ? please detail. thanks
While he doesn't do the finish in the series, Chris discusses his finish in the last video of the series.
Log in or become a member to post a comment.
Sign up Log in