One of the more frustrating processes in woodworking is securing small, irregular shaped pieces for sanding, scraping, molding, or any process that requires a strong, immovable grip on the piece. Round, beveled, fragile, we often work with parts that have us muttering strong epithets.
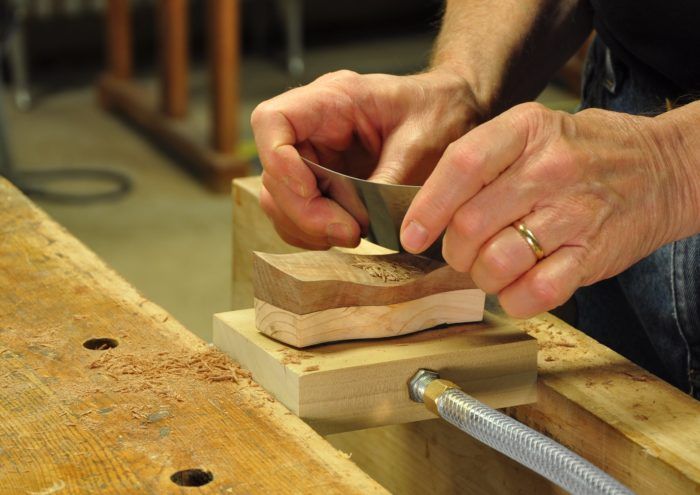
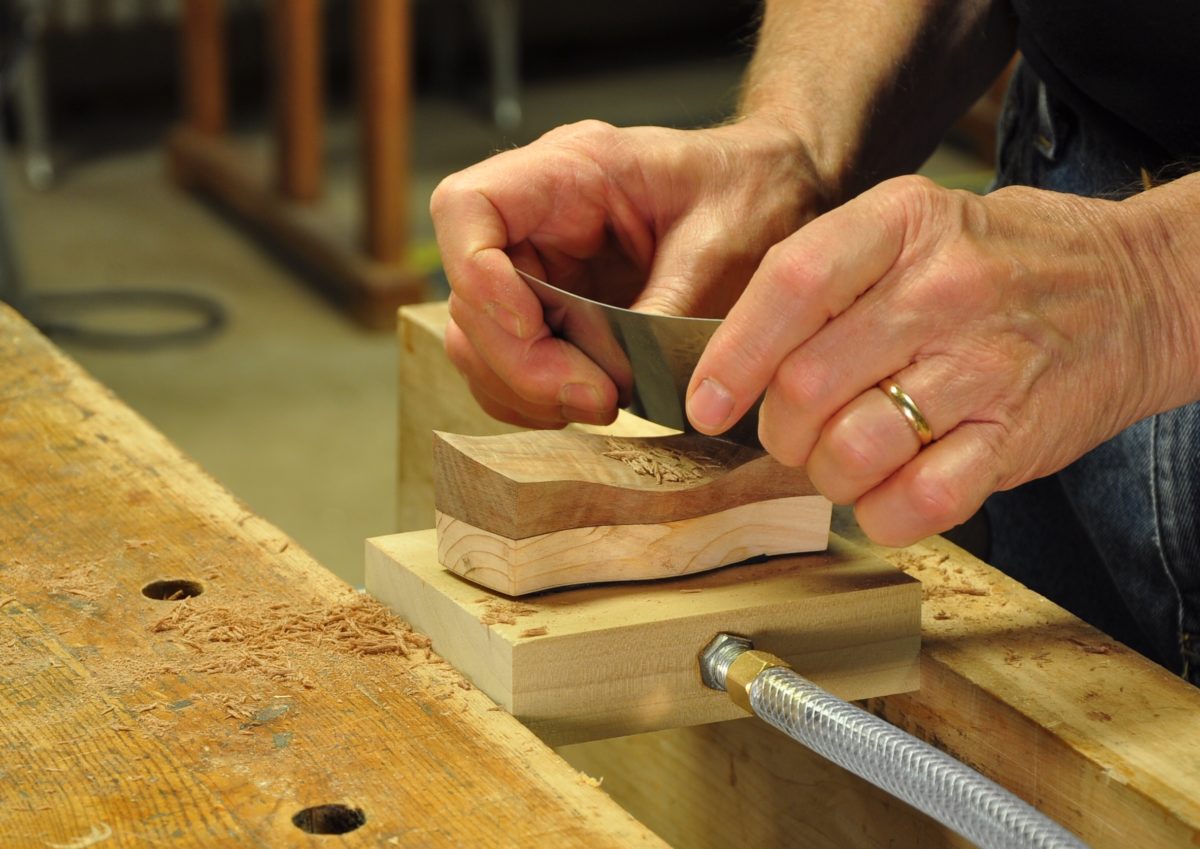
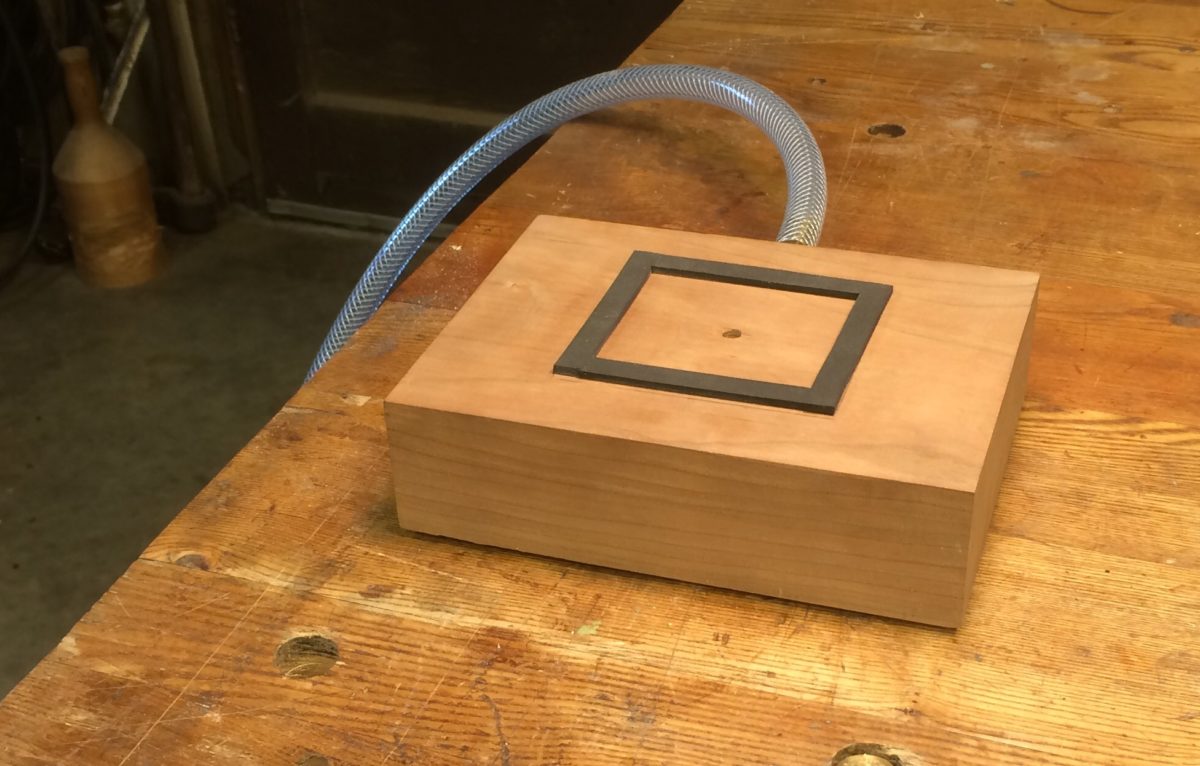
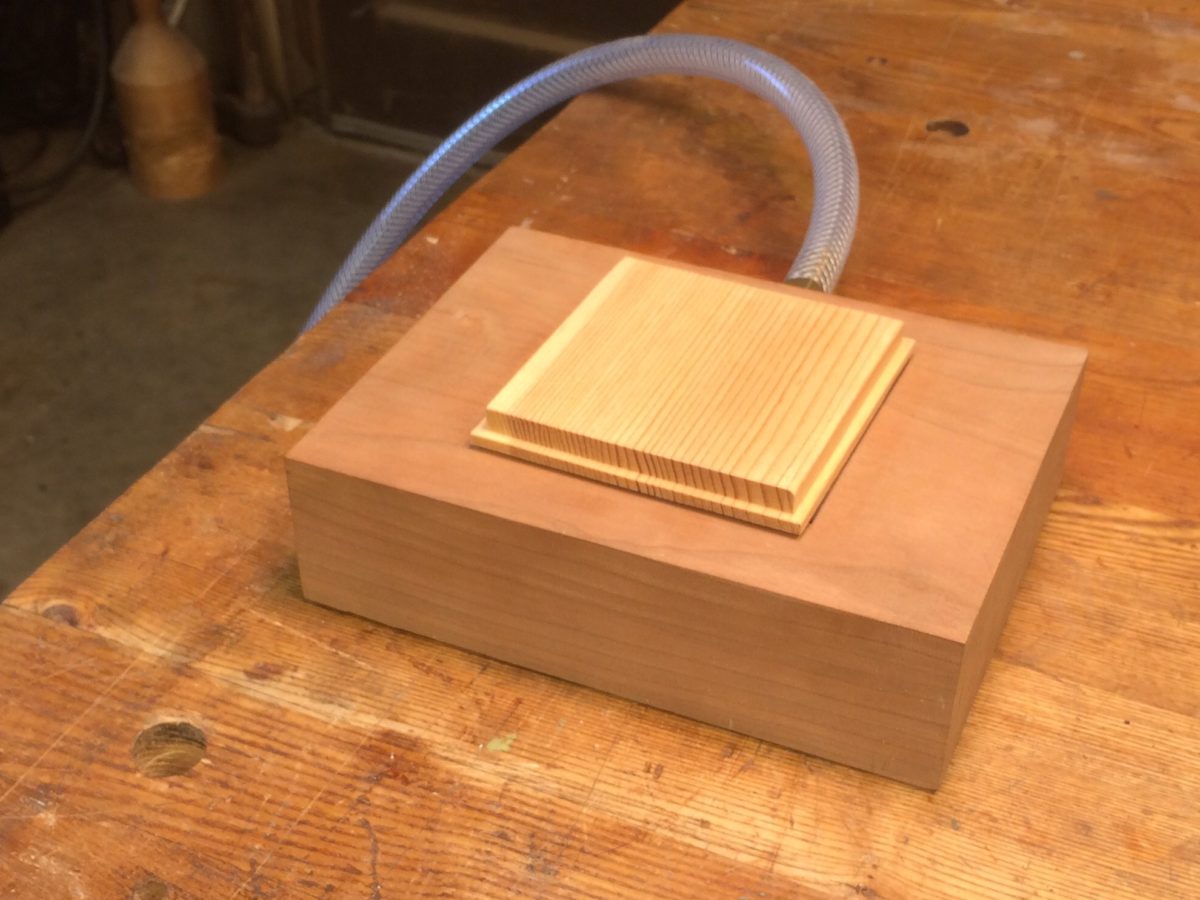
This week I was noodling around with Michael Cullen’s method for making bandsawn boxes—what fun! Thank you, Michael. One box in particular was working out well. I used a different species for the top of the box and the walnut scrap I pulled from my “someday” pile has a really incredible curl, so I decided the base and sides will be painted but the top will be dyed to make the curl pop. Card-scraping the top is the only way to really see the curl but trying to hold the part with all its odd angles and beveled sides meant traditional clamps were out, so I turned to my vacuum pump. Vacuum creates an incredibly good clamp that is easy on fragile pieces, and the foam gasket used to create a leak-free vacuum between the part and the vacuum clamp base will accommodate little irregularities in the part’s surface and still hold the it tight.
Of course a vacuum source is needed to make this work. I have a college lab surplus pump that really sucks, giving me enough vacuum-generating ability to clamp Old Ironsides for barnacle cleaning, but nearly any vacuum generator will work.
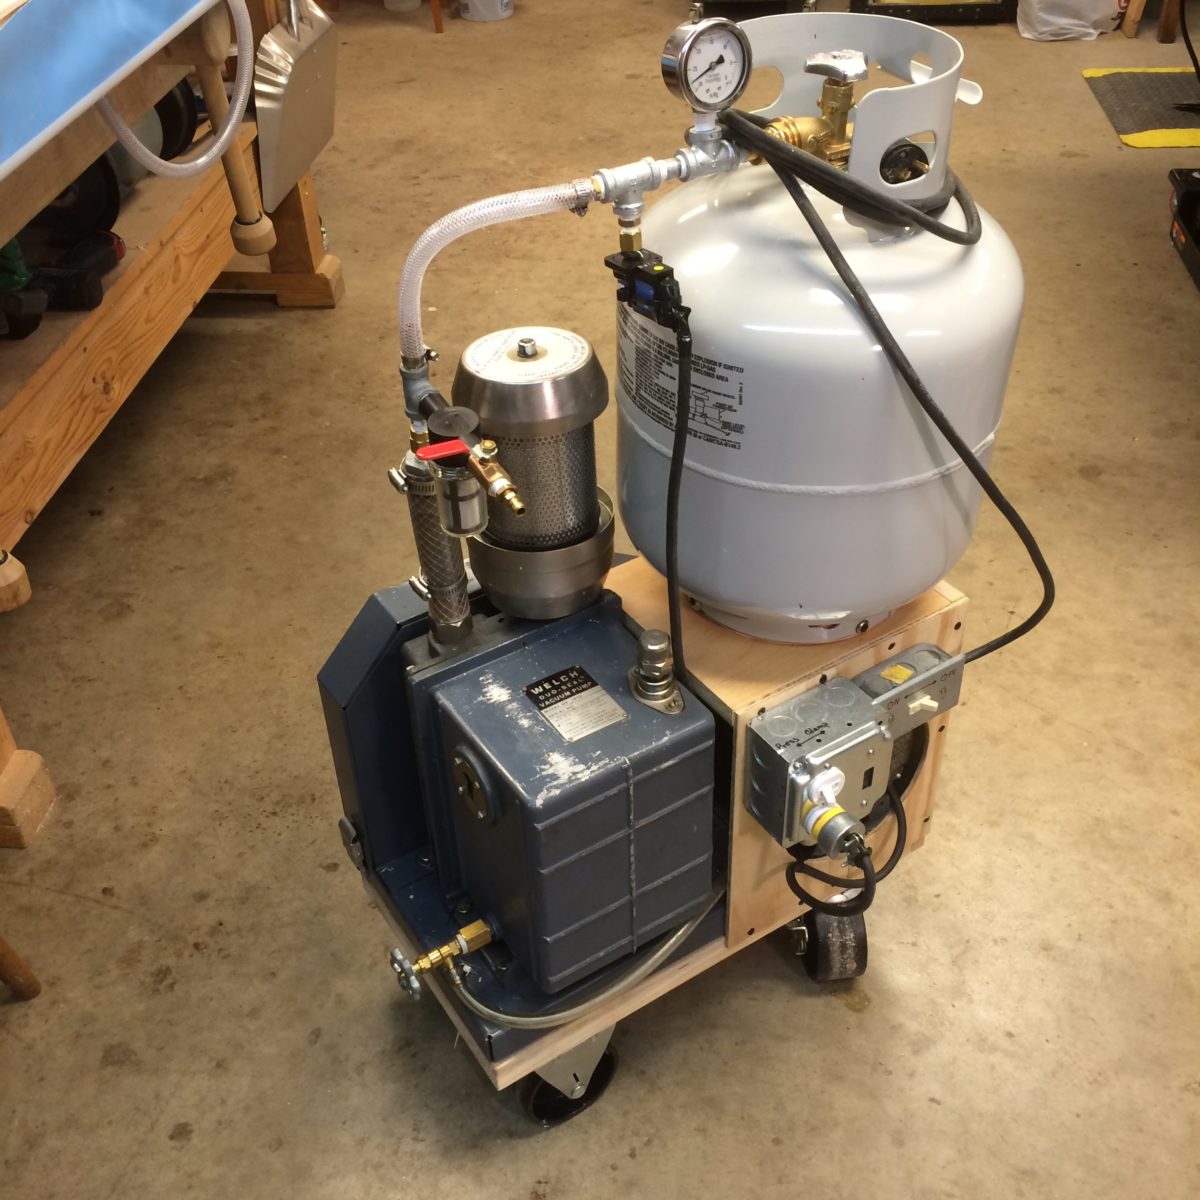
The clamps are easy to build. I have a mess of them in different sizes that will work for most of my needs, but it only takes a few minutes to make a custom clamp like the one I made for the box.
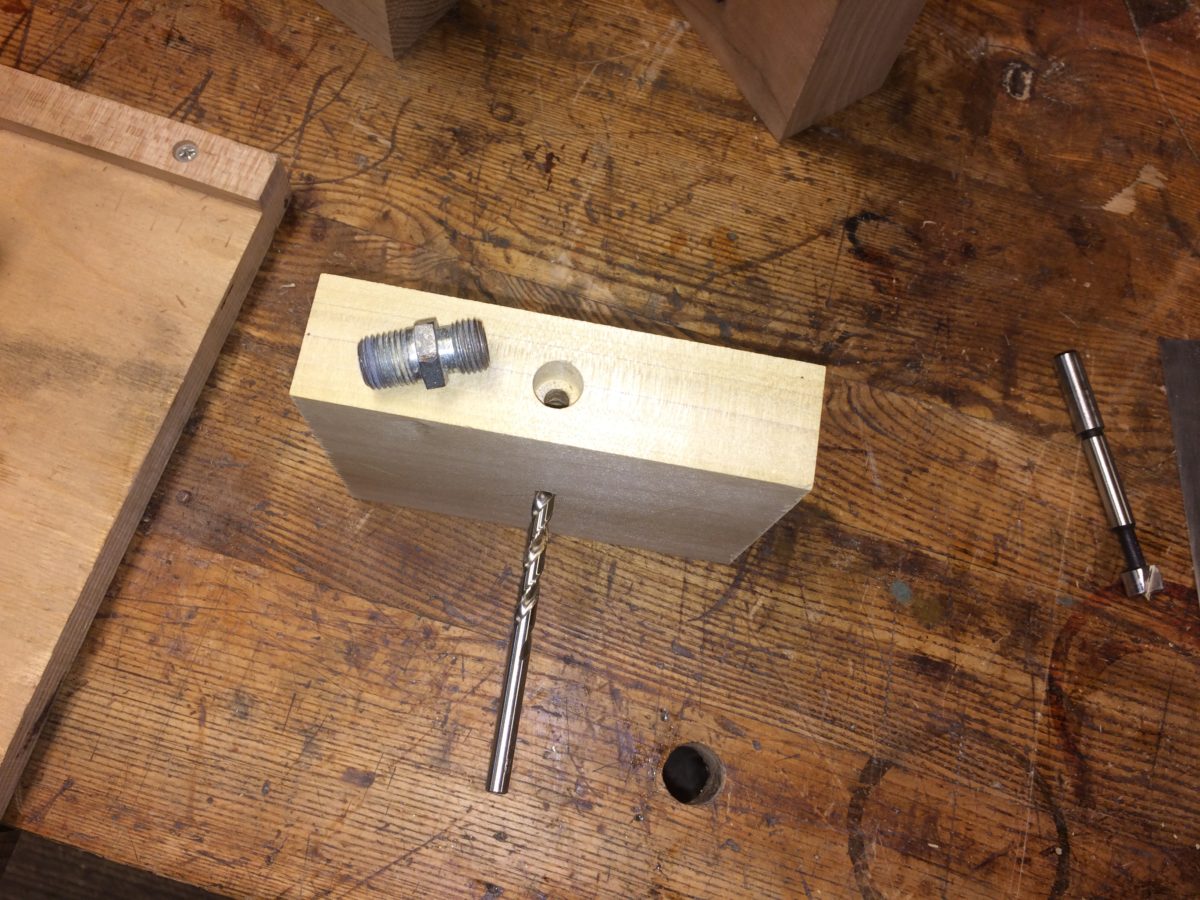
Start with stock that is at least 3/4 in. thick. I tend to use thicker scraps for no particular reason, maybe on some psychological level they seem more robust. I use threaded couplers for the vacuum line hookup; you can find these at any hardware store that has compressed air line supplies. Bore a hole just a bit smaller than the outside diameter of the threads on the end of the coupler and the same depth as the length of the threads. Now bore a 1/4-in. hole through the center of the bore you just created, ending at the center of the base. Next drill a 1/4-in. hole from the top center of the base to intersect with the first 1/4-in. hole.
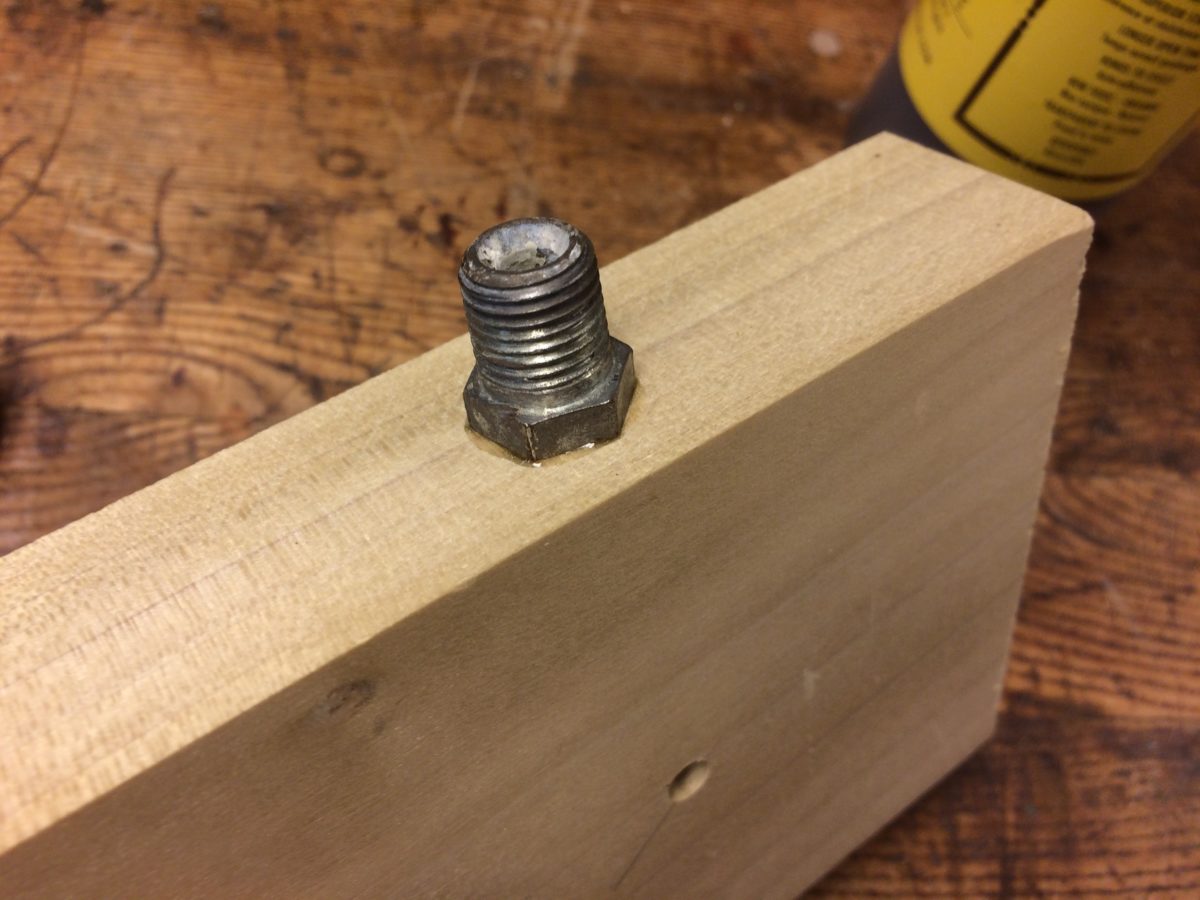
Thread the coupler into the hole using a little hide glue to lubricate the threads as they cut into the wood and also to seal the coupler to the base.
For this little box I traced the outline of the box on the base and then cut pieces of foam tape to fit inside the outline. The foam tape I use is 1/8 in. by 3/8 in,. high density, closed cell with adhesive on one side—usually referred to as single-coated.
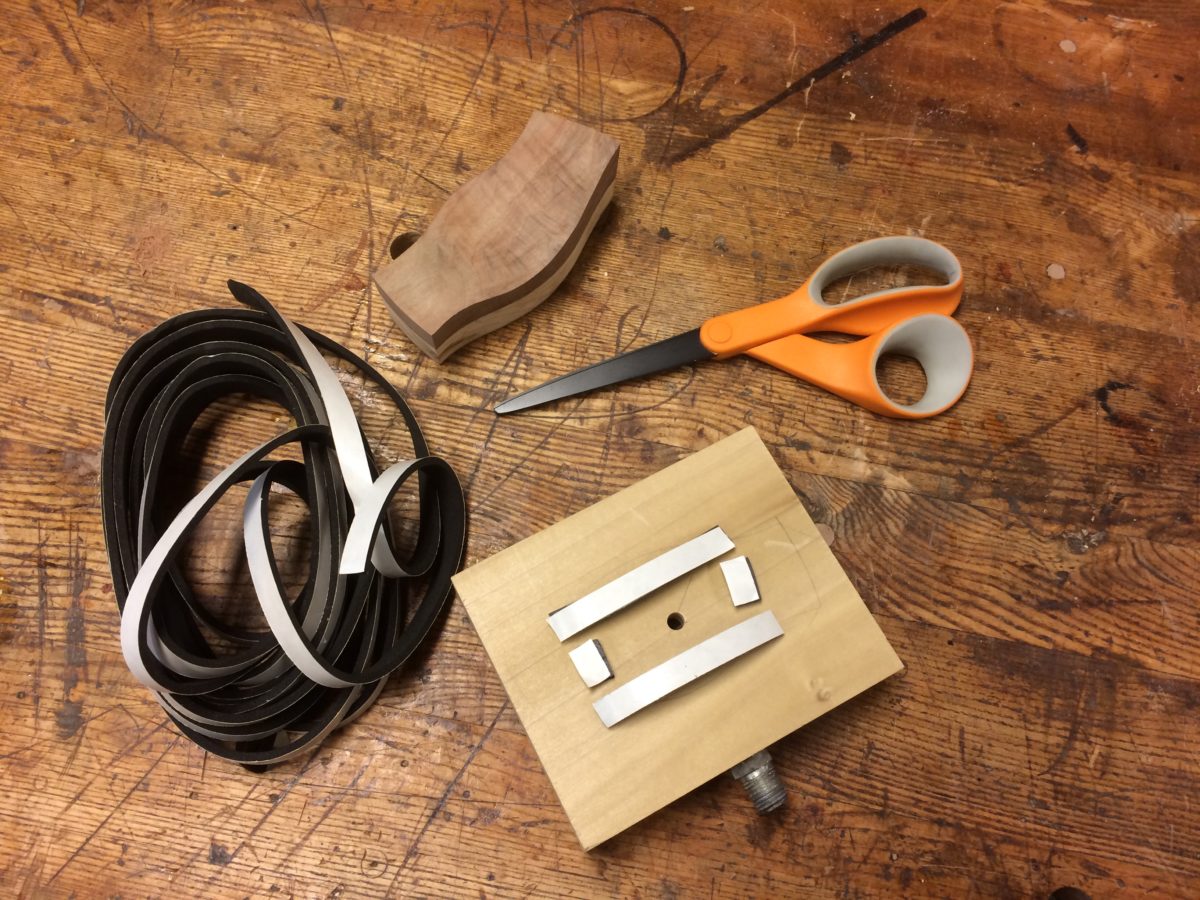
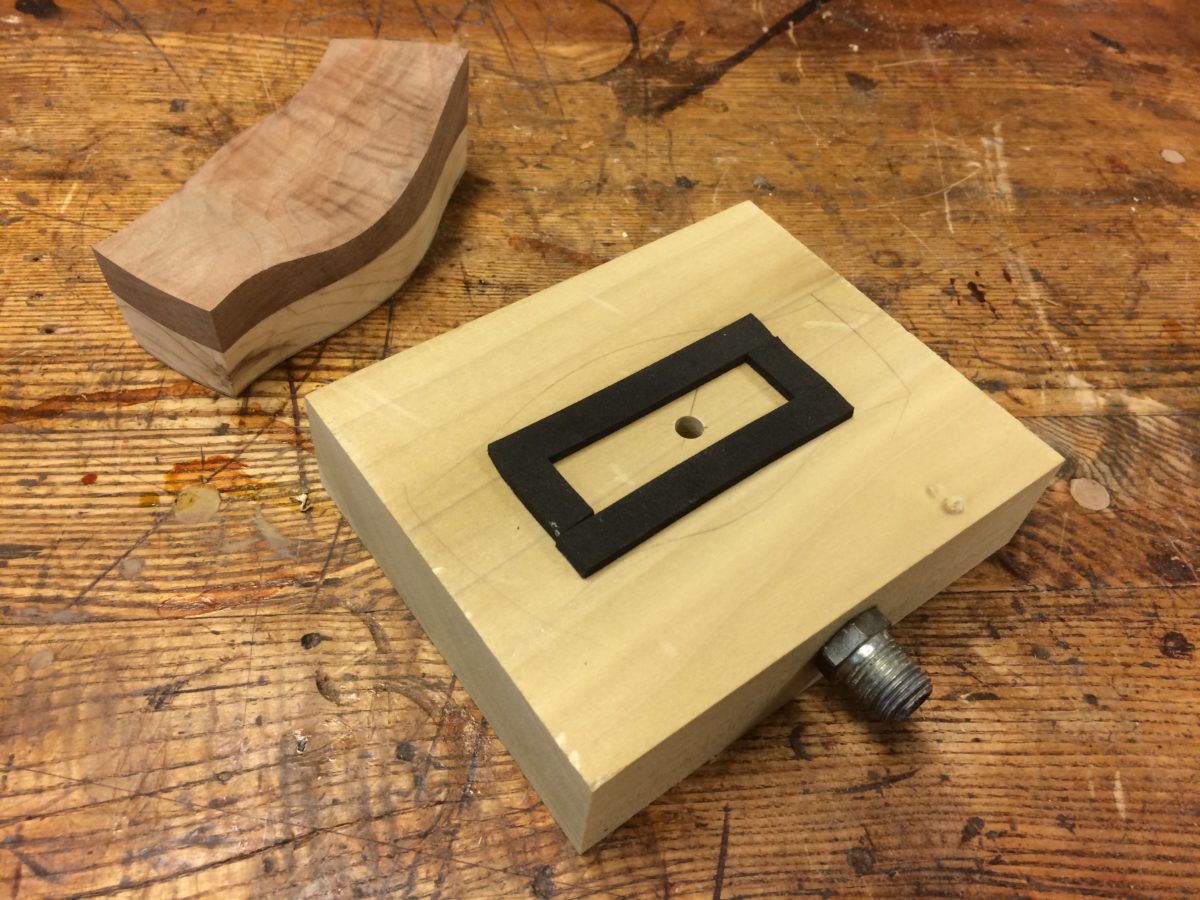
One atmosphere of pressure exerts 14.696 lb. per sq. in. so this little box is clamped to its base with an area approximately 1-1/2 in. by 3 in., and that adds up to roughly 60 lb. of clamping pressure at the 27 in. of mercury my pump can draw. I clamped the base in my face vise, put the box on the base, opened the vacuum line, and the box was clamped so well that it didn’t budge while I scraped the top.
These clamps can be designed to hold to a smooth benchtop or counter, without the need for a vise, simply by boring the center hole all the way through the clamp base, then simply taping both sides to create a vacuum area top and bottom. As you put the part that needs to be held on the base it will seal against the foam on the top. The foam on the bottom will seal to the tabletop. No vise needed.
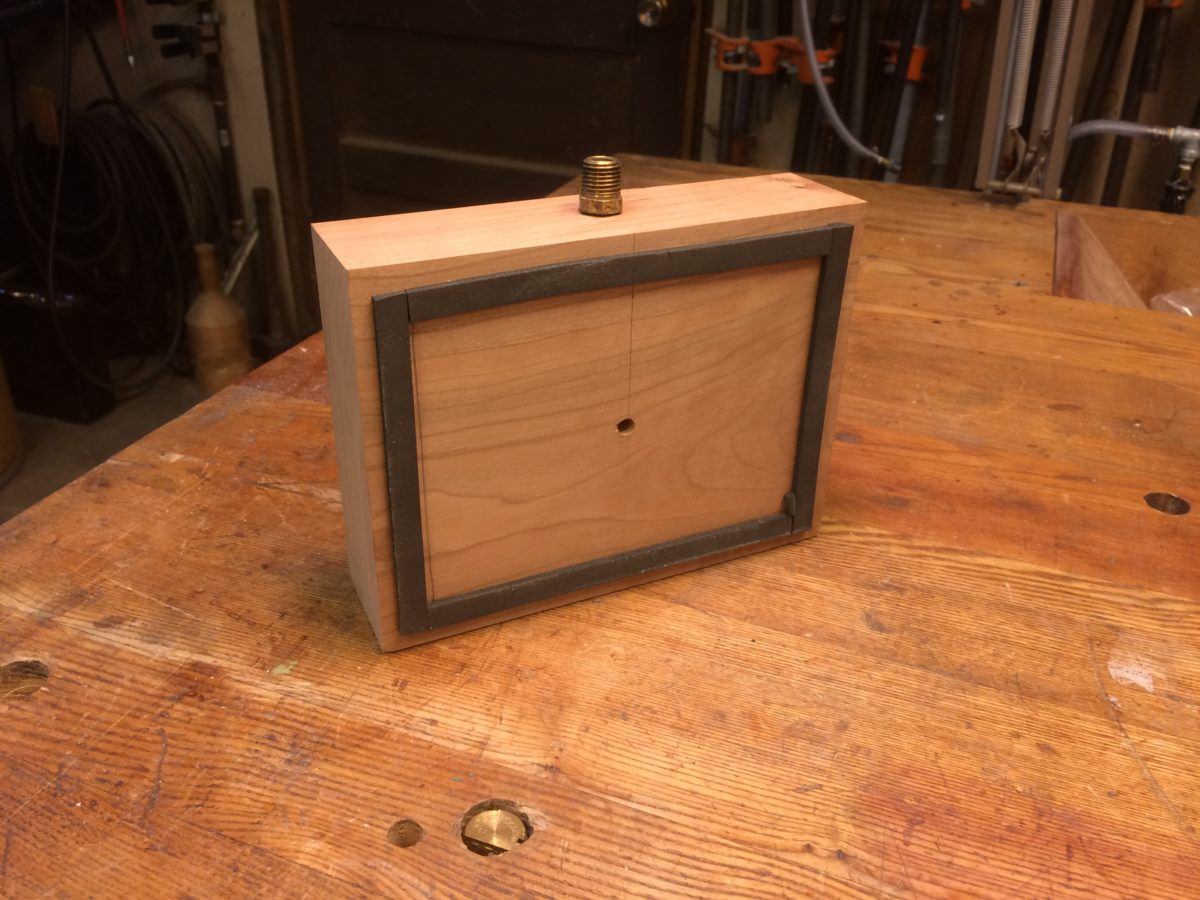
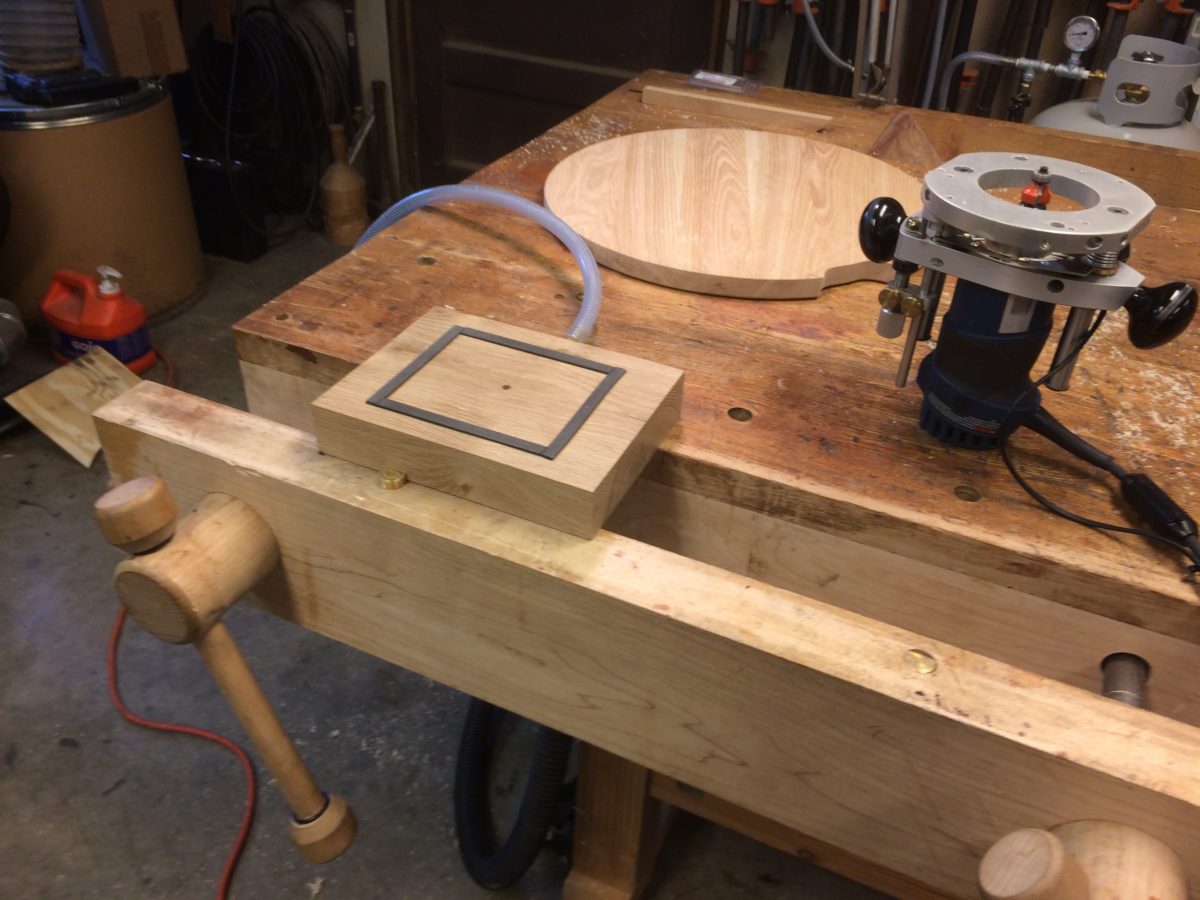
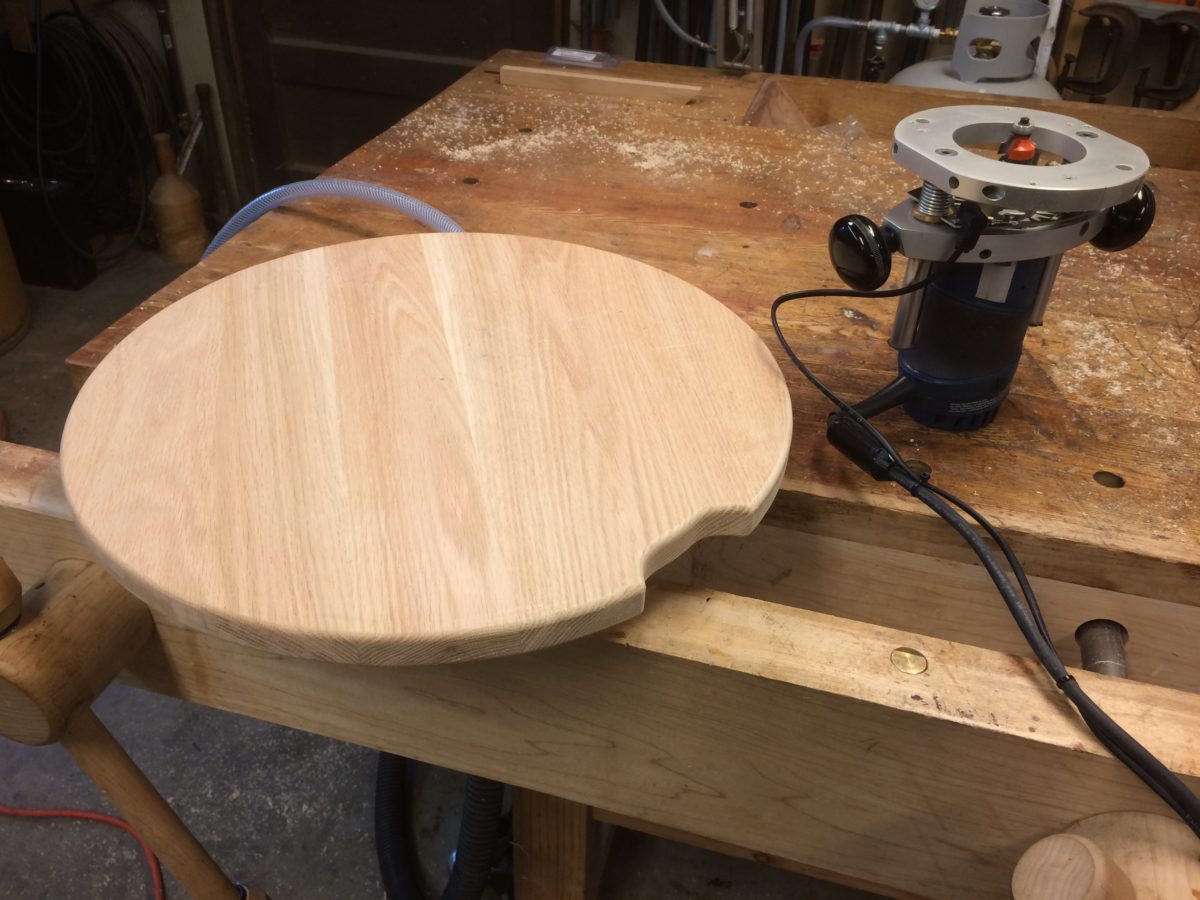
Larger objects are as easy to keep securely clamped. This base has 30 sq. in. of holding power or somewhere north of 400 lb. of pressure securely holding this barrel lid for routing.
Fine Woodworking Recommended Products
Double Sided Tape
Rockler Deluxe Panel Clamp
MicroJig Matchfit dovetail clamps



Comments
Great post, Rollie. I never would've thought this could be accomplished so easily. A VacuPress is on my list of 2018 purchases so I hope to be able to give it a try at that point.
- Kevin from NJ (and FWW Live)
Hi Kevin! You don't necessarily have to wait for your VacuPress there are lots of inexpensive Venturi style vacuum generators that will work (if you have a compressor) and can be purchased for under a hundred bucks. Google vacuum generator.
Ah, I don't know. I get the sense that I might blow myself up if I tried something like this. :-)
This is a great idea and, like most brilliant plans, seems so simple now that someone's explained it to you. I can't wait to clear a few projects out of the way and give it a try.
Thanks!
Sir,
With all due respect, I think that you need to explain that you are using a vacuum gauge and not an absolute pressure gauge. "27 in. of mercury that my pump can draw" means that your are actually at 29.92 - 27 = 2.92 in Hg on an absolute pressure gauge. As you know 27 in. Hg is not the same as 27 in. Hg vacuum.
It would be very easy for someone to misunderstand you and think "Oh, 27 mm Hg, that's just a little below standard atmospheric pressure. I can do that with this Venturi vacuum pump" (or the like). Unfortunately, 27 in. Hg would only achieve a 6.5 lb holding pressure.
Respectfully submitted.
Suburban guy, yes, I'm using a vacuum gauge. Next week I'll do a run-through on my pump and how it's set up, they're easy to build.
I have a vacuum pump and have wanted to build a set-up like yours I have seen a couple online but they have alot more parts than it looks like yours does,and really like the idea of the propane type tank being used.have and plans drawing articles on the build?
Great article! I picked up my pump at that place down by the water that ships stuff. (HF) It's intended for HVAC use. Just remove the assembly with the Freon valves and you're good to go. It was about $60 bucks with one of their coupons. Of course it also works great for vacuum pressing.
Log in or create an account to post a comment.
Sign up Log in