Aligning your table saw in two planes
Before discovering this technique, Rollie could get his tablesaw to cut like a champ when the blade was at 90°, but as soon as he started making bevel cuts he experienced a ragged, scorched cut.
We just wrapped up a very successful and incredibly enjoyable Fine Woodworking Live; what a hoot! Lots of great seminars, lots of new tools to lust after, and most important—lots of new friendships made. It’s such a joy to meet folks who have the same passion for woodworking as we have and have the chance to spend a few days together learning from each other and enjoying the camaraderie that comes from shared experiences. I can hardly wait for next year!
My seminars for Live were all about setting up and using a couple of our workshop stalwarts: the tablesaw and jointer. One of the tablesaw setup essentials I demoed was aligning the blade with the table in two planes. Now most of us know that we need to align our sawblade parallel with the left miter slot, but some don’t know about aligning the blade with the tabletop. When we start to tilt the blade for bevel cuts, we must make sure the blade stays parallel to the tabletop—a different plane—so we cut straight on to the blade. I discovered this little technical gem years ago when I was struggling with my vintage Unisaw. I could get it to cut like a champ when the blade was at 90°, but as soon as I started making bevel cuts I experienced a ragged, scorched cut. I knew the blade was aligned exactly with the miter slot and fence, and it took some serious consideration to realize that as soon as I started tilting the blade I now had two planes to consider, horizontal and vertical.
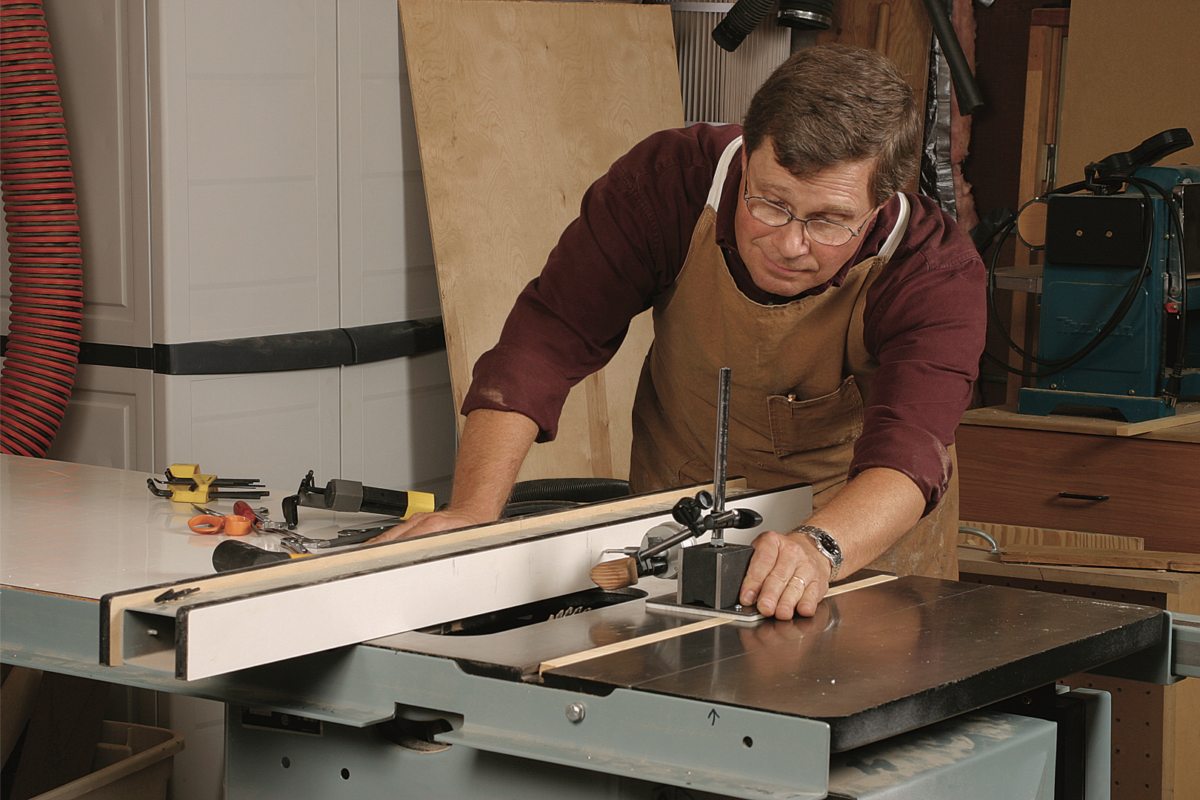
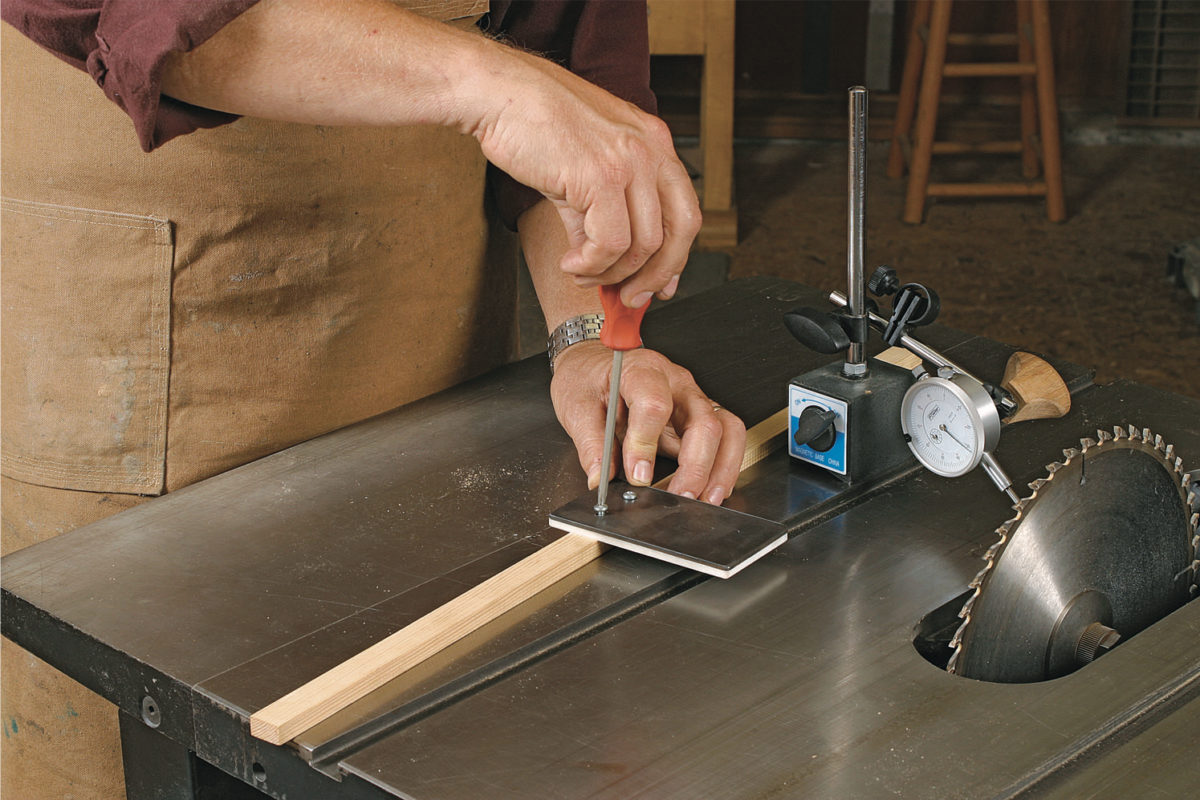 I put together a simple sled for my dial indicator’s magnetic base so that I could more easily check blade alignment. The sled consists of a piece of 19-gauge steel, a piece of maple that exactly fits my table’s miter slot, and a piece of 1/8-in, plastic sandwiched between them. The plastic isolates my dial indicator’s magnetic base and allows the whole assembly to slide unhindered as I check for parallel.
Using this rig and my dial indicator, much to my amazement, I found that when tilted to 45° my blade was out of parallel with the top by a whopping .020 in., and in the exposed length of the blade, about 9 in. I shimmed the low side of the tabletop until the blade was parallel to the tabletop and I was blown away by how easily and cleanly I could make bevel cuts.
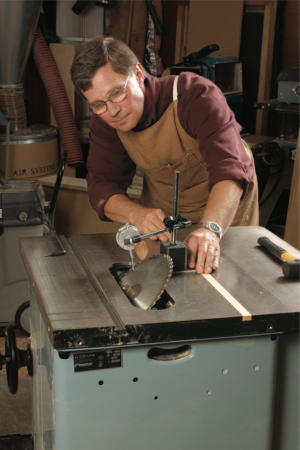
It’s a pretty simple procedure. Using camber/caster automotive alignment shims, which are precise thicknesses and U-shaped, I could simply add shims between the cabinet and trunnion until the blade was parallel without removing the bolts that hold the tabletop in place. If you have a contractor-style saw, these same shims make it a snap to lower one of the trunnions to bring the blade into spec.
Once I was satisfied that the blade tilt was parallel I returned the blade to 90° and checked to make sure the blade was still parallel with the miter slot.
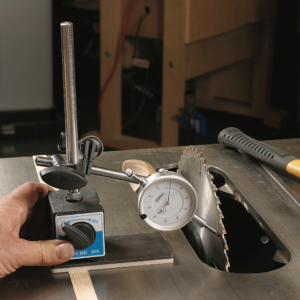
Finally, I used the same sled to align my fence parallel to the blade and miter slot. I’m fussy about making sure everything is exactly parallel—none of this open at the back of the blade nonsense with the fence. I want to cut straight on to my blade, not at an angle. If the wood I’m sawing exhibits reaction from tree growth or uneven drying and is pinching the blade, I’ll switch to my bandsaw to rip it, but I probably wouldn’t use the wood anyway as it’s showing that it’s probably not stable enough for my needs.
So now you know just a bit of what I taught at Fine Woodworking Live. I had quite a few more tricks up my sleeve. Next year, maybe you’ll get a chance to join us at the celebration and learn a bunch of inside info and meet a bunch of new BFFs.
Fine Woodworking Recommended Products

Shop Fox W1826
Ridgid R4331 Planer
Forrest Woodworker II Blade





Comments
the pictures are in the way and I cant read the words.
What system are you using and what browser? I'm can't replicate that issue here.
Yes, big problem with dark print on dark pictures. Hope we can get a reprint. This is very important information. Could save someone a bind and kick back.
Thanks Rollie
What browser and system are you using? The post should not be showing that way, but I need the info in order to fix it.
Are the shims the ones used in auto alignment shops? Where did you get them?
Thanks
I have the same problem. the black text is going over the pictures. I'm using Firefox on Windows 7.
I got around the problem by highlighting the article and copying it to the clipboard. Then I pasted it to Word. For whatever reason, it was formatted correctly in Word and then I could easily read it.
Thanks! That's what I needed. On to the techies!
Try it now
Thanks for the info. It would be nice to have a picture or 2 to show where you put the shims. It's clear from your post how you test for parallel, not that clear how you go around to fix the problem
I really enjoyed your workshop at the FWW Live. However, it turned out to be an expensive class--after hearing you talk about helical cutterheads for jointers, and hearing other woodworkers rave about them, I had to buy one for my Jet 15" thickness planer! Looking forward to smooth cuts and quieter operation. Thanks again for your excellent technical support!
I agree with lgwoodw -- would like to see where exactly the shims went. Thanks!
I wasn't there but I enjoyed the article. I have a newer Ridgid table saw, the one where older versions had a trunnion issue, but I have the later arbor so no problems. Believe me though, I've read a lot about table saw alignment! Never heard of the car alignment wedges being used on a table saw though. May be more useful on older saws.
No problems with pictures by the way, iOS/Safari 😎
0n a cabinet saw there are bolts that hold the cast-iron tabletop to the base, that's where you place the shims, between the top and the cabinet. On a contractor style saw the trunions are bolted to the cast-iron top and the shims will be placed between the trunions and the top. I don't have a contractor's saw in my shop so unfortunately I can't take a photo but if you have your owner's manual you can look at the exploded parts view and see where the trunions meet the tabletop.
Thom, you'll enjoy that segmented cutterhead, one of the best planer/jointer upgrades a person can make.
When using a plunger style indicator the stem should be at 90 degrees to work being inspected for the reading to be accurate.
This is helpful; can you post a pdf of the blog that prints out better than a web page?
If you have to loosen the table top to cabinet bolts to slide the adjustment shims in place, do you run the risk of moving the whole table out of your previous perfect setting for the 90 degree cuts?
You will absolutely lose that setting, so you should do the shims first.
A drawing showing the geometry upon which you base your explanation. I have studied mathematics through differential equations/advanced calculus, but I can't make heads or tails out of the measurement you made that resulted in an observed 0.02". Where is the reference?
I wasn't on the video session, but I assume the 0.02" is the difference in measurement from a blade tooth at the front of the saw and the same tooth when it is rotated to the back of the saw. That is how you measure it when the blade is at 90degrees and it is how I measured mine at 90 and then at 45. Like Rolie's saw, my Delta Unisaw was also off by several thousanths with the front being too low. My local auto parts store didn't have camber/caster shims in stock the day I was there so I purchased a set of body shims. They are also shaped like a U and comfortably fit between the cast iron top and the base. The set was only about $5 and comes with two shims each of 1/64", 1/32", 1/16, and 1/8". The two 1/32" thick shims worked perfect for me.
Log in or create an account to post a comment.
Sign up Log in