Use Patterns to Guide Your Work
From milling to jointery to shaping, these full-size templates are a roadmap to success
Synopsis: A thin, full-size pattern can be useful at just about every stage of furniture construction. Before milling parts from rough lumber, Garrett Hack uses patterns to find the best grain for each part. He also use them like story sticks, marking them with joinery, banding, and inlay locations. They are great aids for difficult joinery like angled tenons. Of course, he also uses them for shaping, and not only with a router. They are great guides for a spokeshave as well.
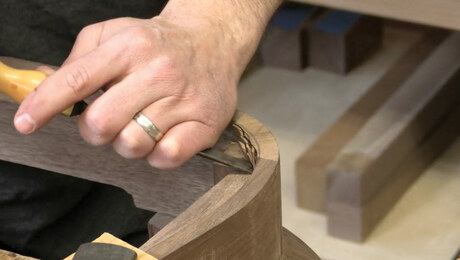
Perhaps the most common technique for shaping a curved part is to rough it out with a bandsaw and then rout it flush to a full-size pattern. For many woodworkers, that might be the only time they ever use a pattern, but it shouldn’t be. A thin, full-size pattern can be useful at just about every stage of furniture construction. Before milling parts from rough lumber, I use patterns to find the best grain for each part. I also use them like story sticks, marking them with joinery, banding, and inlay locations. They are great aids for difficult joinery like angled tenons. of course, I use patterns for shaping, too, but not only with a router. They are great guides for a spokeshave as well.
Over the course of my career, patterns have become an essential part of how I make furniture, and I can’t imagine working without them. They are easy to make, and there is nothing complicated about using them. Even if you are just starting out, you can incorporate them into your woodworking and reap the benefits.
Start with a drawing
Your design should be complete before you begin making any patterns. It’s far easier to erase an errant line on paper than to recut a pattern. I sketch a bunch of ideas, and when I’ve settled on the one design I like best, I create a full-size drawing of the parts that need patterns. I typically transfer the drawing to the pattern blank by gluing a tracing to it.
A pattern needs to be dead accurate. any bump or flat in a curve will be transferred to every part made with the pattern. And if you mis-locate the transition from a straight section for joinery to a taper, you’ll have trouble with the joinery when you’re building the piece. That’s why I always use solid wood for patterns (I prefer pine, basswood, and cherry). With solid wood, I can use planes and spokeshaves to refine the pattern with precision after cutting it out. It’s far easier to finesse a pattern with hand tools than with sandpaper. If you use sheet goods, like plywood and MdF, you’re stuck with sanding the edges—an unpleasant and tedious job.
Patterns aren’t just for routing
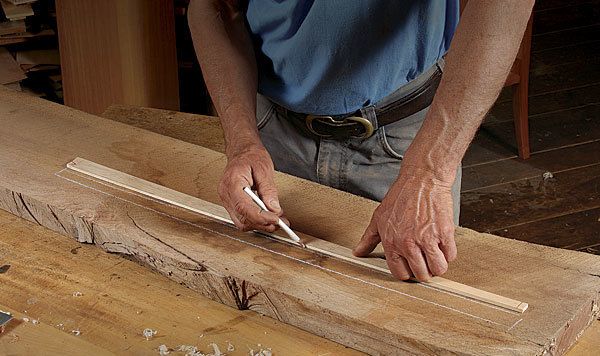
When making furniture, I use patterns right from the beginning. The success of a piece can hinge on how well you select grain for the individual parts, and a pattern makes it easier to orient grain on a part for the best appearance. Put the pattern on your stock, trace around it, and move it away. You can now see exactly how the grain will look. If it’s not pleasing, adjust the pattern’s orientation on the stock, retrace, and take another look.
For the full article, download the PDF below:
Fine Woodworking Recommended Products

Marking knife: Hock Double-Bevel Violin Knife, 3/4 in.

Olfa Knife

Starrett 4" Double Square


Log in or create an account to post a comment.
Sign up Log in