Molding Planes are Beautiful Bargain-Priced Tools
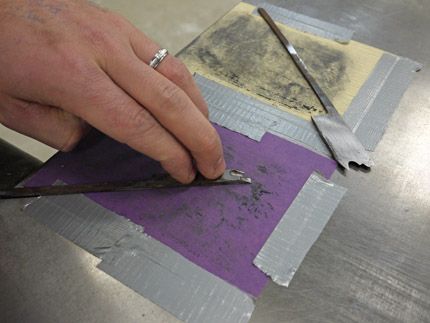
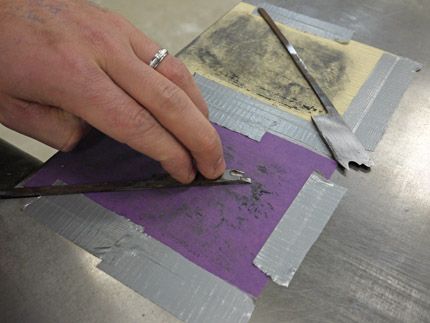
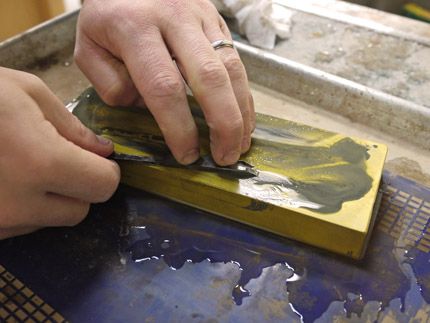
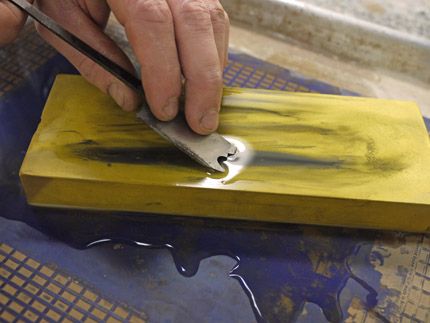
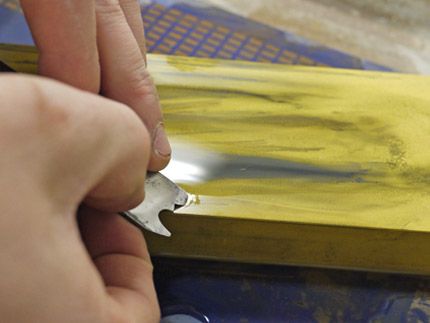
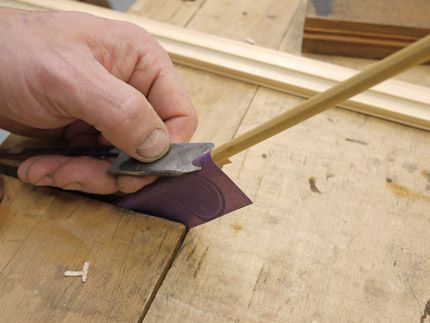
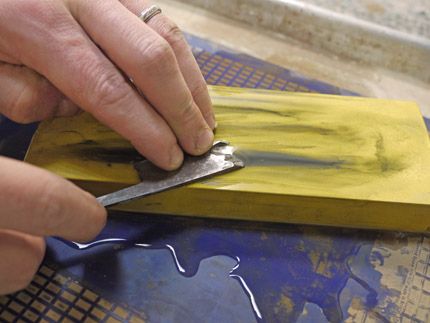
1) Flatten the back on sandpaper. My planes are well over a century old. The backs of the irons were out of flat, pitted, and dirty. My first step was to begin flattening on sandpaper affixed to my jointer's bed. I worked my way up from 120-grit through 600-grit before moving on to wet stones.
For as long as I can remember, I’ve been hooked on history. I’ve got an affinity for antiques and oddities that tends to annoy my wife from time to time–especially when it means bringing home yet another box-full of items from a flea market. There’s just something about setting your hands around an object that’s been used by multiple generations of folks, items whose existence quite literally span centuries. During a recent trip to a dusty consignment shop near my home, my addiction hit me yet again and I came wandering back to my wife with three new–or shall I say old–molding planes.
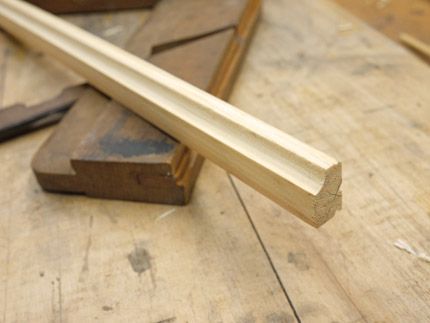
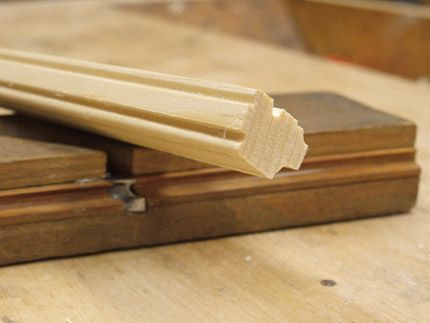
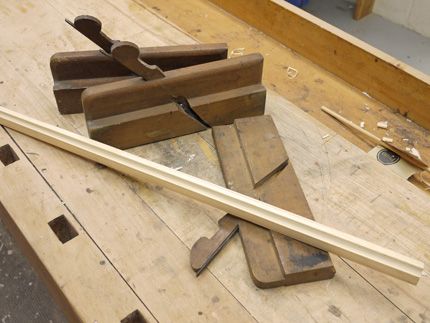
Granted, I can cut beads and profiles fast and easy using scratch stocks and router tables, but there’s something about the inherent beauty of an old molding plane. Mine even have the maker’s mark as well as the owner’s name stamped into the end grain. Back-flattening and sharpening only took about 30 minutes per plane, and the cuts I was able to achieve afterwards were pretty much flawless. You can follow the entire process by browsing through the numbered images in the photo gallery above.
Molding Plane Caveats
Yes they’re cool. Yes, they’re cheap, but molding planes aren’t without their downsides. Before committing to a purchase, you’ll want to take a good look at the sole to ensure it still has edges along the profile that are at least somewhat crisp. Inspect the end grain on either end for any serious checking and sight down along the plane to ensure it hasn’t warped or cupped into oblivion.
One more tip–don’t overdo it! It’s easy to go crazy trying to hone an edge sharp enough to split a hair but it’s not necessary and it can eventually result in altering the profile in such a way that it no longer matches the custom contours of the sole. Be careful!And when it comes to wedging the blade in place, it’s a trial and error process. If the blade extends too far out of the mouth, you’ll end up taking a super-heavy cut that will turn your stock into minced meat. I generally set the sole atop a piece of stock, allowing the blade to drop down flush with the work surface. Then I set the wedge in place and give it a gentle tap with a mallet. If I find it’s not engaging with the stock, I’ll give the end of the iron a gentle tap and try again. Sometimes I’ll just take the wedge and blade out and start over until I hit it just right. When setting the blade depth, I’ve also found it helpful to turn the blade sole-side-up and sight down along the sole with one eye. This gives me a good idea right off the bat, as to whether or not I’ve over-shot my mark.
Happy Planing!
|
More on Molding Planes |


Comments
Thanks for the note on old moulding planes Ed. In addition to the tips on assessing condition of vintage wooden planes you might include an important factor that can really affect performance. That is the condition of the throat. If the opening along the profile has been damaged through misuse, or the profile itself has been resurfaced too often, the opening of the throat might be larger than originally intended. This can affect the plane's ability the cut a smooth and precise profile. So, checking this factor can save you some frustration later, and also give you guidance on how much an old plane can be repaired if some reconditioning is needed. Also, sometimes you can find wooden olanes with hammer strike marks in the back end. This shows previous owners used adjusted the iron depth while the wedge was intact holding the iron in place. Instead of striking the top of the iron, the cutting edge can be adjusted in very small increments by striking either the front (raising) or the backside (lower) of the body. Old olanes are a real delight to use and provide a very satisfactory result in restoring furniture or reproducing anything. Thanks for you bringing this to our attention.
Any suggestions where one could purchase replacement blades? I was gifted several of my grandfathers moulding planes and the blades are in rough shoe. Thank you.
Log in or create an account to post a comment.
Sign up Log in