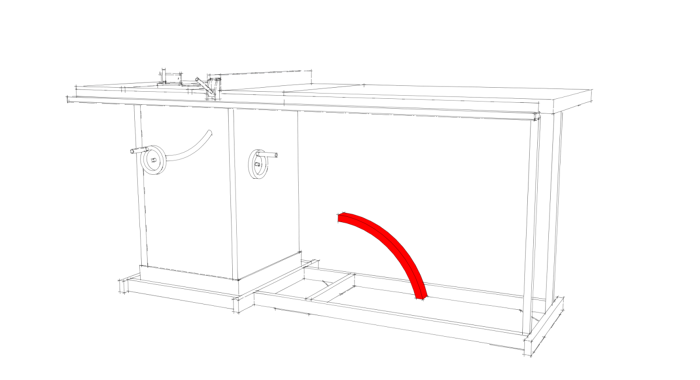
Sometimes we need to show others proposed changes to an existing object. This might be the addition of cabinets in a kitchen or maybe an extension to the kitchen. We want to show what already exists as different from the new stuff. Here’s a pretty easy way to do that with your SketchUp model.
This example is from a sketch I’m working on for a fellow woodworker. He wants to add some storage under the extension table on his saw. This is just a preliminary sketch I sent him.
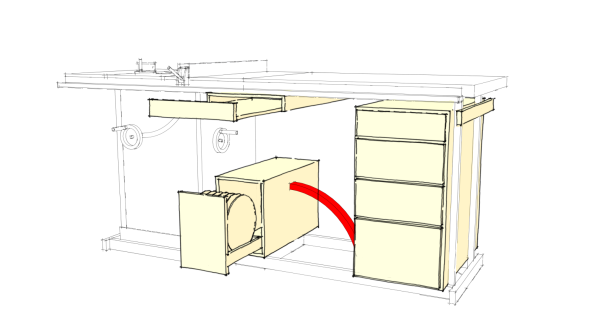
It only take a few simple steps to make this image.
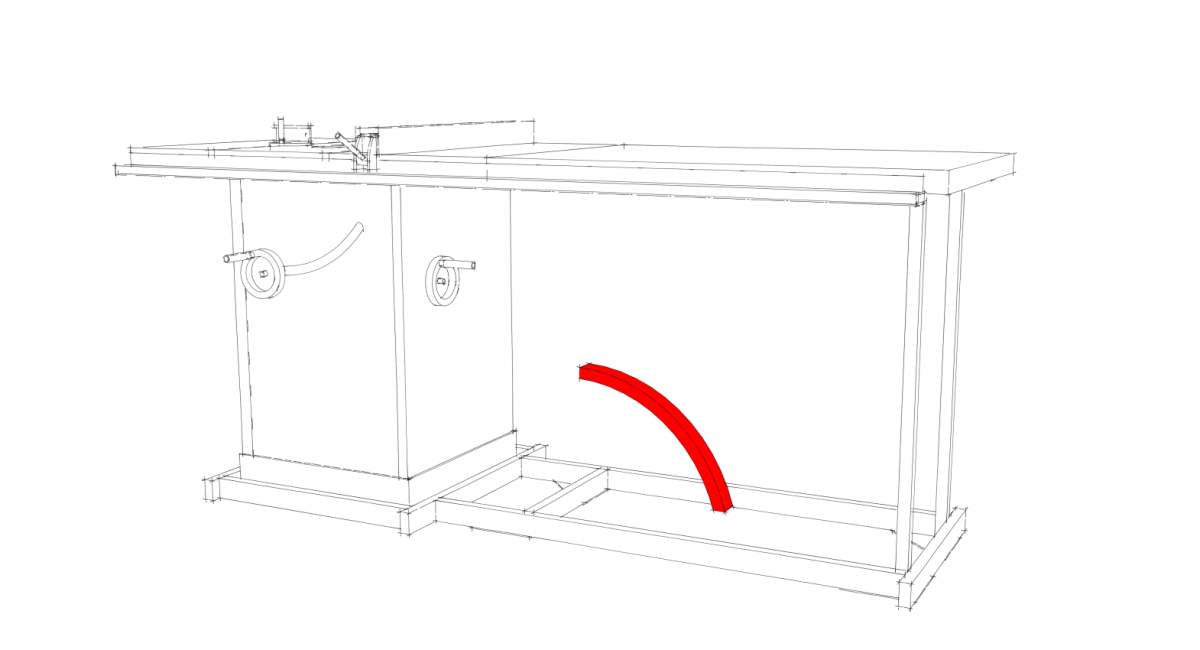
I found the table saw model in the 3D Warehouse. After fixing it to make it useful I drew in the mobile base frame, extension table and then the cabinets. The red arc thingy represents the clearance area required for the lifting lever.
With the model basically completed, I applied one of my sketchy ink styles to the model. You can work with the normal line styles if you prefer. The face style is set to Shaded although Shaded with Textures would be used if there were textures applied in the model. Either of these face styles will give us the red on the arc.
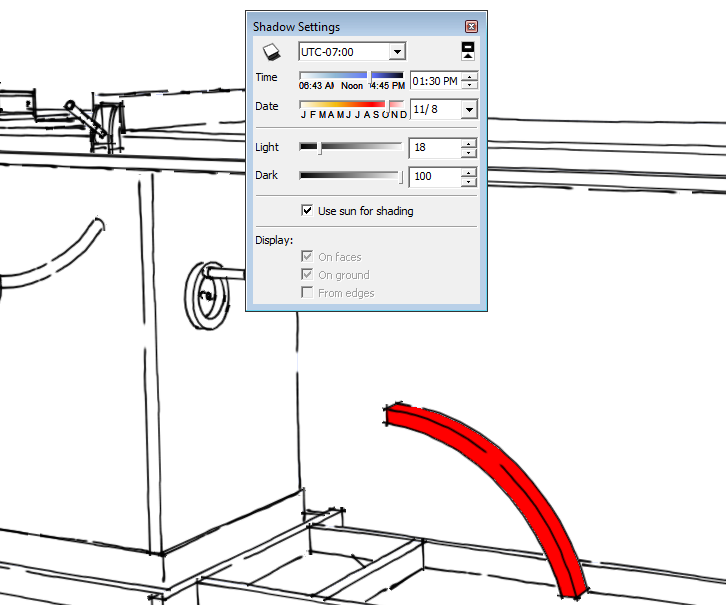
Next, I opened the Shadows window and selected Use sun for shading and reversed the Light and Dark sliders as shown, below. Reversing the sliders gets did of the 3D shading you normally see when you are drawing.
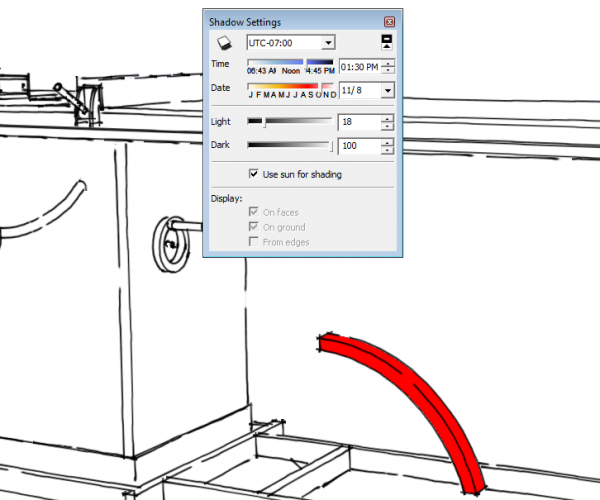
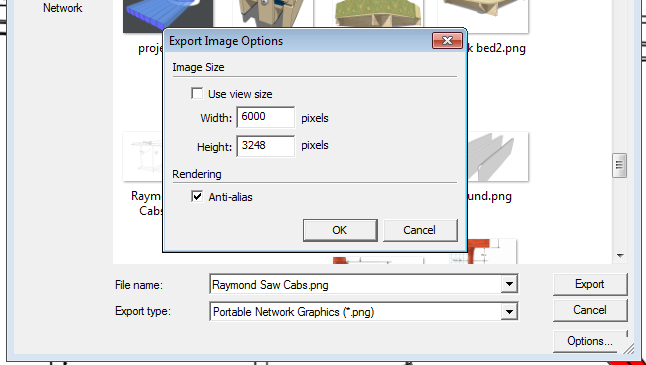
After making those settings, I hid the new cases temporarily. Now it’s time to make the first image export. Go to File>Export>2D Image. I like to export PNGs to avoid compression at this stage. Before exporting the image click on Options and change the image size to something large. I used 6000 pixels wide for this one.
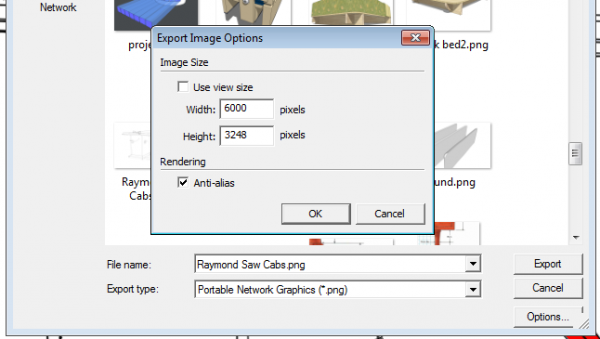
This export makes a rather large image but it will get reduced in editing. Making a large image export and reducing it’s size afterward causes the lines to render very narrow.
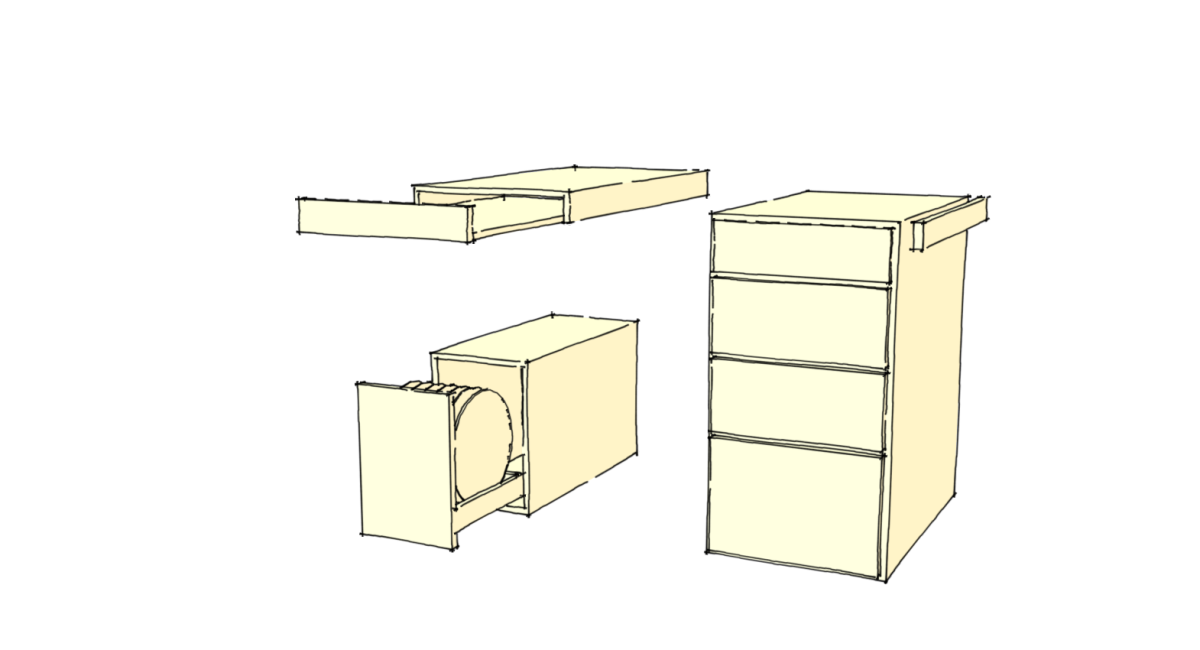
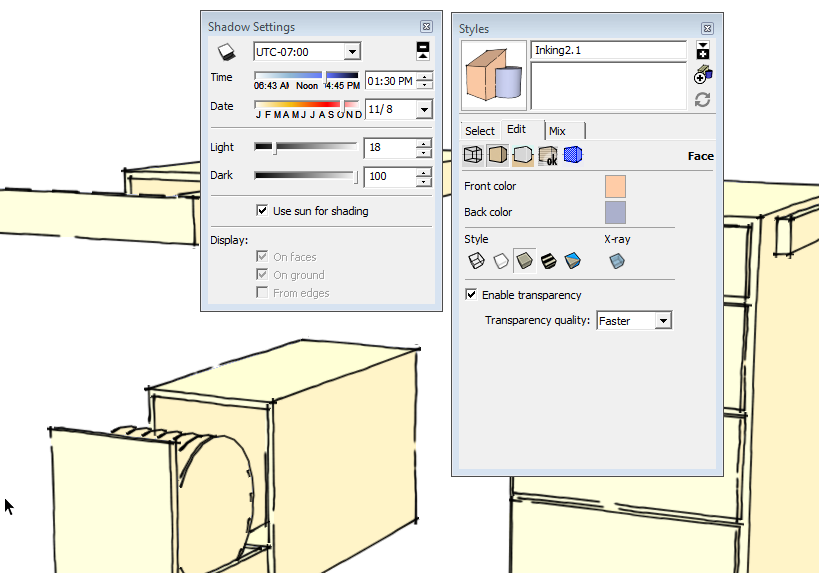
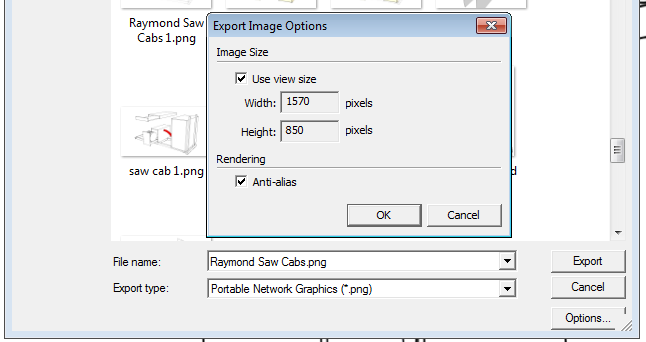
For the second export I made a temporary change to the style so the front faces are yellowish. That was simpler than painting materials onto the faces. I unhid the cabinets and hid the saw and base, Then I made another export. This export was made at View size as shown, below.
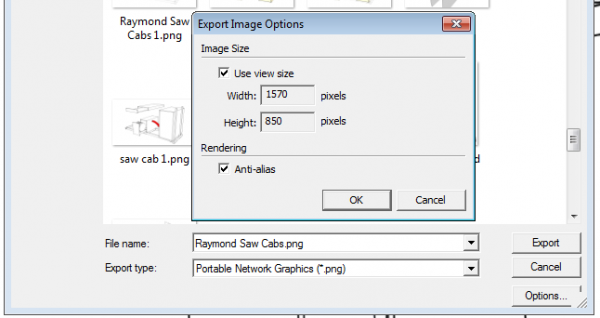
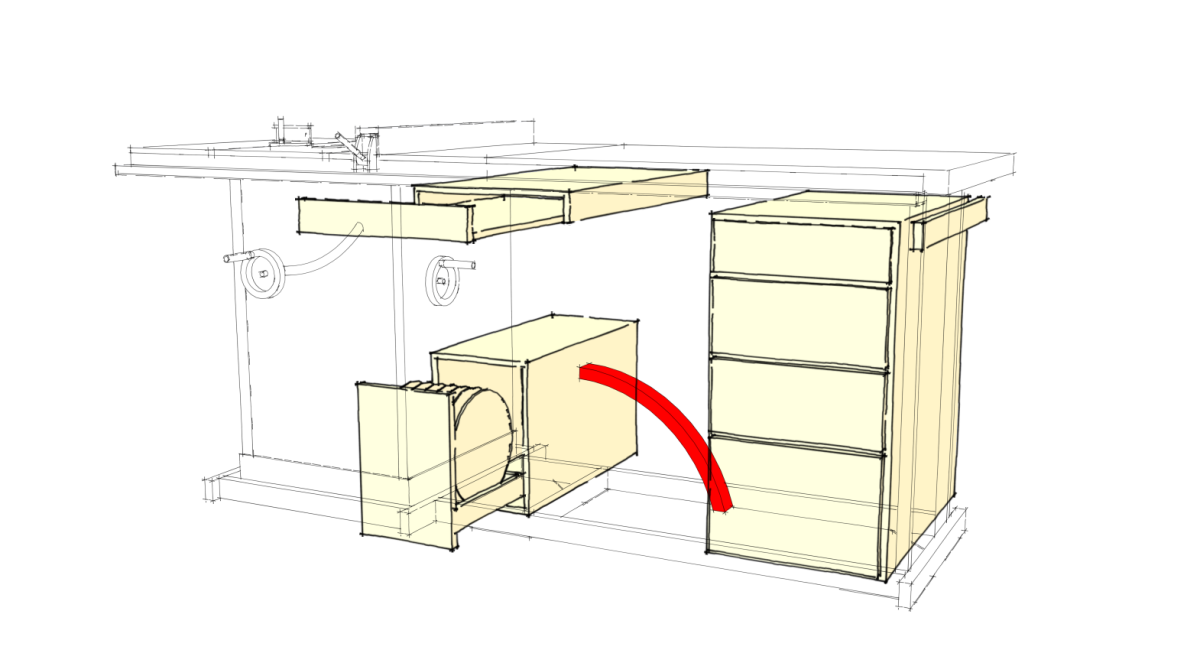
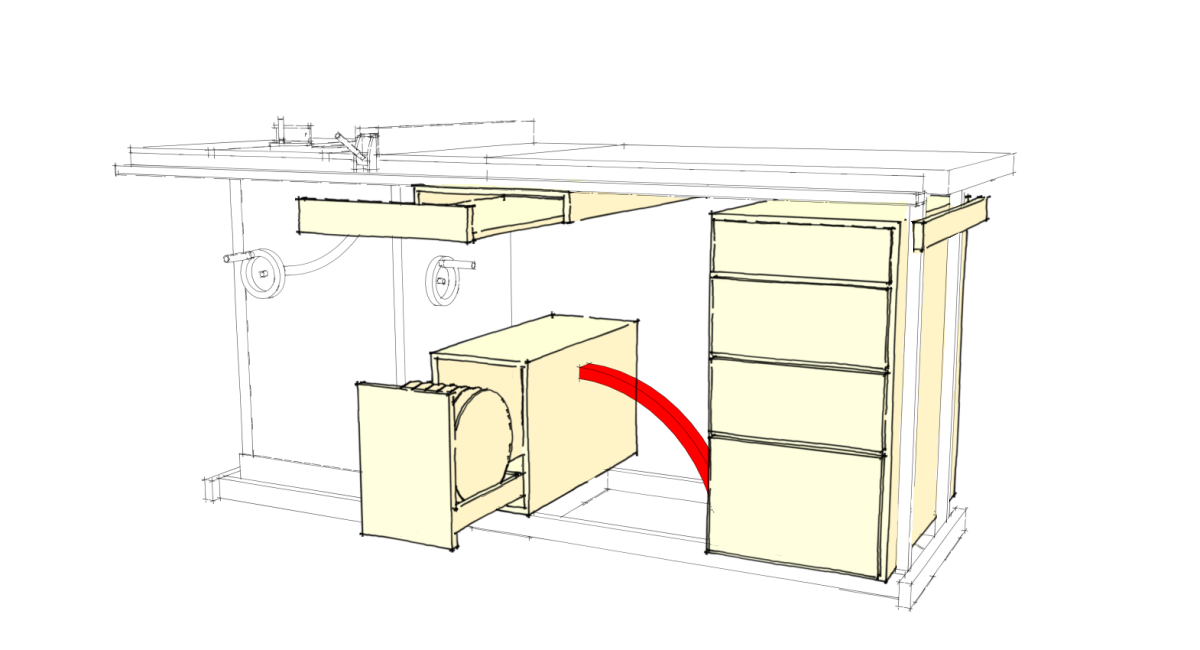
When you do this make sure you use different file names for each export. After exporting both images we end up with images that look like the next two.
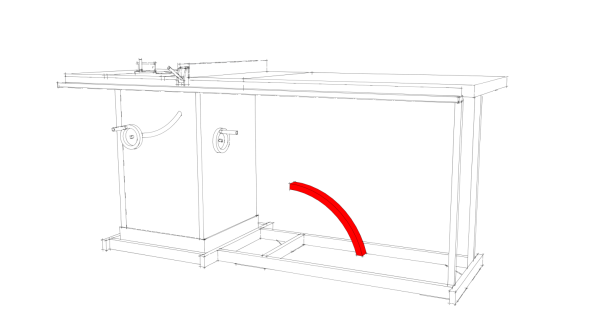
and
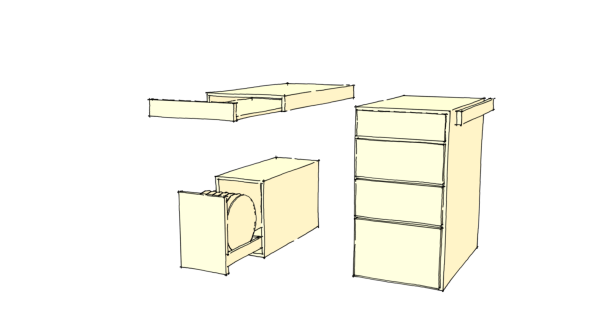
As you can see in these exports, the image made at the larger size displays the lines narrower than the smaller export. Next I opened these two images in my image editor. I use Paint.NET but Photoshop, Gimp or whatever you like should work. I reduced the szie of the larger image to match the smaller image. Then I made a new layer which I set to “Multiply”. I copied the second image and pasted it on the new layer. At this stage of the game the result looks like this:
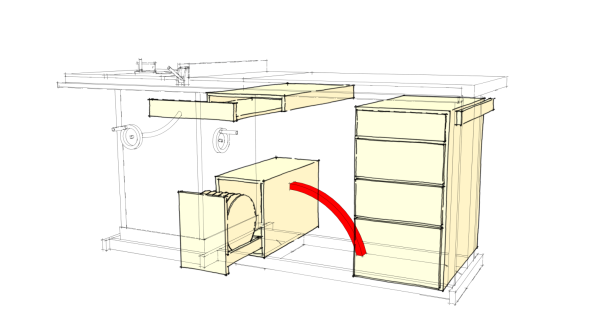
Now quickly paint over the edges and color that should be obscured on each layer. I use a burush with white “paint” but you could erase those pixels as well. The final result looks like the first image in the post.
Once you’ve practice this process a time or two, it should go quite rapidly. You really don’t have to do much in the image editor and there’s nothing special or difficult to do in SketchUp. You can probably come up with a hundred variations if you play with it a bit.
–Dave



Log in or create an account to post a comment.
Sign up Log in