A Bandsaw Jig for Repeatable Complex Curves
A finger jig and pattern make cutting precise curves on the bandsaw easy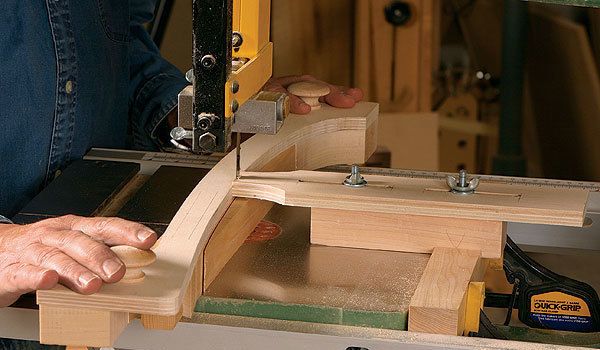
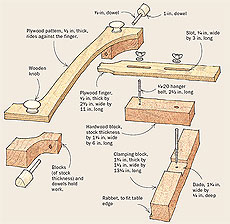
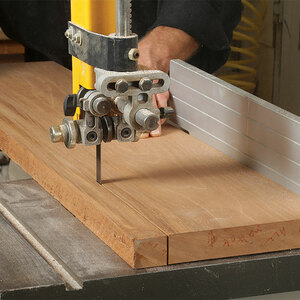
Finger jigs are used to guide carefully made patterns on the bandsaw. The finger spaces the pattern just slightly away from the bandsaw blade, leaving a small amount of material to be worked by hand, or as I frequently do, shaped by a router outfitted with a flush-trimming bit. The pattern works with both the bandsaw and the router. This is a great technique for making multiples of curved chair parts such as rails or stretchers.
The blade is positioned within the notch at the end of the finger. The distance the finger protrudes past the blade determines the amount of wood overhanging the edge of the pattern when the cut is complete. The ends of the finger should be curved slightly tighter than any curve on the pattern.
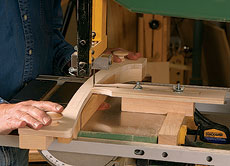
Complex curves can be bandsawn by positioning the pattern and the finger jig above the stock so that the contact between the finger and pattern is visible. It’s a little trickier to secure the stock to the pattern in this case. If you don’t mind the holes, screws through the face of the stock can be used. If holes are a problem, hold the stock to the pattern with wedges or dowels, as shown below or in the plan above.
| Raise the finger to cut complex curves. Adding a block to raise the finger jig, and placing the pattern atop the workpiece, makes it easier to keep the pattern on track. Click to enlarge. |
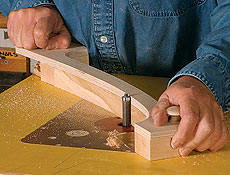
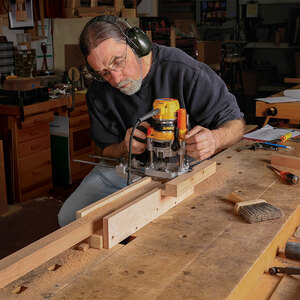
The pattern also doubles as a router template to quickly clean up the bandsawn edges. A pattern-routing bit rides along the pattern, trimming the workpiece to its final shape.
-Excerpt from Five Essential Bandsaw Jigs, FWW #180
Photos: Marcia Ryan
Fine Woodworking Recommended Products
Shop Fox W1826
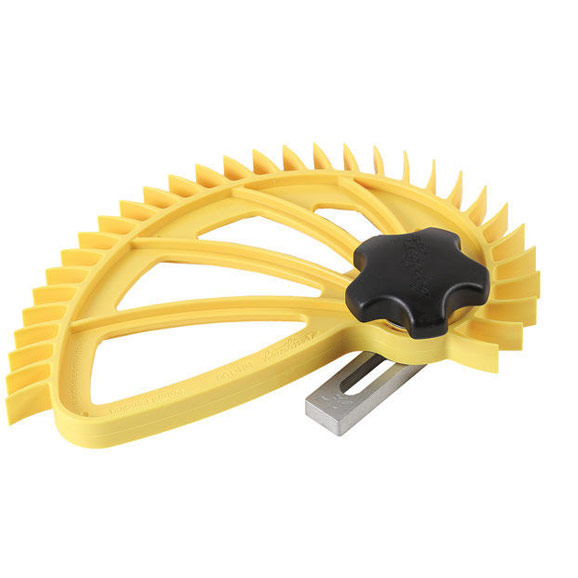
Hedgehog featherboards
Rockler Dust Right 650 CFM







Log in or create an account to post a comment.
Sign up Log in