Build Your Own Panel Saw
Folding frame supports large sheets of material for ripping and cross cutting, and saves space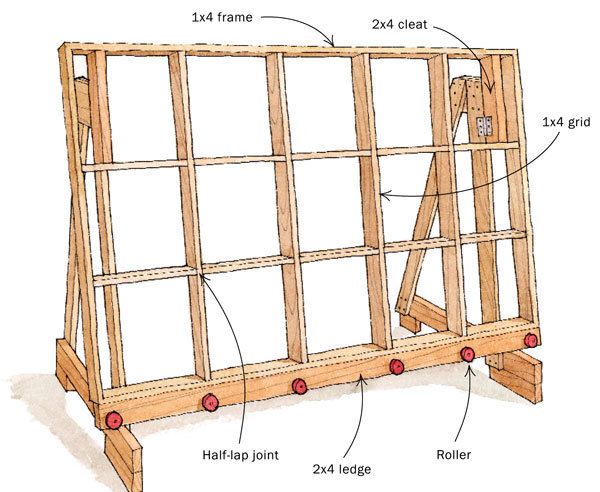
Cutting down full sheets of plywood has always been a hassle. I don’t have room in my shop for a commercial panel saw, so I built a version of one that works well and folds flat against the wall when not in use.
To make the fixture, first build a grid by butting and screwing 1x4s on edge. Half-lap joints connect the grid parts. The ends of the grid parts are screwed to the frame. In use, the saw cuts into the front edges of the grid, so keep any screws well back from those edges. Use lag screws to mount a 2×4 ledge to the bottom edge of the grid and drill holes for six rollers—I salvaged wheels from a pair of kid’s roller-skates found at a yard sale—to support the sheet.
Next, build the folding A-frame legs by gluing and screwing 1x4s to a 2×4 base. The legs should support the grid at about 80° to the ground. Size the legs so they don’t overlap each other when folded flat. Also, extend the feet forward of the rollers for stability.
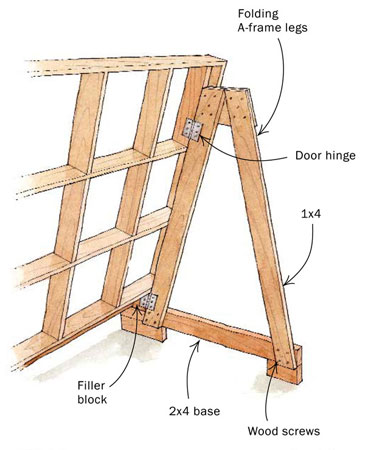
Before the legs can be mounted, you need to attach a pair of 2×4 cleats to the frame and screw a filler block to the ledge to help
transfer the weight of the sheet to the legs without stressing the grid. Use door hinges to mount the A-frame legs to the cleats and the filler block.
A pair of cutting guides—a five footer and a 10 footer—completes the project. Each guide is made of a 1×4 glued to 1/4-in.-thick hardwood plywood. Cut the plywood wider than necessary and let the first cut with your portable circular saw clean up the edge.
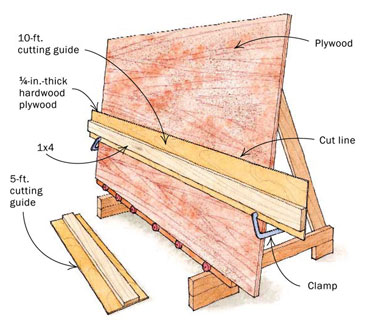
To use, mark both ends of the cut line on the sheet and clamp one end of the guide close to the line. Carefully line the other end right to the other mark. Then go back to the first mark and put the edge of the guide right on it. Secure the sheet to the grid below the cut line with a third clamp to keep the sheet from moving during the cut. Then add a clamp above the cutline to prevent the upper piece of plywood from pinching the blade during the cut. Finally, set your saw depth to no more than 1/4 in. more than the sheet thickness and make your cut.
From Fine Woodworking magazine, October 2004 No. 172
Drawings: Jim Richey
Fine Woodworking Recommended Products
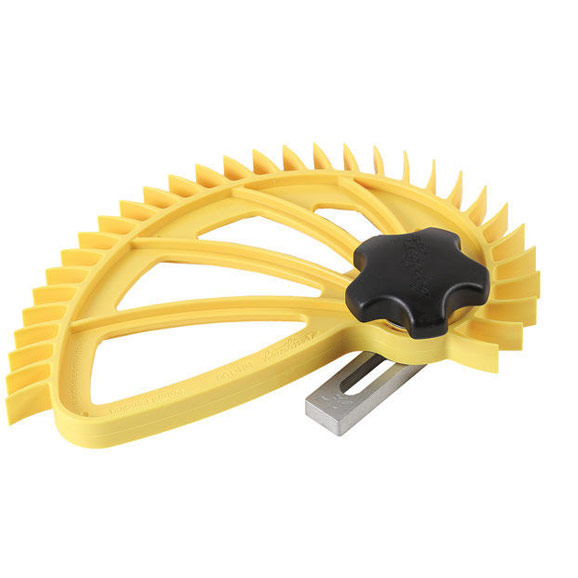
Hedgehog featherboards
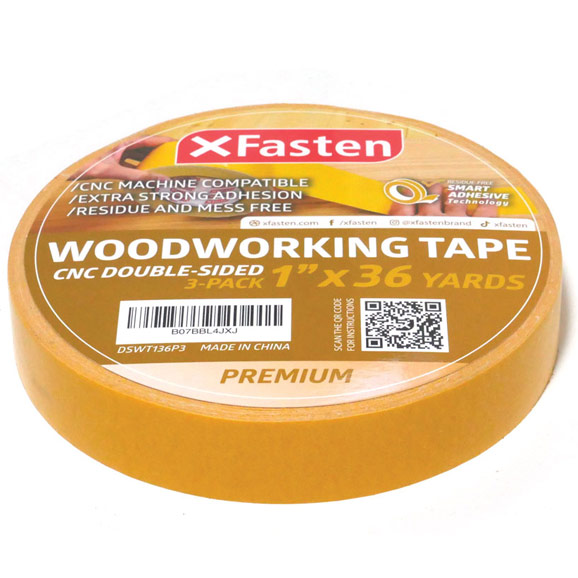
Double Sided Tape
Incra Miter 1000HD







Log in or create an account to post a comment.
Sign up Log in