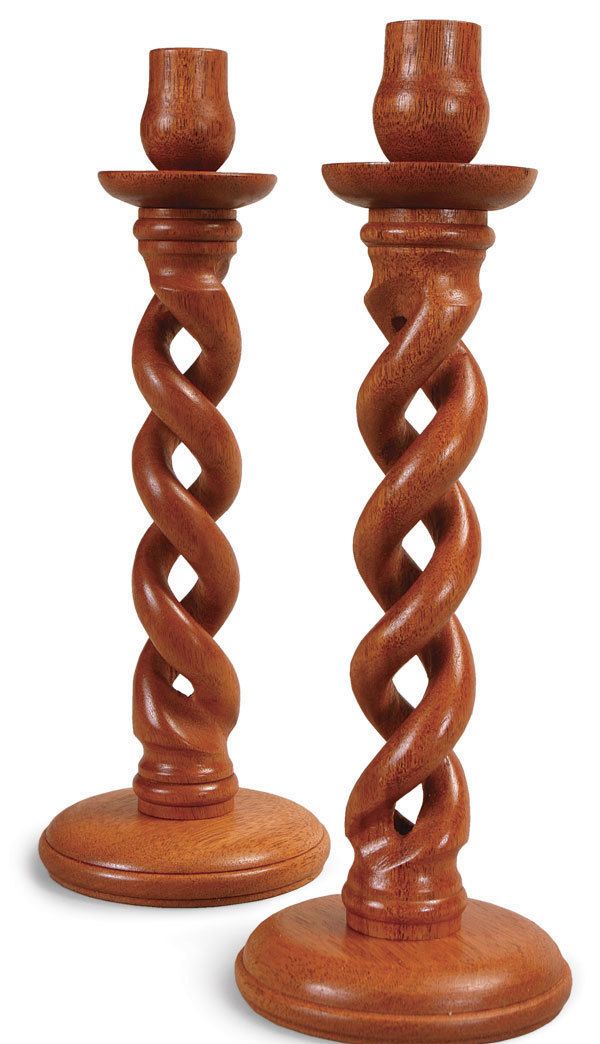
Barley-Twist Candlesticks
Centuries-old hand-tool sequence creates a good conversation starter
Synopsis: A lathe and a few simple tools are all you need to make a barley-twist candlestick, a traditional design made up of threads cut into a cylinder. Most of the project is done with hand tools, with the only turning phase being the step where you bring the blank to shape. After you lay out the spirals, saw and carve them into shape, and then shape the insides. These candlesticks, usually displayed in right-twist, left-twist pairs, are a great conversation starter wherever they are displayed.
From Fine Woodworking #189
Of all the things I make on the lathe, one of the most eye-grabbing is the barley-twist candlestick, which owes its name to a type of English candy traditionally made with a twist. Whether on a dining-room or a kitchen table, the candlesticks, usually made in right- and left-twist pairs, never fail to be the center of conversation, with woodworkers and non-woodworkers alike wondering how they are made. Although one would think that such work must require a router and complicated jigs, the design predates the router by at least 300 years. A lathe and a few simple tools are all you need.
This is a good project for novice turners, as the only turning is where you bring the blank to shape. The spirals are cut entirely by hand, with the lathe used as a vise to hold the work. Besides a lathe you need some sharp gouges: I use a #9-7mm (#9 sweep, 7mm wide), a #9-15mm, a #7-20mm, and a #8-18mm. Gouges close to these in sweep and size would work as well.
Choose wood that is easy to carve. Mahogany (shown) is a good choice for your first try; walnut is durable and looks good on a dining table; basswood is easiest to carve and looks fine in a less-formal setting; and oak was a common choice in 17th-century England.
Prepare the blank and lay out the twists Before you turn the blank to the cylindrical pattern and drill out the center, be sure to imprint drive-center marks on both ends so that you can chuck the work in the same exact position at either end for carving. When creating the turning, put a gentle cove just inside the bead at each end to allow an easy start and finish with the gouges when carving the threads.
The next task is the layout lines. If your lathe has indexing, then use it to draw the four horizontal lines, but you can also use dividers or the lines drawn earlier on the end grain to find the center. Now divide the shaft into 3⁄4-in.-long segments, holding a pencil against the work to create a series of circles.
Although our forefathers would have used a piece of string to lay out the spiral, masking tape does a better job. Wind the tape in a left or right spiral so that one edge crosses each intersection of the 90° lines and circles. Repeat for the other spiral.
For the full article, download the PDF below:
Fine Woodworking Recommended Products

Suizan Japanese Pull Saw

CrushGrind Pepper Mill Mechanism


Log in or create an account to post a comment.
Sign up Log in