Tenoning Jigs
Tablesaw jigs ensure accurate and repeatable joinery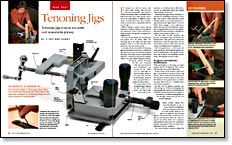
Synopsis: Many woodworkers find they can produce the most consistent tenons with the use of a tenoning jig on a tablesaw. Such a jig holds the workpiece square to the table from side to side and from front to back, and can be adjusted for angled work. A good jig makes the process of cutting tenons fast and accurate. This review looked at 10 commercial tenoning jigs: the Delta 34-183 and 34-184, Garrett Wade 18P04.06, General 50-050, Jet/Powermatic 708295, Rockler 29840, Shop Fox H5782, Woodcraft 14755, Woodtek 116-738, and Yorkcraft 7868.
Examine any well-cut tenon, and you’ll find cheeks that are flat, smooth, and parallel—three characteristics that help produce a strong mortiseand-tenon joint. And while tenons can be cut in an assortment of different ways, many woodworkers find they produce well-cut tenons most consistently with the use of a jig.
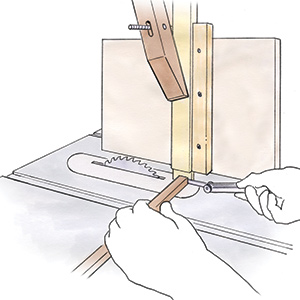
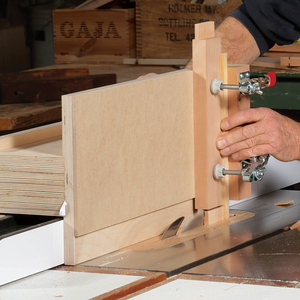
When cutting a typical tenon, the jig holds the workpiece square to the table in two directions—side to side and front to back. However, the jig may be adjusted for angled work.
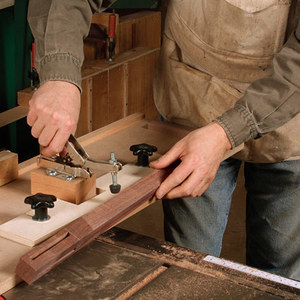
You can cut the cheeks of a tenon in just two passes over the blade. Then, the tenoning jig is set aside and the miter gauge is used to cut the shoulders. The process is easy, fast, and accurate.
Currently, there are a number of tenoning jigs on the market, and I gave 10 of them an up-close look in my shop. The list includes the Delta 34-183 and 34-184, Garrett Wade 18P04.06, General 50-050, Jet/Powermatic 708295, Rockler 29840, Shop Fox H5782, Woodcraft 144755, Woodtek 116-738, and Yorkcraft 7868. (Because both Jet and Powermatic are owned by the WMH Tool Co., their jigs are identical right down to the paint color and the model number, which is why I grouped them together for this review.)
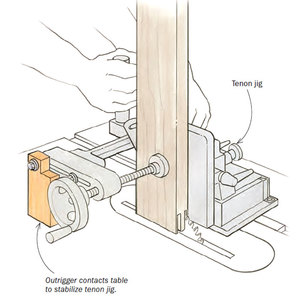
The main fence of the jig adjusts side to side to set the width of the tenon. The fence also has a side-tilt adjustment. A secondary fence offers frontto-back tilt adjustment that’s also helpful when making certain cuts.
Achieving the right tenon thickness required a bit of fiddling with most of these jigs. First, loosen a large and then a small locking handle to move the main fence to approximately the right distance from the blade. Then engage a micro-adjustment dial to fine-tune the tenon thickness. Finally, after locking the fence in place by tightening both the small and large locking mechanisms, you’re ready to make a cut.
On the Delta 34-184, however, the process was simpler. First, loosen just one locking knob. Then push a lock button that allows you to slide the main fence into its approximate position. Then fine-tune the position and tighten the locking knob.
All of the jigs feature a scale to provide some guidance when measuring the distance from the blade to the jig. But I found all of the scales to be somewhat crudely made, offering little practical value.
From Fine Woodworking #175, Feb. 2005
For the full article, download the PDF below:
Fine Woodworking Recommended Products
Bessey EKH Trigger Clamps
Compass
Veritas Wheel Marking Gauge






Log in or create an account to post a comment.
Sign up Log in