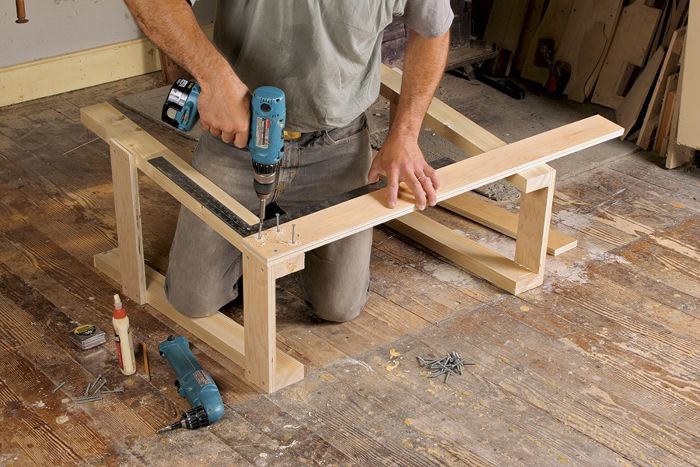
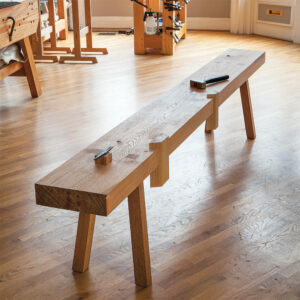
Download a free plan to make these sturdy sawhorses designed by Joshua Finn. Anyone with a circular saw and power drill can build these versatile supports.
Use them on their own or turn them into an innovative workbench by topping them with two long, narrow torsion-box beams. Read more about this unconventional workbench in Finn’s article from FWW #202.
How to build the sawhorses
The bases are simple to build using glue and screws. The tops and stretchers are 3⁄4-in.-thick plywood. The legs are made of 2x4s. But you can use solid furniture-grade lumber and mortise-and-tenon joinery if you wish.
Finn also added a simple l-shaped clamp rack to the side of each base. It’s made from 3⁄8-in. Baltic-birch plywood with 3⁄8-in.-wide slots for the clamps. The sides of the rack are angled 5° to fit between the legs of the base (see drawing in PDF download).
Finn begins construction by squaring up the 2×4 legs with light passes on the jointer and planer, just to take the framing lumber look from them. Next, use a miter saw to cut a 5° bevel on the tops and bottoms of the legs. The short stretchers also have the 5° angle cut on each end.
Start assembly by gluing and screwing the short stretchers flush to the outside of the leg. Then attach the long stretchers flush with the face of the side stretchers. Once the bases are assembled, screw on the tops, which add weight and stability. Finally, slide the clamp rack into position and secure it with screws.


Comments
Excellent design! I think that this has many possibilities:-
outside stand for a miter saw, side table for a table saw, etc.
It seems there is one improvement that could be made. The tops could me made to overhang a bit more on one (or both sides) so that when the two horses were placed next to each other the tops would butt. Then the two pieces could be clamped together to make a very stable 33 or 34 by 44 inch work surface.
What are the sizes of the top beams?
Log in or create an account to post a comment.
Sign up Log in