This is Mike Pekovich’s side of the Tenon Shootout article from FWW #210, covering how to cut dovetails on the table saw.
I’ve tried various methods of cutting tenons. I’ve cut them by hand, on the bandsaw and the tablesaw, and even routed them. Each method has advantages, but I’ve found the quickest and most accurate is using a dado blade on the tablesaw.
It takes a few minutes to get set up, a process that requires a handful of scrap pieces milled to the exact thickness and width as the frame parts. But once the setup is done, the dado blade not only removes stock quickly, it cuts the cheek and shoulder in one pass.
Also, because the stock lies flat on the saw table, the tenon is guaranteed to be parallel to the workpiece and consistent in thickness. Plus, all the tenons end up exactly the same size. Speed, accuracy, and repeatability: three good reasons to use the tablesaw and a dado blade to cut tenons.
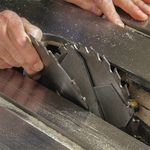
Install the dado blade. Pekovich uses a sharp, high-quality dado set to make tenons, forming the shoulders and the cheeks in just a few quick passes.
Prepare the miter gauge. A good dado blade should leave a chip-free shoulder, but a backing fence on the miter gauge is needed to prevent any chipout on the back end.
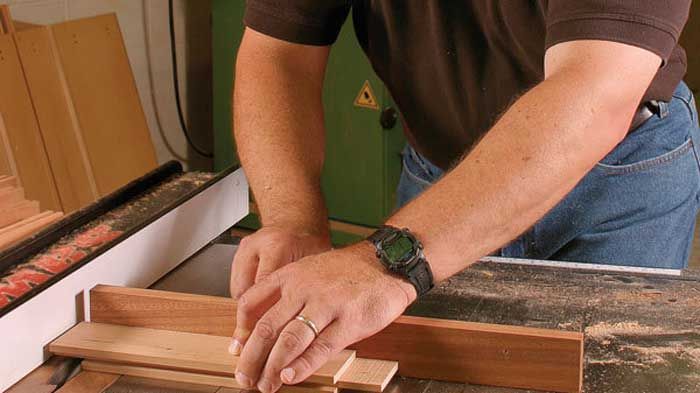
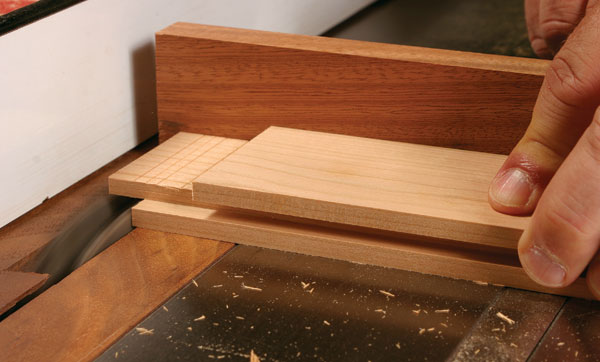
Set the blade height. Place a mortised frame part next to the blade and raise the blade until it’s just below the mortise. This should yield a tenon that’s too thick—a good starting point for a series of test cuts in scrap.
Sneak up on a snug fit. Raise the blade in small steps and remove stock from both faces of your test piece. Stop when you can just get a corner of the tenon into the mortise. Don’t leave the tenon too thick. This only creates more fine-tuning–and more chances for error–later.
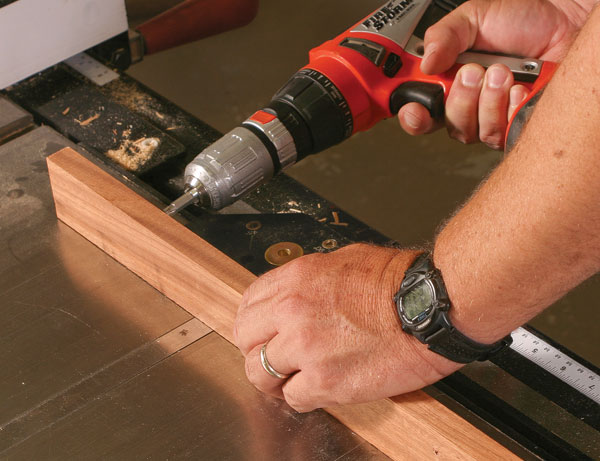
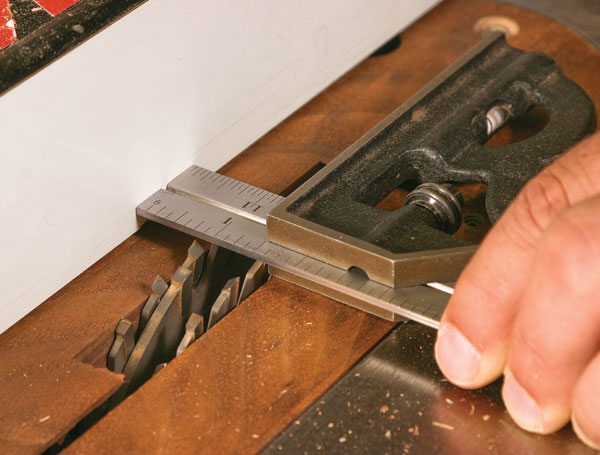
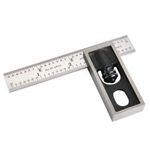
The fence controls the tenon’s length. Use a combination square to set the fence position.
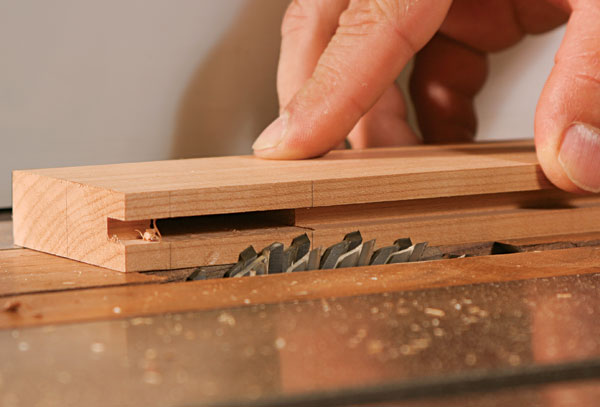
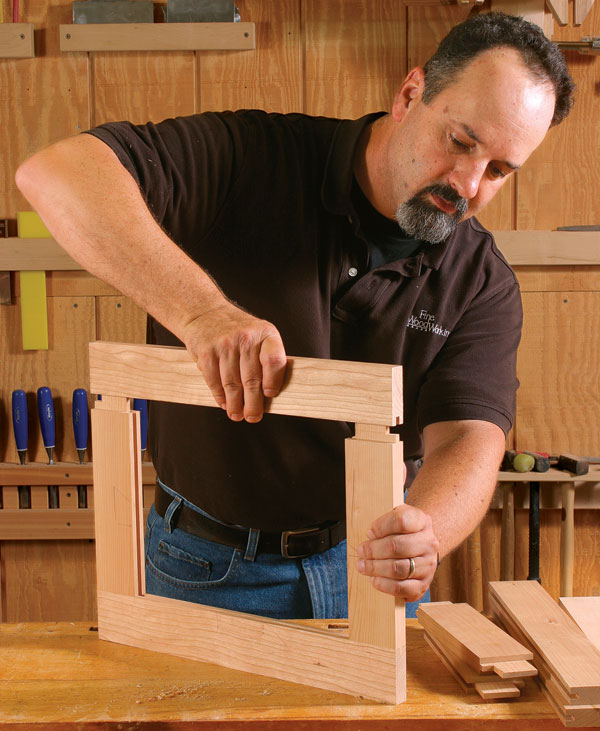
It’s time to cut tenons. To avoid chipout at the end of the tenon, start at the end and work toward the shoulder. Maintain downward pressure on the stock to keep it flat on the tablesaw top. After you’ve cut the entire face, check for an even cut and take a second pass if necessary.
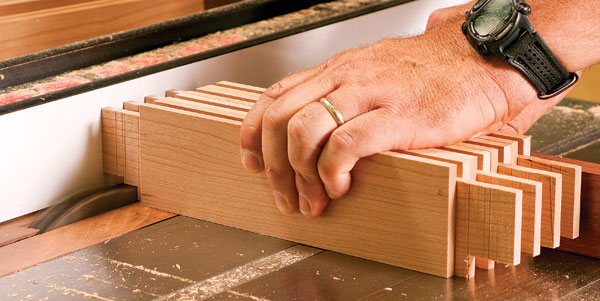
Ganging up on the saw. Once the setup is dialed in, the workpieces can be run over the dado set as a group to cut all of the haunches at once.
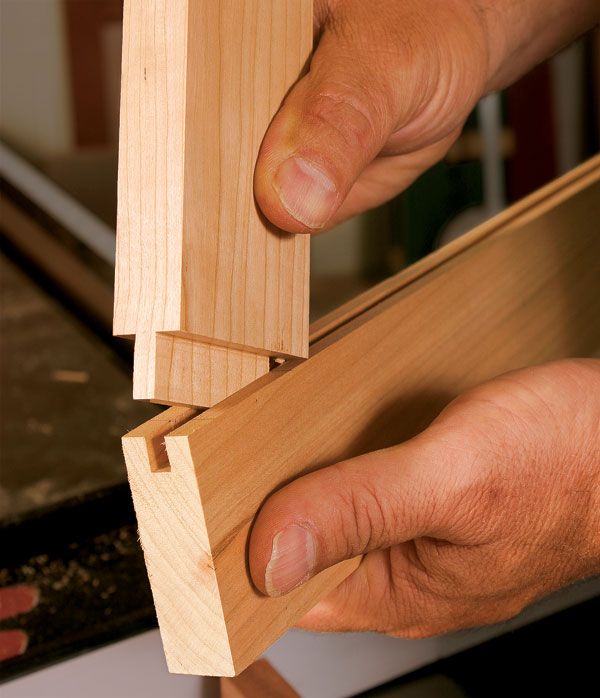
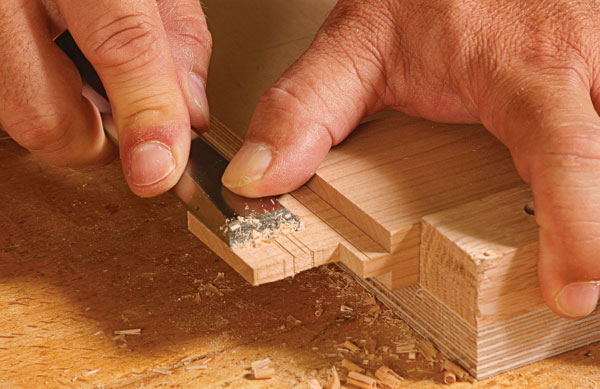
Trim to fit using a chisel or a shoulder plane. Before trimming the whole tenon, be sure there isn’t a thick portion just at the tenon end. Trimming from the tenon’s rear face keeps the front face of the workpiece aligned with the rest of the frame.
Head is easy to remove, replace, and lock down; narrowest blade, at 5⁄8 in., made it easier to fit into tight places; hard to read under bright lights.
Become an UNLIMITED member and get it all: searchable online archive of every issue, how-to videos, Complete Illustrated Guide to Woodworking digital series, print magazine, e-newsletter, and more.
We use cookies, pixels, script and other tracking technologies to analyze and improve our service, to improve and personalize content, and for advertising to you.
We also share information about your use of our site with third-party social media, advertising and analytics partners.
You can view our Privacy Policy
here and our Terms of Use here.


Log in or create an account to post a comment.
Sign up Log in