Easily Turn a Sphere on a Lathe Without a Jig
Darryl Jones shows how easy it is to turn a wooden sphere without a commercially available jig. He lays out the process using scrap wood to make simple shop-made cup centers used to mount, turn, and finish a wooden sphere.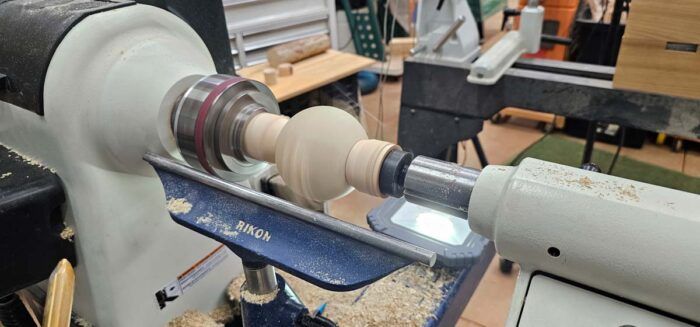
Turning a perfect (or near perfect) sphere on a lathe can seem difficult at first. However, spheres are doable projects. There are several commercial jigs available to assist with the task, but this project can be completed without a jig as well. The process starts with rough-shaping a sphere whether using a jig or not. While there are several ways to turn a sphere, this post covers just one way to do it without a commercially available jig.
The blank is mounted between centers and turned into a round cylinder, at which point calipers are used to measure the true diameter of the cylinder.
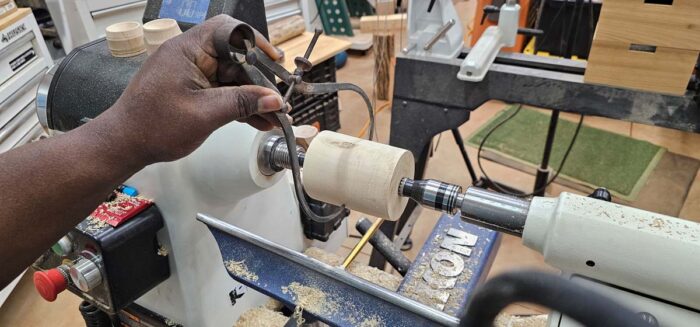
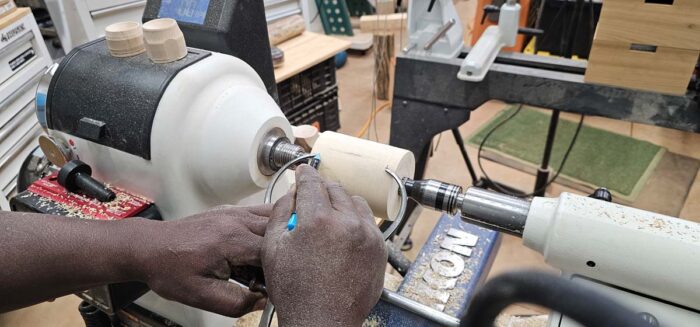
The calipers are then used to mark the width and length of the sphere.
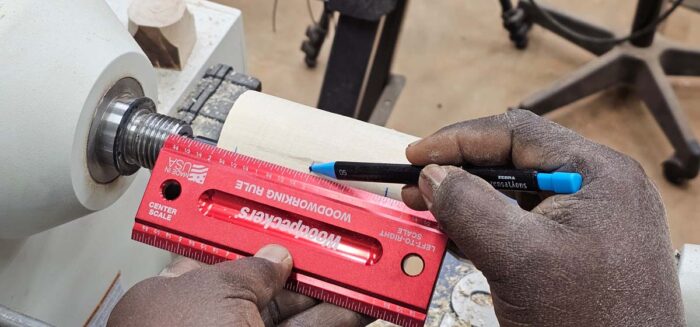
A center finding ruler comes in handy to mark the center of the sphere.
A parting tool can be used to reduce waste material at the ends of the sphere, to be followed up by rough-shaping the blank into a spherical shape with a bowl or spindle gouge. A carbide tool or scraper can also be used.
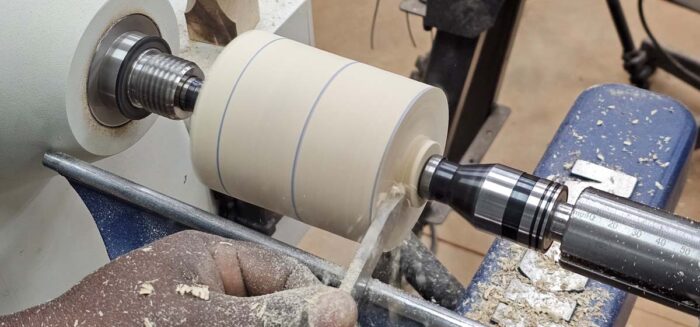
Turn two adjacent hemispherical shapes on either side of the center line, but do not turn away the center line.
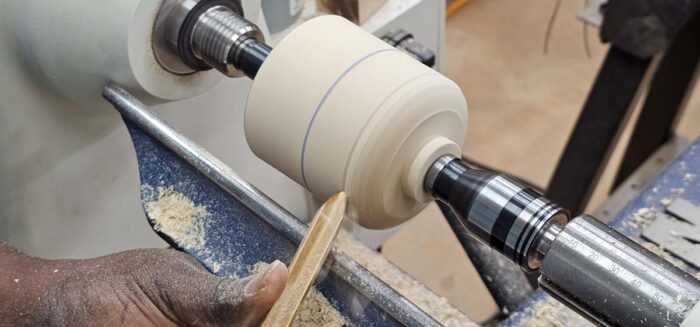
A perfect spherical shape is not the goal at this point; subsequent steps will arrive at a perfect (or near perfect) sphere.
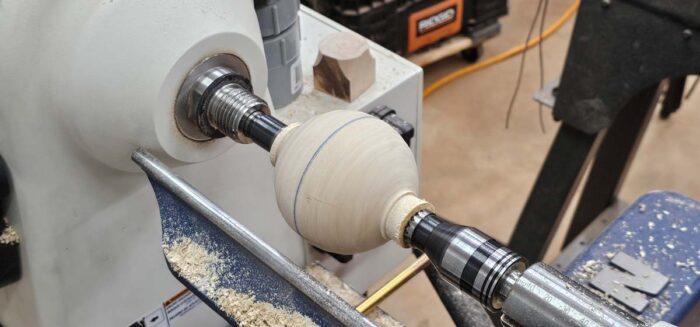
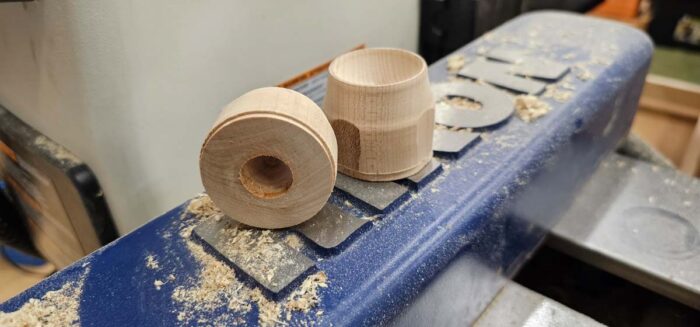
Once the rough shape has been achieved, the sphere can be parted off in preparation for the next steps. Cup centers are needed to get the blank into a true spherical shape. They can be purchased or shop-made. Aside from the expense, an advantage of shop-made cup centers is the ability to customize them according to the size of your project. Cup centers are not a one-size-fits-all proposition, and the ability to use a piece of scrap wood versus buying an additional accessory is an advantage. Shop-made cup centers can be made from scraps; the live center side can be made by making a “slip-on” style accessory. Start by cutting or drilling a recess large enough and properly shaped to fit over your live center. (With the live center shown, only the cone in the center spins, requiring a much smaller recess than normal.)
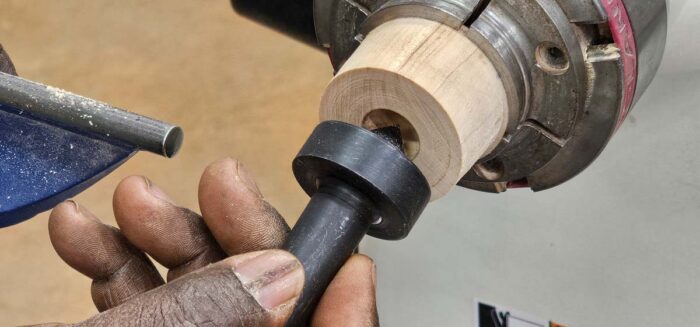
Once you have prepared the recess, reverse-mount your blank in a chuck and turn a hemispherical recess on the front side.
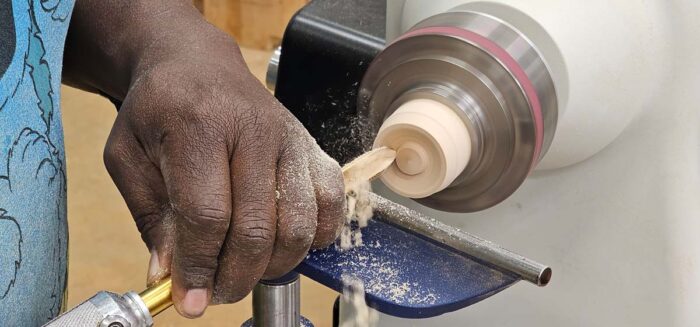
Mount another scrap-wood blank in the chuck and turn a hemispherical recess into the face of it. At this point the shop-made cup centers have been completed.
Turning your attention back to the sphere, mount the blank between centers so that the centerline is aligned between the headstock and the tailstock as shown.
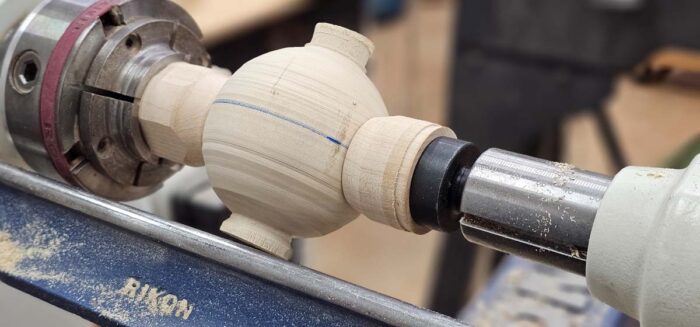
Once the lathe is started, a shadow image of the sphere will be seen along with a ghost image representing the waste material.
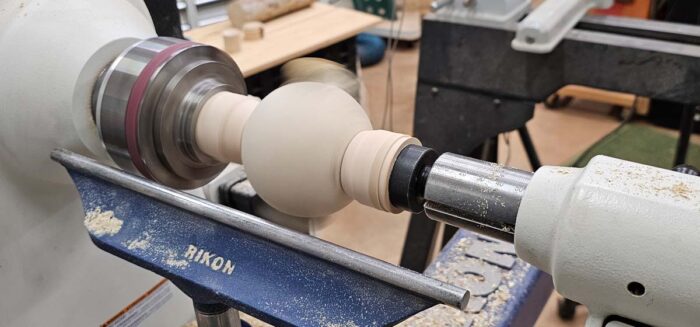
Setting up a light behind the sphere will help to show these features. At this point, turn away the ghost waste material.
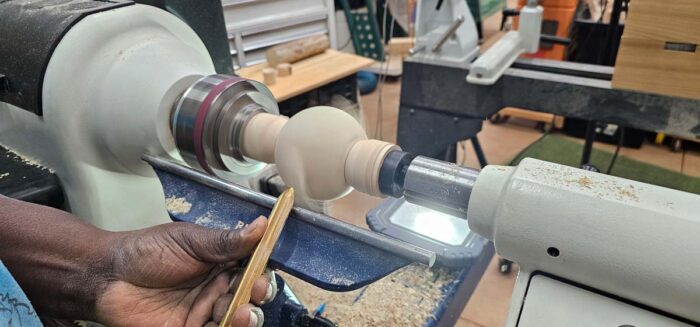
Once the waste material has been turned away, mark a new center line and remount the blank again, aligning the center line between the headstock and tailstock. Continue cutting away the ghost waste material by marking centerlines, remounting, and turning away waste. Try not to turn away the centerlines; doing so will cause your sphere to be smaller than intended. Once the cutting has been completed, sanding and finishing can be done in the same manner by rotating and remounting between the cup centers.
Simple turned spheres make beautiful objects, but they can be embellished further with carving, texturing, and colorizing.
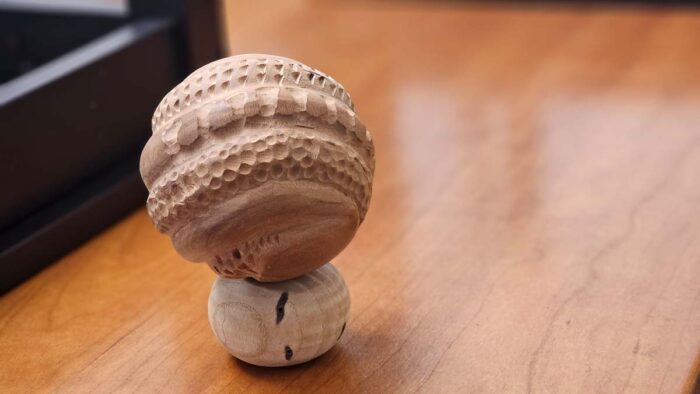
Spheres can also be hollowed to make boxes and vessels, or they can be used to decorate other turned forms such as bowls and platters.
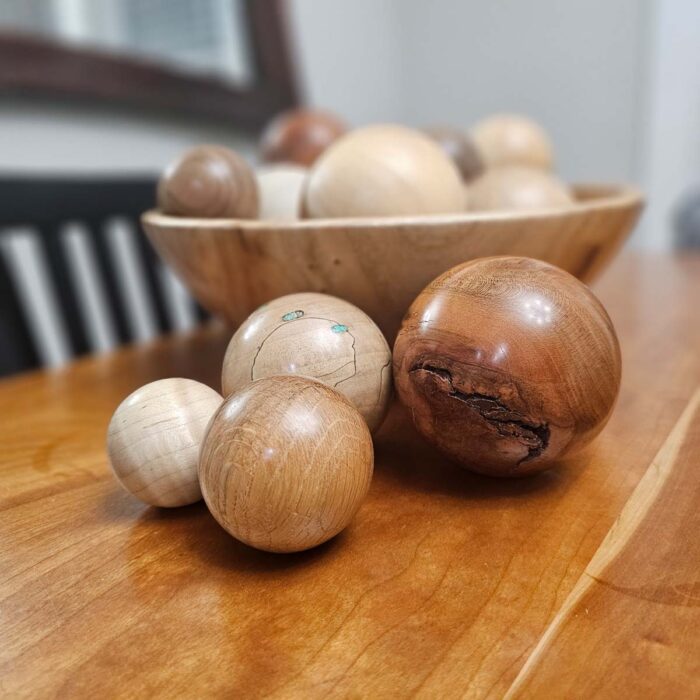
Turning spheres is a worthwhile project for turners of all skill levels. If you haven’t tried turning a sphere yet, go out to the shop and give it a go.
Fine Woodworking Recommended Products
CrushGrind Pepper Mill Mechanism







Comments
This looks like another fun turning project to fuel my addiction! But when will I find time to do my other projects? Thanks for the clear instructions.
Log in or create an account to post a comment.
Sign up Log in