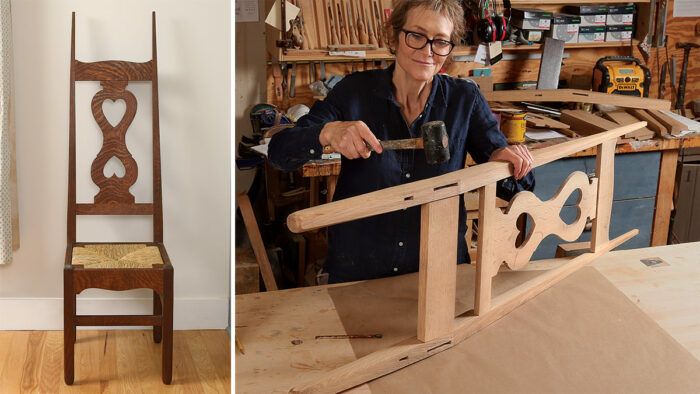
Voysey Two-Heart Chair
It may look formal, but this classic chair is surprisingly comfortable and simple to build.
Synopsis: This two-heart Arts and Crafts chair is based on an 1898 design by English architect C.F.A. Voysey. As Nancy Hiller described it, “it blends the guilelessness of the symbolic heart with finials so long and sharp that they seem almost menacing.” The joinery for the legs, rails, and back splat is mortise-and-tenon. There are shaped curves on the crest rail, back splat, and front seat rail. The legs are shaped and tapered.
If you’re familiar with the work of English architect C.F.A. Voysey (1857–1941), one of the most widely respected designers of the Arts and Crafts movement, you’re probably aware of his reputation for treating subjects drawn from nature, farm life, and mythology with a mix of mischievousness and affection.
The two-heart chair, based off his 1898 design, offers a good example. It blends the guilelessness of the symbolic heart with finials so long and sharp that they seem almost menacing.
Stretcher, rail, and back-splat mortises in the legs
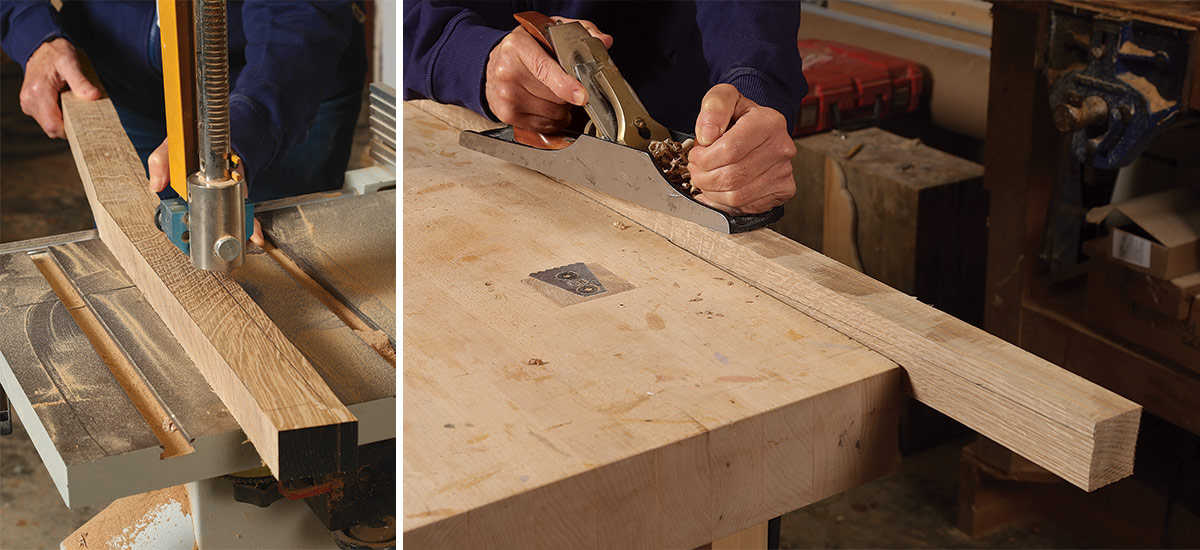
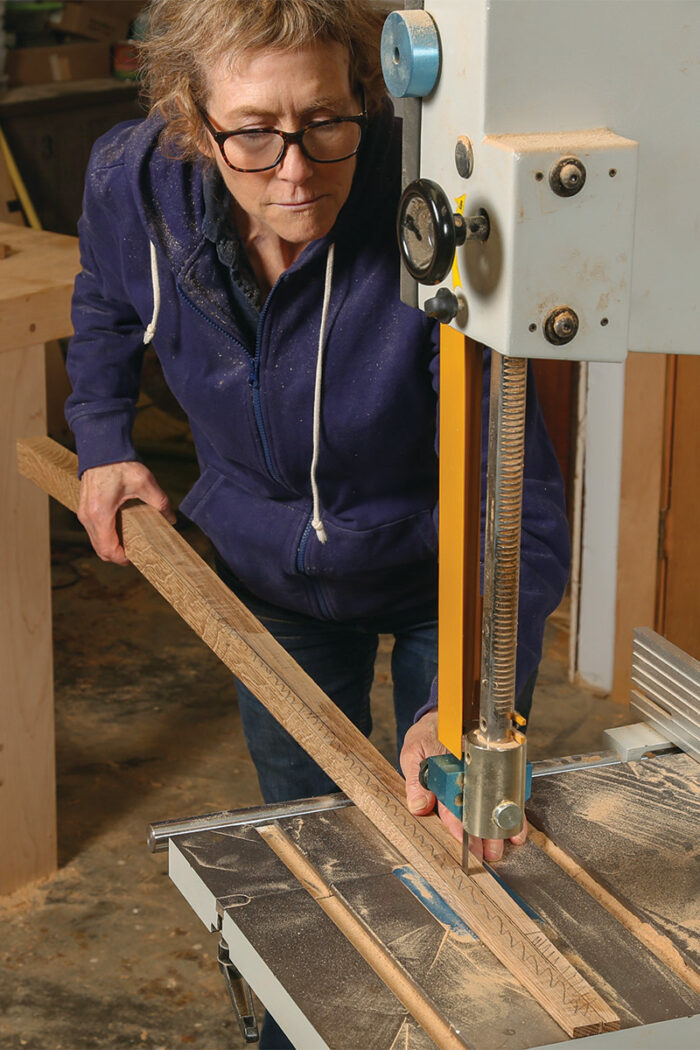
While you’ll cut the mortises on all the legs early in the process, the front legs get shaped a little later. However, you start to shape the back legs before you cut the mortises. Lay the back leg side template onto each blank in turn and trace the shape of the side. Cut out the shape on a bandsaw.

Lay out the mortises for the seat rails and stretchers. Chop the mortises for the seat rails first. Next, adjust the fence to chop the stretcher mortises, which will be centered in the thickness of the legs, not flush with the outside (or inside) faces. With the basic seat and stretcher mortises chopped, trace the rake of the back legs’ outer faces onto each one but don’t cut it out yet. Having those marks will help you locate the mortises for the back splat system, which you should lay out at this time

For the back-splat mortises, start with those in the legs. Set one of the back legs on the mortiser bed with its outside face downward. Adjust the depth of cut of the mortise, and then adjust the fence for the placement of the mortise on the face and parallel to the front rake of the leg. Because the crest rail and lower back splat rail are just 5/8 in. thick, each tenon will have a front shoulder only. Finally, for the lower back-splat rail, adjust the fence of your mortiser so that the mortise will create the 3/32-in. shadowline that’s a distinctive detail in the original chair.

Move on to the mortises in the crest and lower back-splat rails. To lay these out, mark the center of each rail’s length and use the splat template to lay out the mortises, which should be centered.
Cut the tenons
You can cut all the tenons on the tablesaw with a dado set and sliding fence set at 90°. Remember to adjust the tenon length settings for the different parts. You can cut the top and bottom shoulders on the tablesaw, though I prefer to do this by hand.
To determine the position of the shoulder for the lower back-splat tenon, I cut the top tenon first, then laid the splat blank onto a leg so I could transfer the lower shoulder position directly. Note that there is scarcely a shoulder at all, because the material is so thin—just enough to hide the edge of the mortise. I start the cut on the tablesaw, then switch to a shoulder plane to finesse the fit.
Rabbet the seat rails
Rabbet the top inside edge of the front and side seat rails on the tablesaw to accept the seat insert. Note that there is no rabbet on the back seat rail. At this point, assemble the chair dry and adjust the fit of joints as necessary.
Photos: Anissa Kapsales

From Fine Woodworking #301
To view the entire article, please click the View PDF button below.
 |
A rogue Arts and Crafts finish |
 |
Oak Chest on Stand |
 |
David Berman: Masterful Paper Reproduction |


Comments
I love this chair, will there be full plans in the future?
Log in or create an account to post a comment.
Sign up Log in