The Process of Planning a Project
For Mike Farrington, sometimes planning a project is the most difficult part of woodworking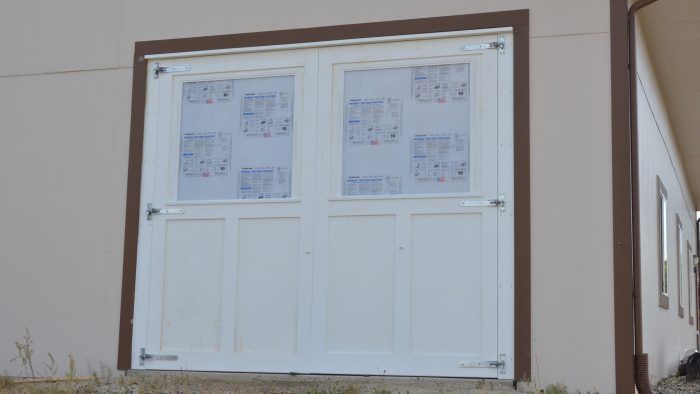
Labor day has come and gone, and for us Coloradans, that means winter is looming. Our high altitude gives us cold winters and blowing snow called Champagne powder, snow so fine and light that many use a leaf blower instead of a shovel to clear it. As a side note, our high altitude also means that a vacuum bag won’t clamp with as much pressure because as elevation increases, atmospheric pressure decreases and with that, available vacuum clamping pressure.
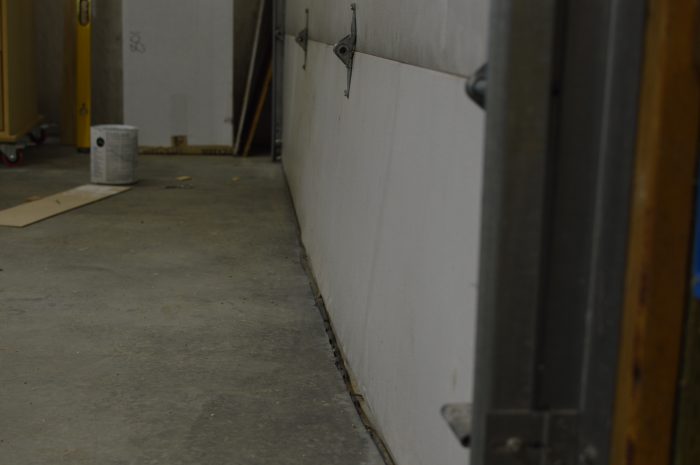
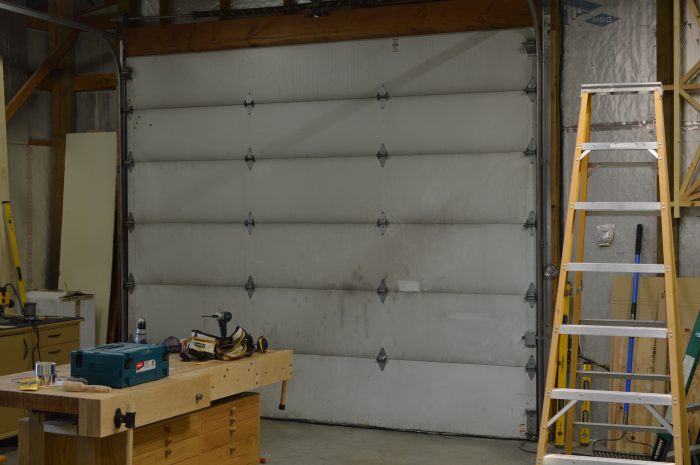
Our windy and snowy winters will expose any weaknesses in weatherstripping. My shop has four roll-up doors, one of which faces due north. This also happens to be the direction from which big storms roll in. This door is 20-plus years old and is as drafty as an open window. On occasion I have had to shovel snow out of my shop due to this very door. Any time it is going to snow, I have to move my tools at least 10 ft. away from the area. As a carpenter/cabinet/furniture maker, I find this annoying and embarrassing, especially if a client is going to stop by. So over the last couple weeks I have taken it upon myself to solve the problem.
You may be thinking, based on my description of winter, that I should simply frame in the opening and put up some insulation. That’s because I left out the description of summer here on the high plains of colorful Colorado. We get many days in the 90s between July and August, but it’s a dry heat, so it’s actually quite pleasant as long as you’re not standing in the sun. In other words, the drafty roll-up door is an asset in the summer. Being able to roll up the door and park my workbench next to an opening that is 12 ft. wide and 10 ft. tall that gets no direct sunlight yet lets in a nice summer breeze is an absolute treat.
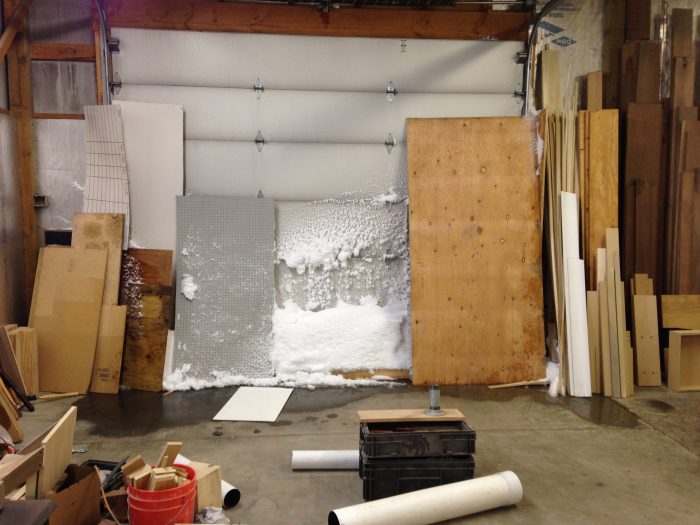
With that said, I’m pulled in two polar opposite directions. Warm/air-tight and openable/breezy typically don’t go together. After thinking for way too long about this conundrum, I decided to throw caution to the wind and do my best to have my cake and eat it too. I decided to try building mammoth-sized carriage doors. A few points that guided my decision; I didn’t want to replace the roll-up door with a new, better insulated version of the same thing. When a roll-up door is up, it will block lights mounted above it, and this is less than ideal for my bench positioning. Second, I live in a windy area—so windy, in fact, that my current door is bowed in about 2 in. A well-insulated roll-up door with a stout wind rating was going to cost about three times what I will spend building my carriage doors. Lastly, carriage doors are cool and create a unique ambiance and I thought building them would be a fun challenge.
As I am writing this, the doors are built, hung, and primed, leaving only paint, weatherstripping, and locks to be completed. So after that long, but incredibly well told and compelling back story, I get to my main point, The Building Process. While I have built plenty of doors in my career, including thousands of cabinet doors, many interior doors, and a handful of exterior doors, I have never built carriage doors. I have built a door that was 10 ft. tall, but never one that is 6 ft. wide, and certainly never a pair of doors that are 10 ft. tall by 6 ft. wide that meet in the middle and need to be coplanar. The point is, going into this project I really didn’t know how to execute it. So how does one go from an idea that they don’t know how to build, to a sound plan that will end up with a quality, functional end product? This is the constant challenge of the custom woodworker and is really what keeps this career interesting.
Research
My process for getting through the learning curve is the same each time I need to tackle something new. I start by scouring the internet: Magazines, videos, blogs, I look everywhere. As the rest of my household is going to bed, I break out the iPad and get to work. I always try to learn from those who came before me. Why try to reinvent the wheel if I don’t need to? In this case I found two articles that had information and techniques that I could apply to my project. One was in the Journal of Light Construction, and the other was right here in the distinguished pages of Fine Woodworking. In issue 216 the estimable Mike Pekovich transformed his dingy old garage into a really nice workshop. One of tasks he performed was to build two carriage doors to plug up an 8-ft. by 8-ft. opening. This article was the starting point for my build.
Gather the hardware
I had the idea and a general concept of the project, but before going any further down the design road I sorted out hardware. In my humble opinion this is the most critical part after the initial idea. If you are building a cabinet using knife hinges, a table that expands to accept a leaf, or carriage doors, understanding the hardware and how it’s going to work and interact with the design is uber important. In this case, I ended up finding adjustable strap hinges commonly used on gates. These would carry the weight I needed, but were a little less refined than I would have preferred. I went with these because I simply couldn’t afford high-end stainless hinges, which were 10 times the cost. After the hinges were delivered I quickly realized that these were fine for my application, but I needed to account for a little extra slop due to poor machining. No big deal, but it was a consideration.
Lock in the design
Now that the initial idea was firmed up and I had the hardware, I finalized the design. This includes the actual layout and dimensions, and it also includes the materials, what types, grades, and quantities. Once that was complete I shifted into 4-wheel low and ground out all the steps. Step one, buy, unload, organize, and store materials. Step two, build a temporary workbench to lay the doors on. Step three, build frames. Step four, skin doors with plywood. Step five, cut and fit foam insulation, etc. etc. etc. Breaking a project down helps in several ways. It helps me plan out a timeline, it helps call out flaws in the design or construction process, and it helps overcome any apprehension I may have. After all it’s just a bunch of simple steps, right?
Even after planning, this is custom work, so mistakes and miscalculations are part of the game. This process can only reduce the chances of a problem, not eliminate them totally. As to my carriage doors, so far so good. I’ve run into a few small hiccups, but it looks like things will turn out even better than I expected.
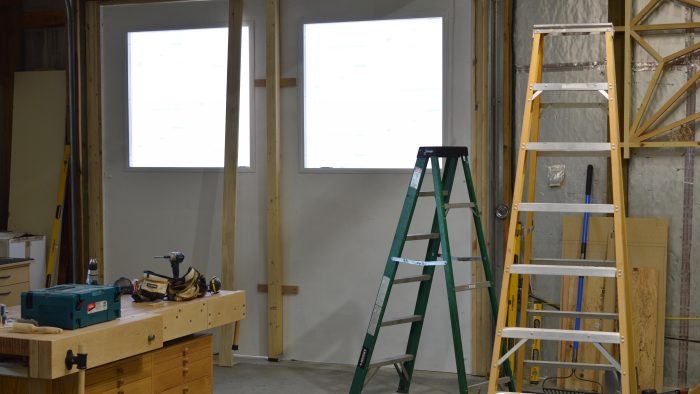
I wrote this article because I wanted to share with you how I work through this challenging process. This is the most difficult part of what we do. It’s a lot of hard work to plan a project properly. I hope that this article is useful in getting you to think about your planning process. Better yet would be that it shows building quality custom stuff is difficult, and if you ever have doubt or fear, well so do I, and this is how I earn my living. I have a feeling that you have been in this same situation. It’s a position filled with uncertainty, but on the other side of the learning curve lies the sense of achievement. From fine woodworking to general carpentry I wouldn’t want it any other way.
In the next couple weeks I will post a video to my YouTube channel documenting this build. Stay tuned for that. In the meantime I have a teaser video on my Instagram page.
And here is a link to a shop tour video where you can learn more about me and my shop.
Fine Woodworking Recommended Products

Drafting Tools

Blackwing Pencils

Dividers


Log in or create an account to post a comment.
Sign up Log in