Lift Tab for a Small Box
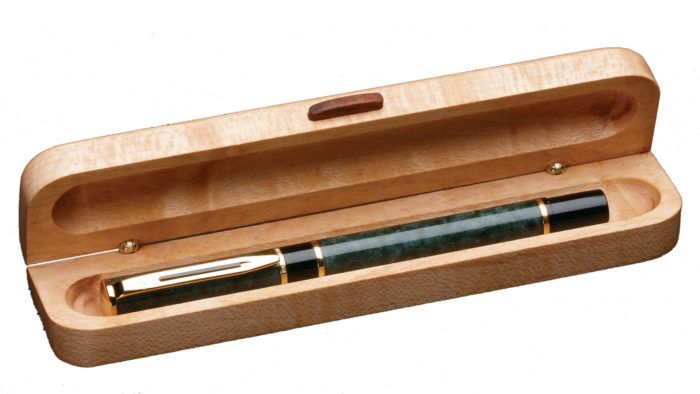
Below is an excerpt from Doug Stowe’s book Tiny Boxes.
Turning pens is a popular hobby among woodworkers. If you are a pen turner, you might enjoy making a fine box to hold one of your beautiful tuned pens. For a pen box, I use a simple but elegant lift tab. Here’s how I do it:
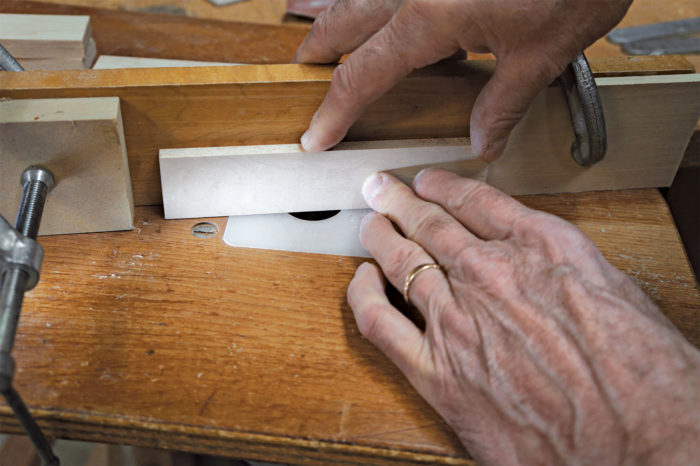
1. I make a simple lift tab for opening the box by first routing a groove for it to fit into. Put a 1⁄8-in. straight-cut router bit in the router table and set the fence so that there is a 1⁄8-in. space between it and the router bit. Raise the router bit to a height of about 3⁄16 in. above the router table. Then carefully measure to set stop blocks equidistant from both sides.
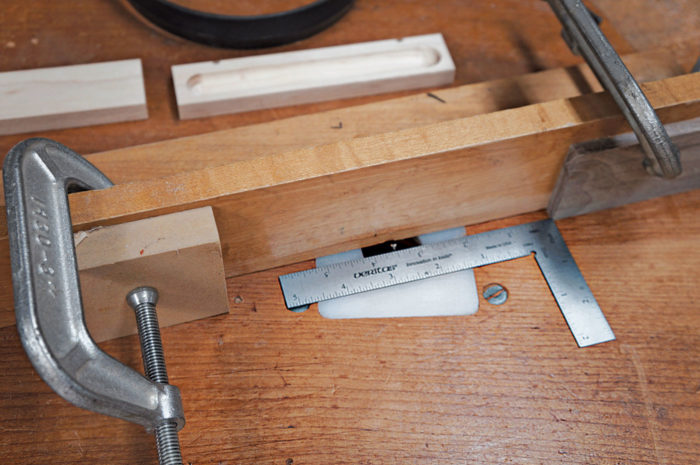
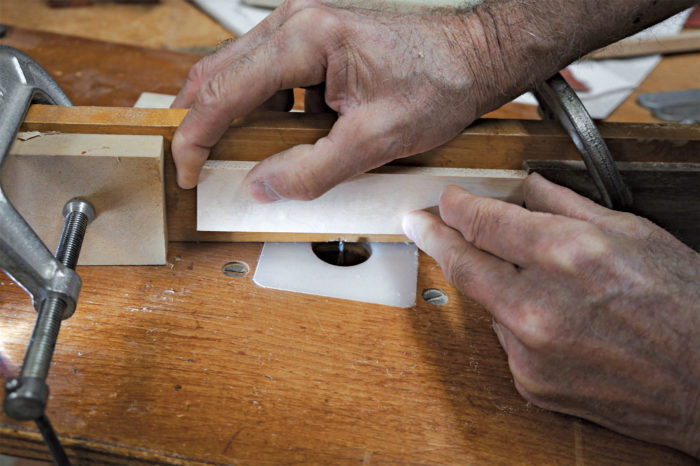
2. Hold the lid of the box tight to the fence and firmly against the stop block on the right. Lower the lid into the cut and move it from right to left to touch the stop block on the left. Then either slide the lid up and away from the bit, still holding it tight to the fence, or continue to hold it tight while you turn the router off and wait for it to stop.
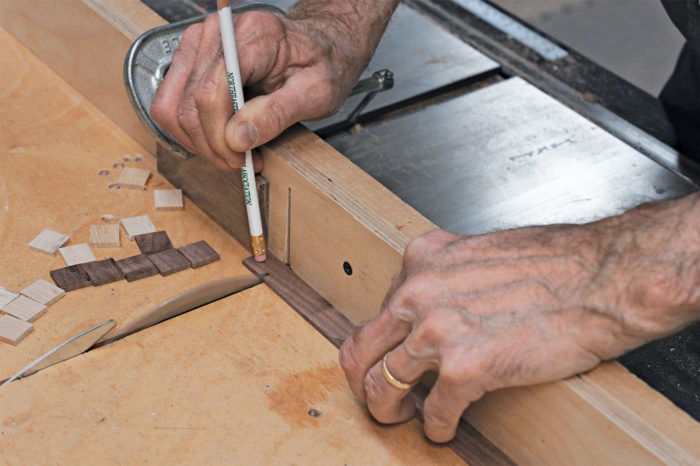
3. To make a simple lift tab for the lid, I use the sled on the tablesaw and thin stock cut to a thickness of 1⁄8 in., equal to the width of the router bit used to cut the recess for the tab to fit. Use a stop block to control the length of the cut and use the eraser end of a pencil to keep control of the tab throughout the cut. I make these in a variety of woods so that I can choose either a matching or contrasting lift tab to go with any given box.
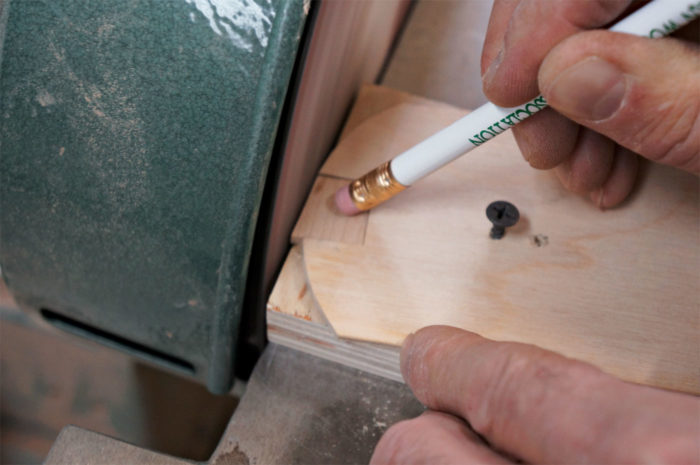
4. To gently round the face of the tab, use a swivel guide mounted to the table of a disk sander. To make this, cut a recess in the end of a piece of 1⁄4-in. plywood and use a screw to secure it to a thicker piece of wood. The location of the screw attaching the upper piece to the lower determines the radius of the tab. Use a pencil and eraser to guide the tab through the operation while keeping your fingers a safe distance from the sanding disk.
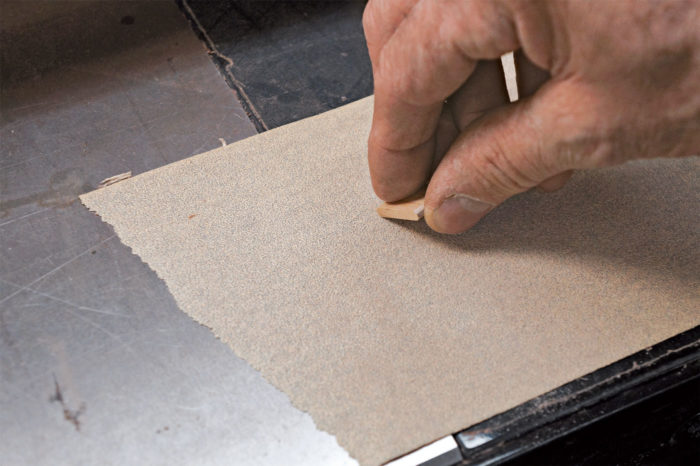
5. Use coarse sandpaper to begin rounding the edges so that the tab will fit exactly into the recess cut for it in the lid of the box. Use adhesive-backed sandpaper fastened to a flat surface. I simply drag the end-grain corners over the coarse paper until they are rounded to the same shape as the recess. After I’ve achieved a close fit, I use finer sandpaper on a sanding block to remove the coarse marks from the heavy grit and to soften the edges of the front of the tab.
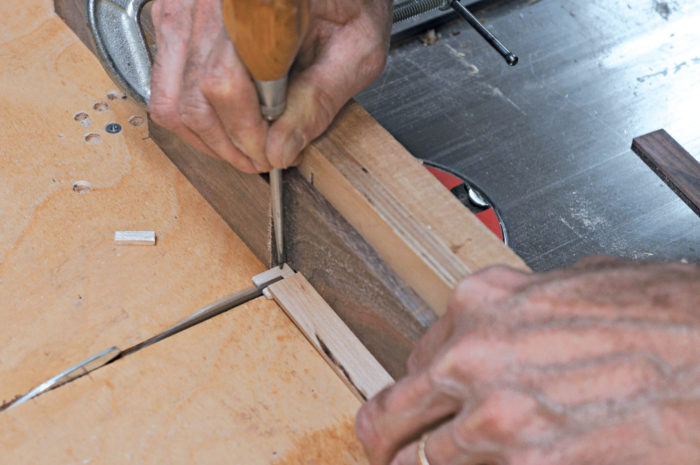
6. When you have a good fit, cut the tab to its finished length, using a tablesaw sled and stop block. I use a sharp awl to hold one end against the stop block and a thin piece of stock to hold down the other.
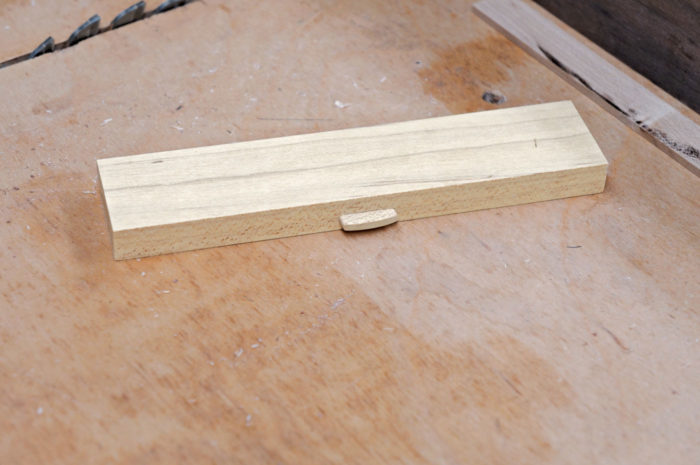
7. The finished tab can be glued into place after the final shaping and sanding of the box is complete. For now, test the fit but don’t slide it all the way in. If you’ve gotten a close fit, it may not come out, and using pliers to pull it would mar the surface you worked so hard to sand.
Fine Woodworking Recommended Products

Suizan Japanese Pull Saw



Comments
Looking forward to my pocket box class at ESSA in July. Doug Stow is the teacher. Awesome!
I am also looking forward to that class. See you in Eureka Springs.
Mr. Stowe,
I don't profess to be as skilled a woodworker as you, (I'm a P.Eng. and woodworking is just my hobby) but wouldn't it be easier and more accurate to set the stops on the router table with a wooden block instead of a rule? The lift tab would centred exactly and not be subject to human error.
Log in or create an account to post a comment.
Sign up Log in