Breadboard ends in SketchUp – Cutting Board Part 2
Tim finishes up the model for his cutting board by adding attractive and functional breadboard ends
In my last blog, I showed the first phase of constructing the Cutting Board for an undermount kitchen sink. I showed the development of the two main components, the center section and the two breadboard ends. In this blog, I finalize the construction by creating the joinery.
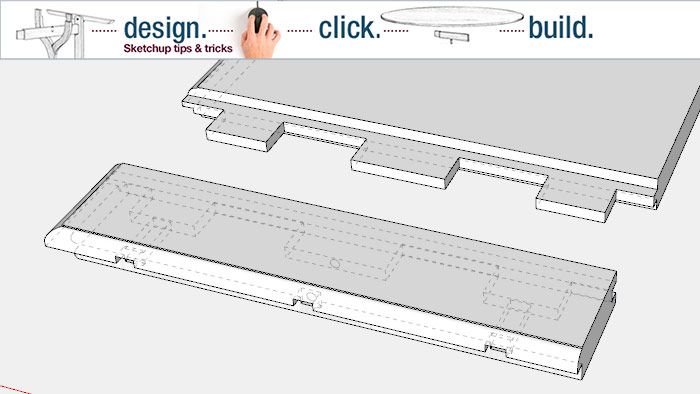
There are many advantages to having breadboards in an application like this, but it also complicates the joinery. The breadboard grain direction is at right angles to the mid section, therefore creating a cross-grain issue with wood movement. The breadboard ends must allow expansion and contraction of the center section, otherwise it will create cracks. To allow this relative movement, the breadboards are not glued full length, rather fastened with screws (in this case) that can adjust within slots, rather than tight shank holes. I glue in the center tenon only.
Here is the exploded model (in back edges format) showing the detail joinery.

The following video shows the detail joinery to allow this flexibility and relative movement of the components.
Tim @KillenWOOD
Fine Woodworking Recommended Products

Blackwing Pencils

Stanley Powerlock 16-ft. tape measure

Drafting Tools


Log in or create an account to post a comment.
Sign up Log in