

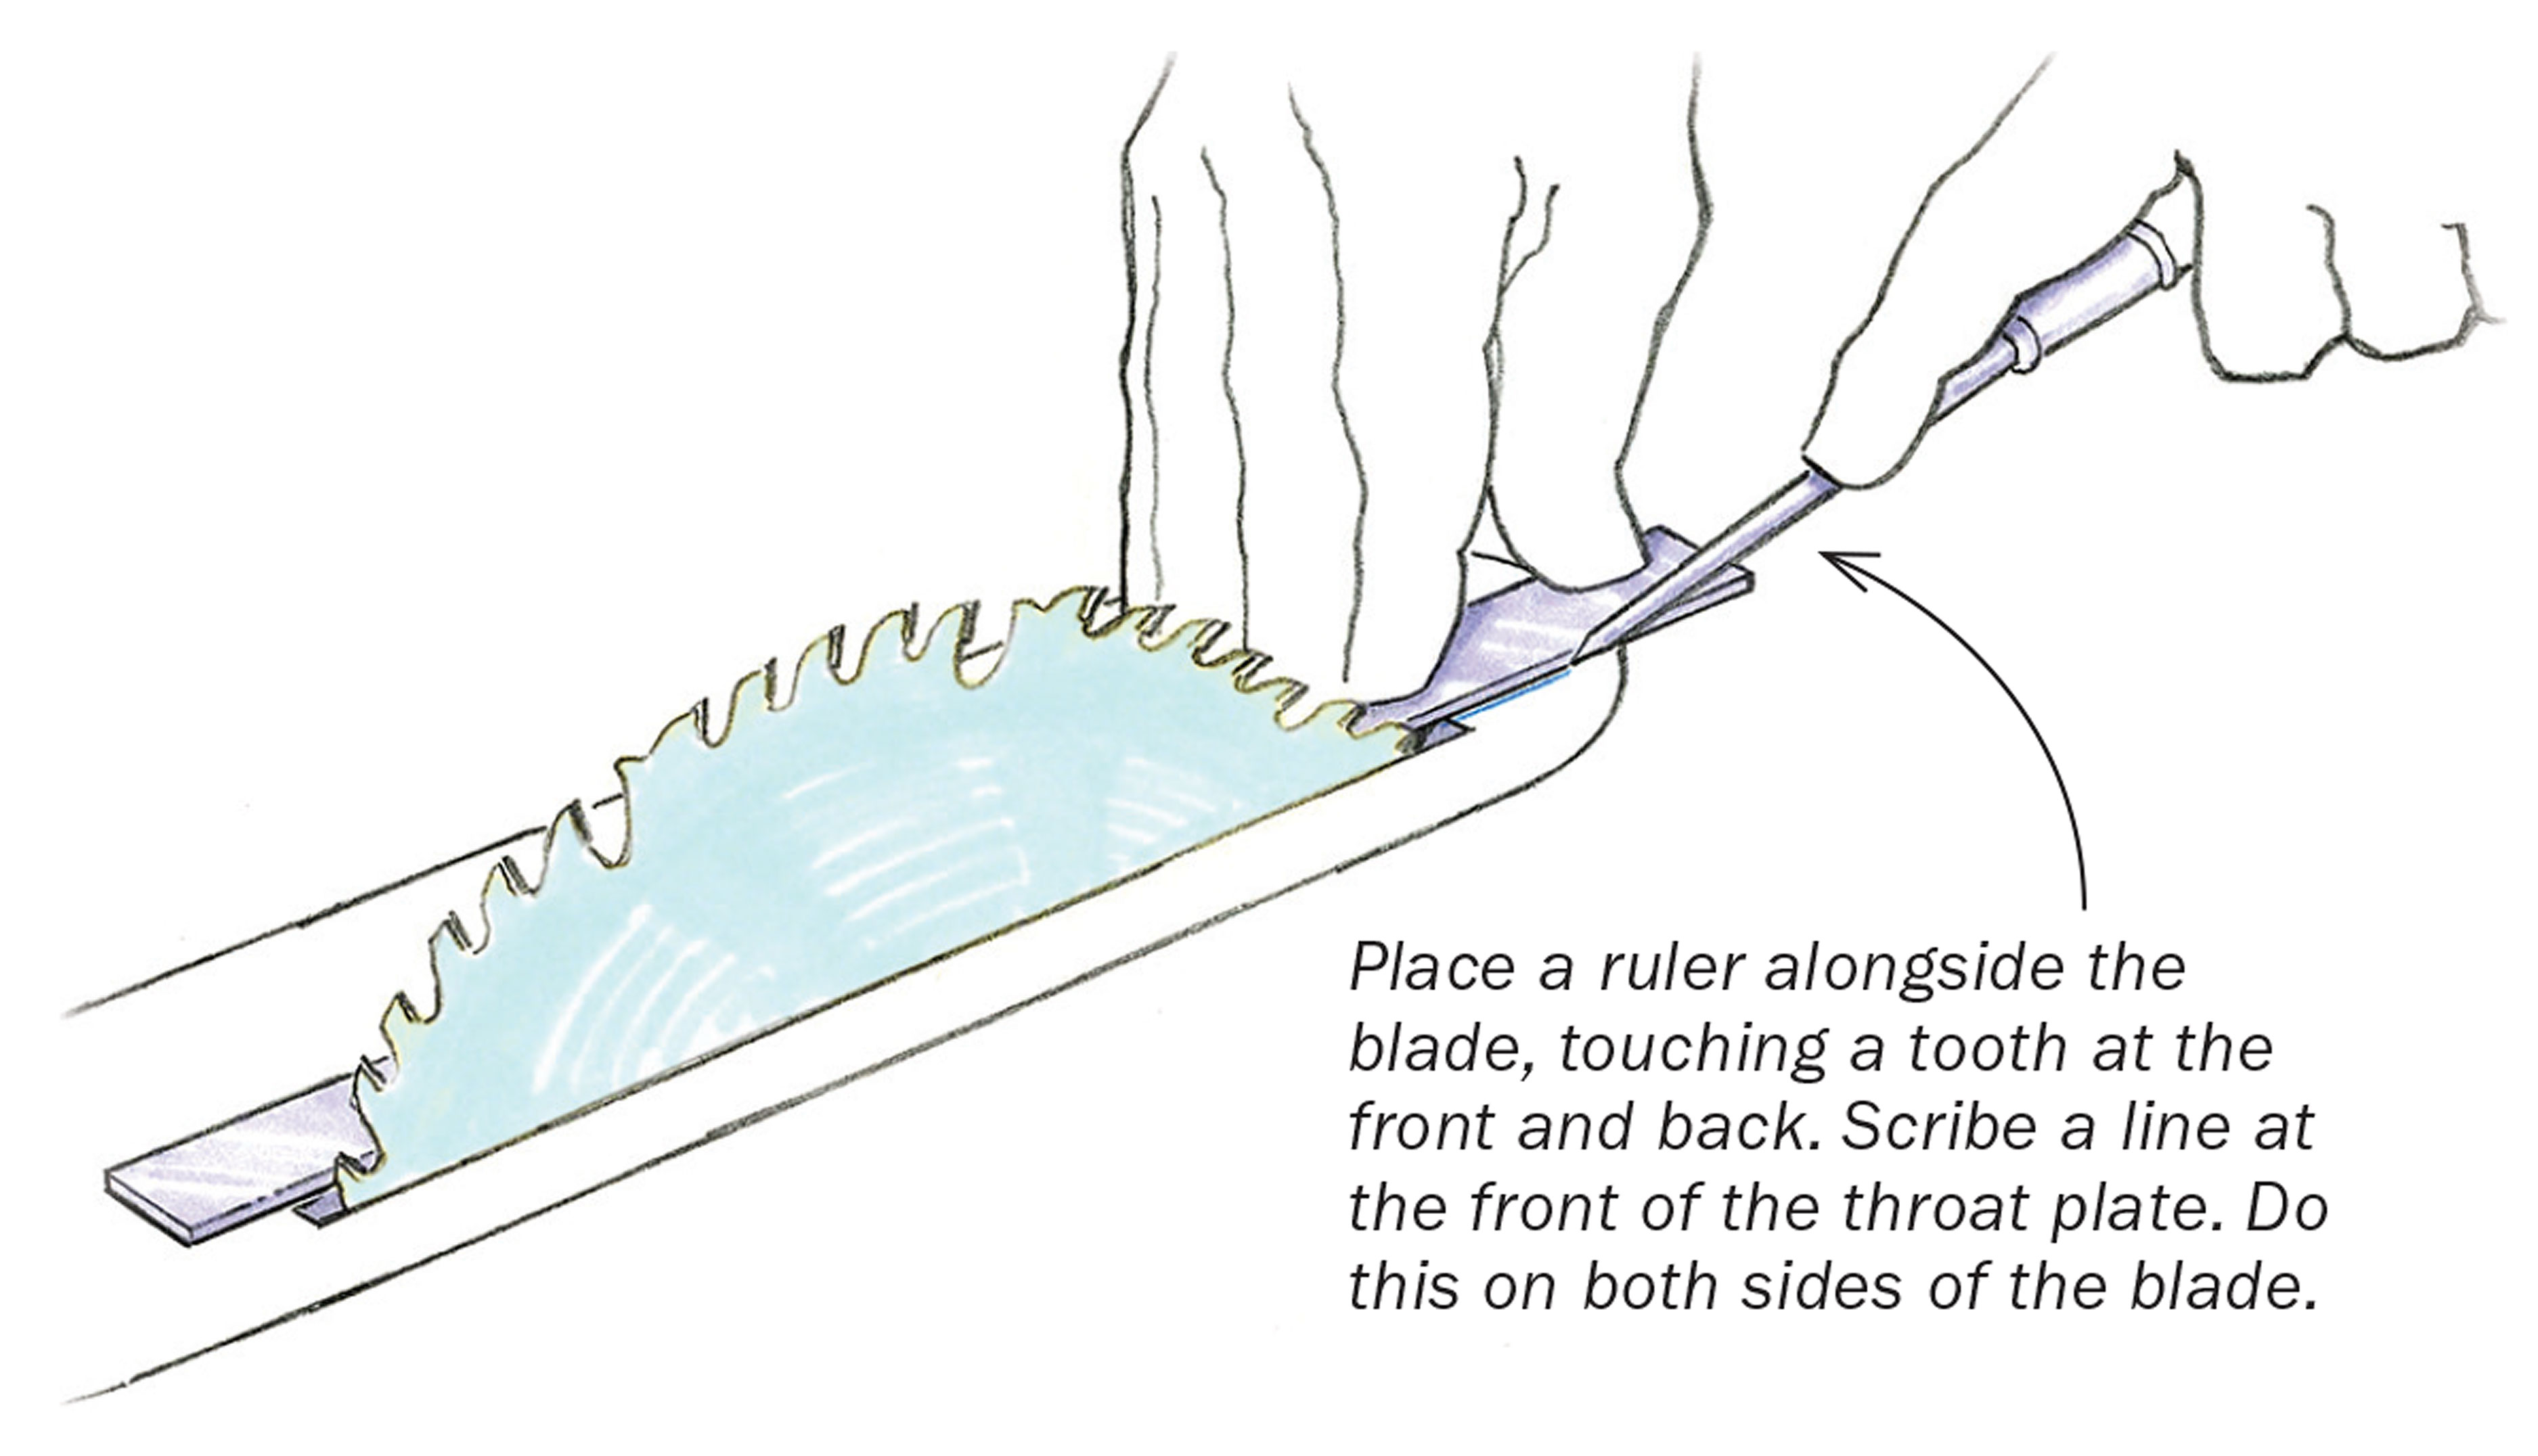
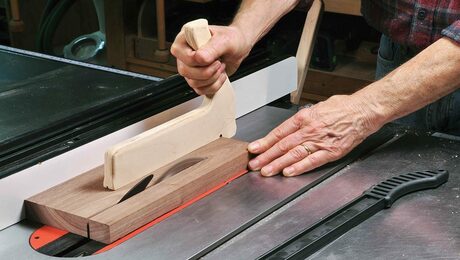
When crosscutting with the miter gauge, you have to turn off the saw and let the blade come to a full stop in order to accurately align it with a layout mark on the workpiece. But two simple scribe marks on the tablesaw’s throat plate let you line up a mark perfectly without hitting the off button. To scribe the lines, unplug the saw and raise the blade. Then place a ruler or straightedge along one side of the blade, with the ruler touching the teeth at the front and back. Use a scribe or awl to scratch a line along the ruler onto the throat plate. Do the same on the other side of the blade, and you’ll be able to align workpieces with confidence while the blade is still spinning.
—CHRISTIAN BECKSVOORT, New Gloucester, Maine

Fine Woodworking Recommended Products

Shop Fox W1826


Grizzly G0495X Industrial Helical Cutterhead 8-in. Jointer


Comments
An interesting idea, but what happens when you change blades?
@grbmds, Maybe have dedicated (zero clearance) inserts that match each blade thickness?
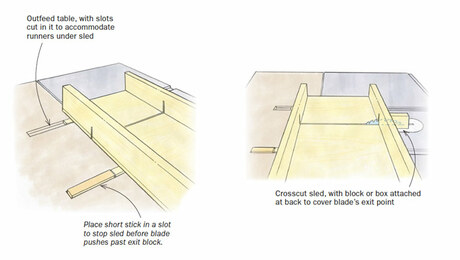
Another idea is to screw a wooden fence to your miter gauge and align your cut with the kerf marks on the fence. Or even better, line up your work with the kerf on a crosscut sled.
Log in or create an account to post a comment.
Sign up Log in